
Introduction:
This blog helps you to call adobe form through abap web dynpro.
Step1:
Create a table type for a table.
Go to the T_Code –SE11.
Select data type and give data type name click on ‘CREATE‘.
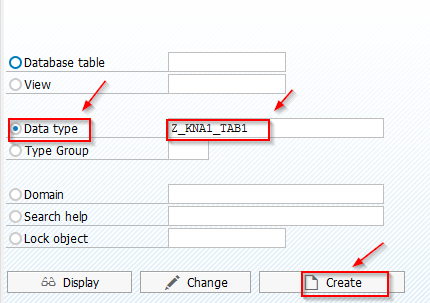
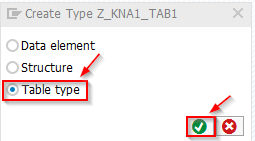
Select the radio button ‘Table Type’ and click on ‘ENTER‘.
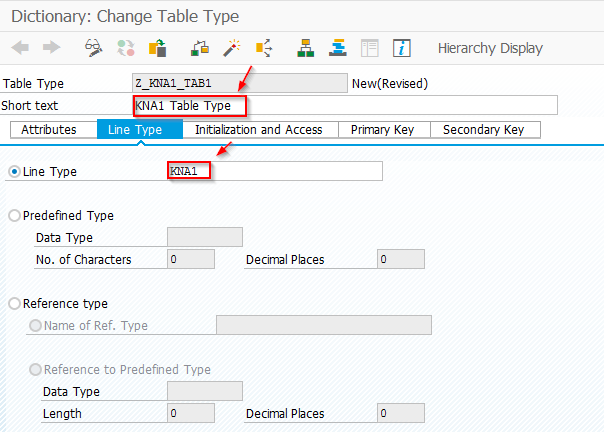
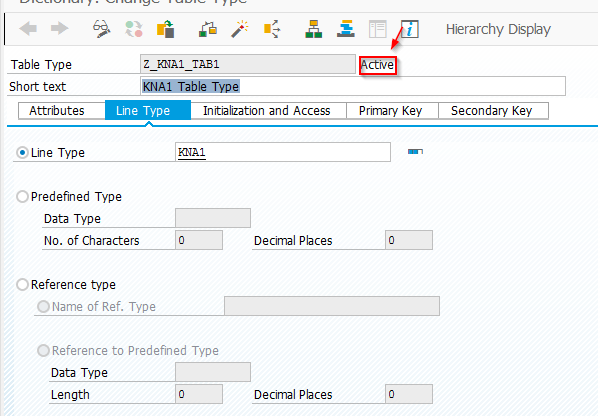
Give short text and line type name.
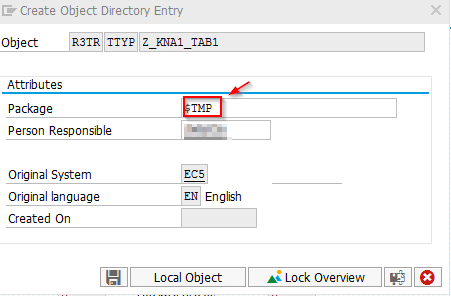
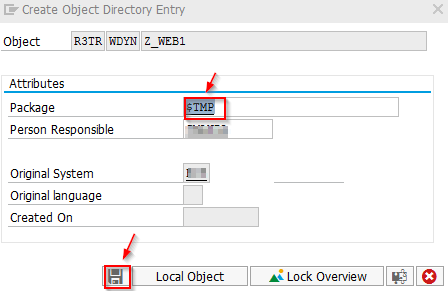
Give package name click on ‘SAVE‘..
Activate the table type.
Step2:
Create the interface for the adobe form .
Go to T_code: ‘SFP’.
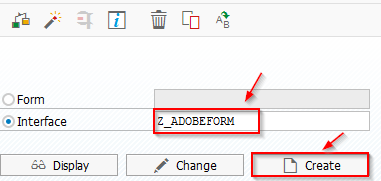
Select interface and give interface name and click on ‘CREATE‘.
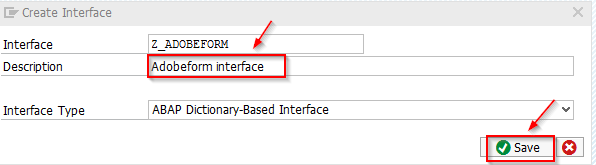
Give the description and click on ‘SAVE’.
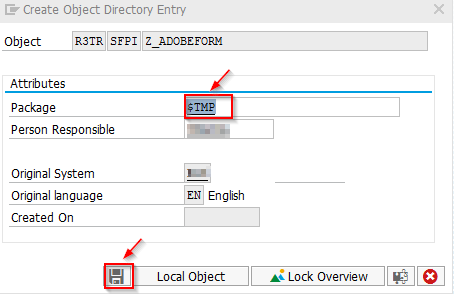
Give package name click on ‘SAVE‘.
Then click on ‘Append Row’ icon as indicated below.
Then as new row will inserted and assign the table type ZKNA1_TAB1 value as shown below.
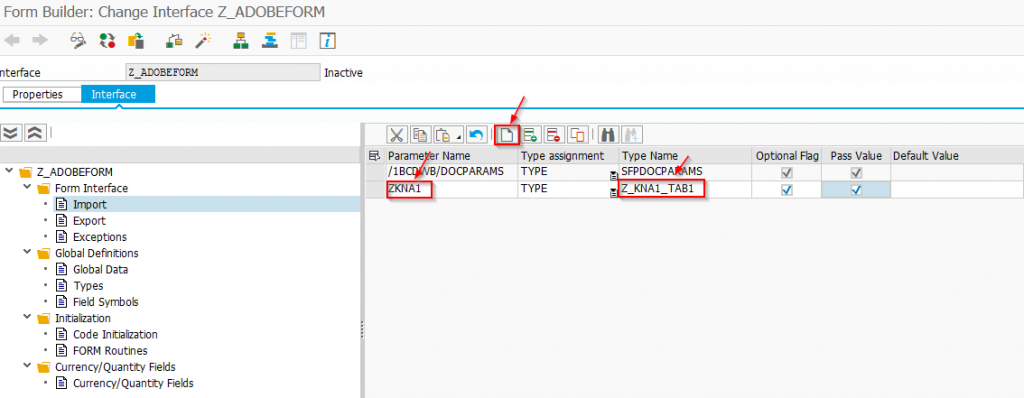
Then click on ‘SAVE‘ and ‘ACTIVATE‘.

Step3:
Create adobe form.
Go to T_code: ”SFP”.
Select adobe form and give adobe form name and click on ‘CREATE‘.

Give the description and the interface name and click on ‘SAVE‘.
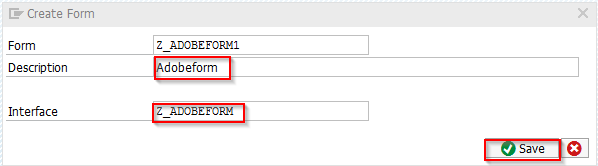
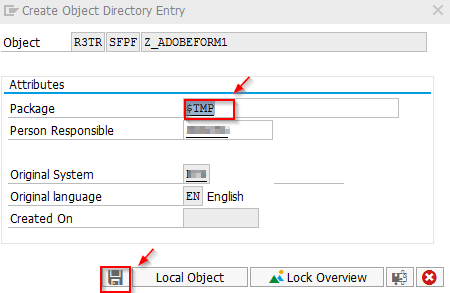
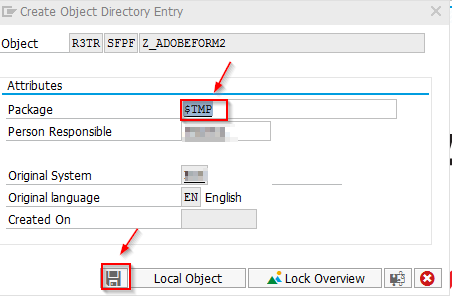
Give package name and click on ‘SAVE‘.
Then the below screen will appear.
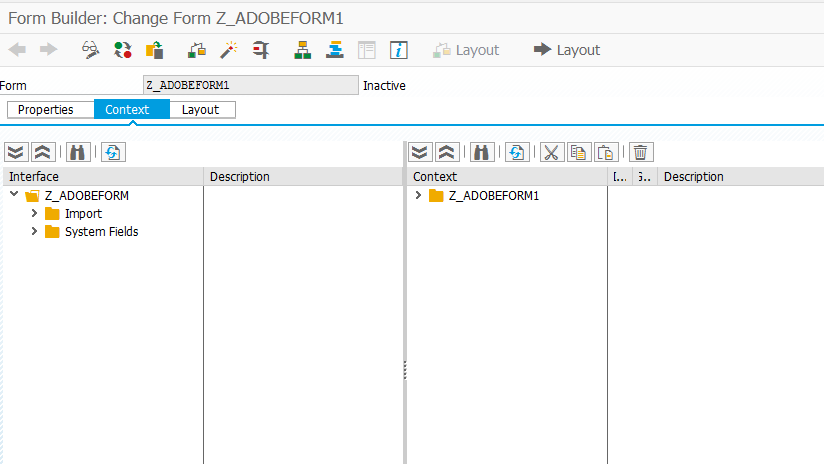
Expand the import button and you can find the table parameter ZKna1.
After drag and drop the table type to context ,then below screen will appear.
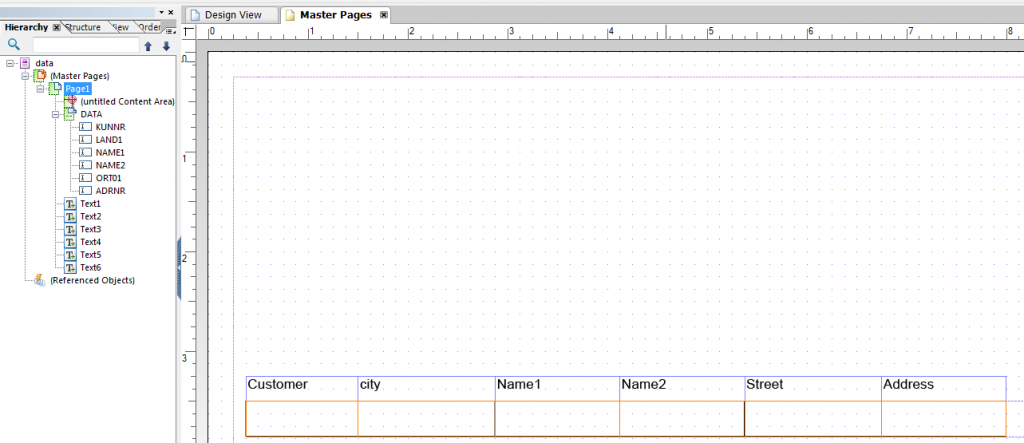
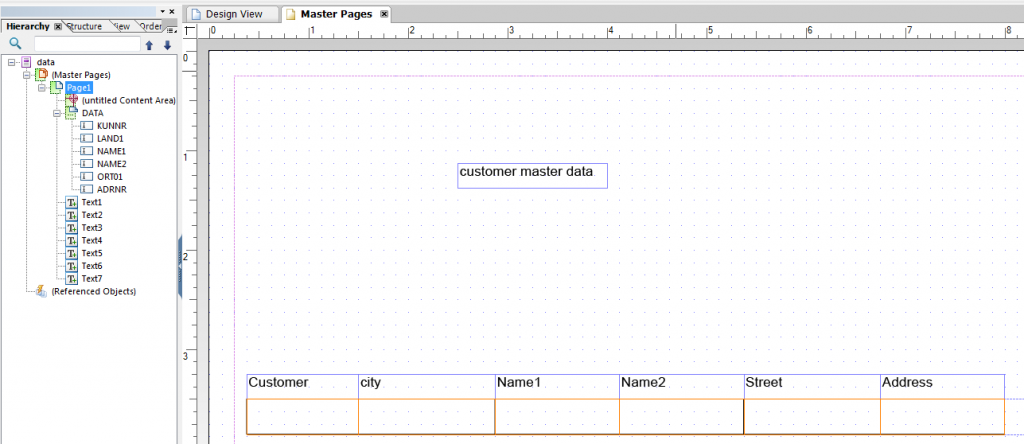
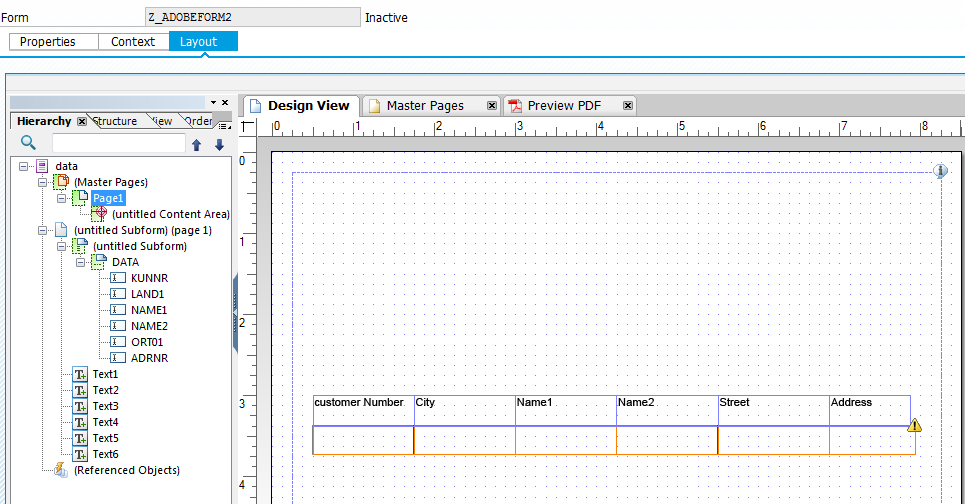
Select the ‘Text’ from the library and drop it the layout ”Design” view and give a description to the table as shown below.
Then Activate the adobe form.
Step4:
Create a web dynpro component.
Go to transaction code SE80.
Select web dynpro tab and give web dynpro name click ‘ENTER‘.
Give description and click on ‘ENTER‘.
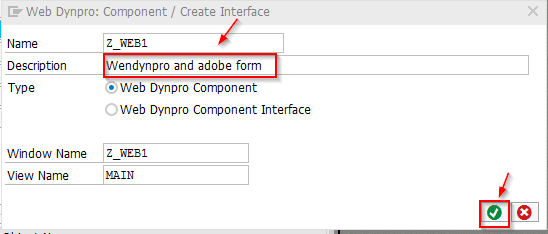
Give package name and click on ‘SAVE’.
Then you can see Web Dynpro screen as below.

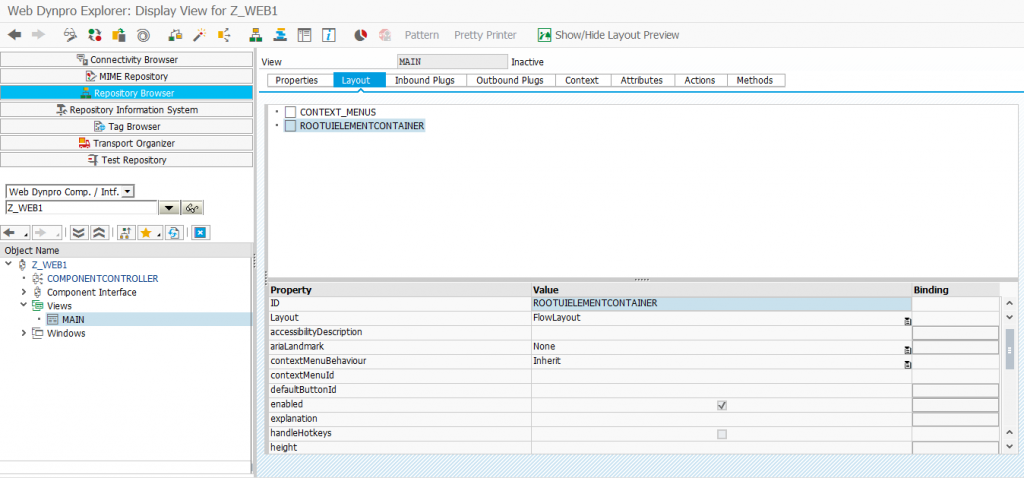
Double click the View (MAIN_VIEW) as shown below.
Step5:
Create an ” Interactive form ” element in the view (MAIN_VIEW) Layout.
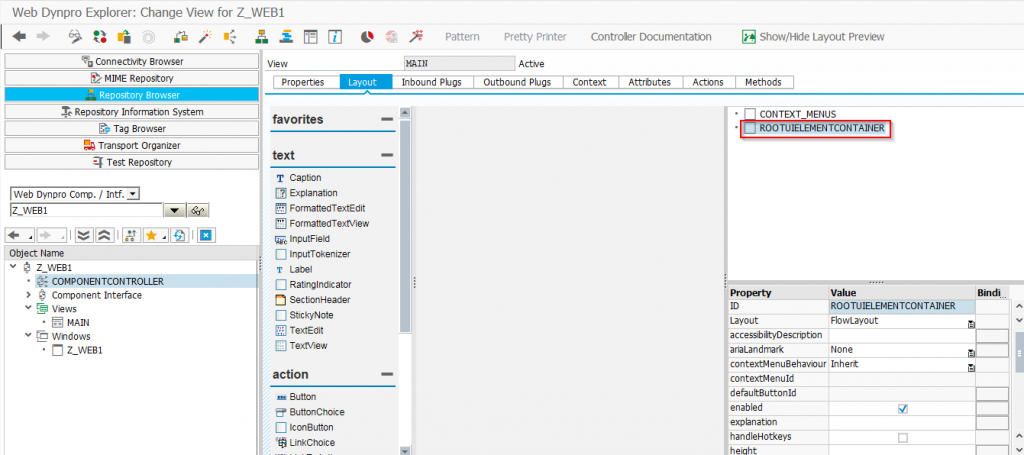

Then below screen will appear.
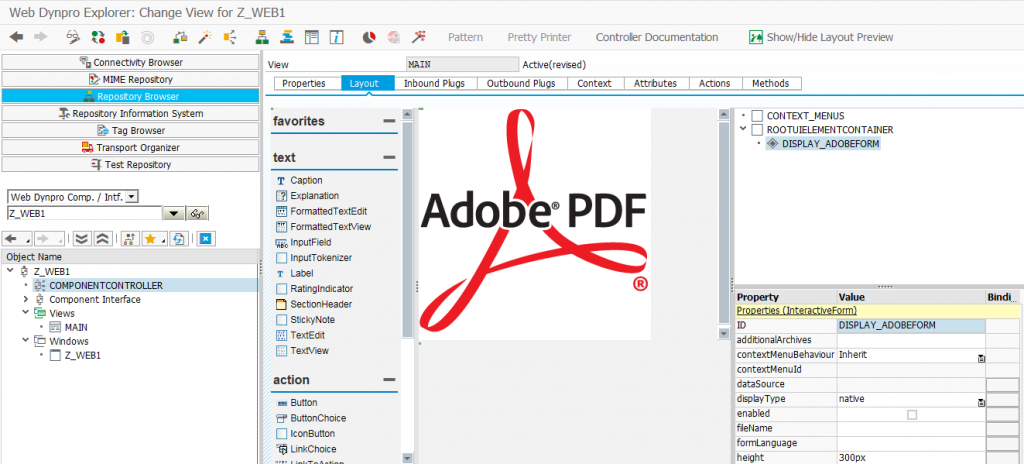
In the ”Template Source ” give name as Z_ADOBEFORM and double click it . Then popup will appear as indicated below.
Now assign the adobe interface Name ” Z_ADOBEFORM ” that created in the transaction code ”SFP” earlier.
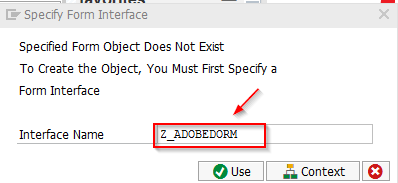
Give package name click on ‘SAVE‘.
Step6:
Assign the layout and design the adobe form
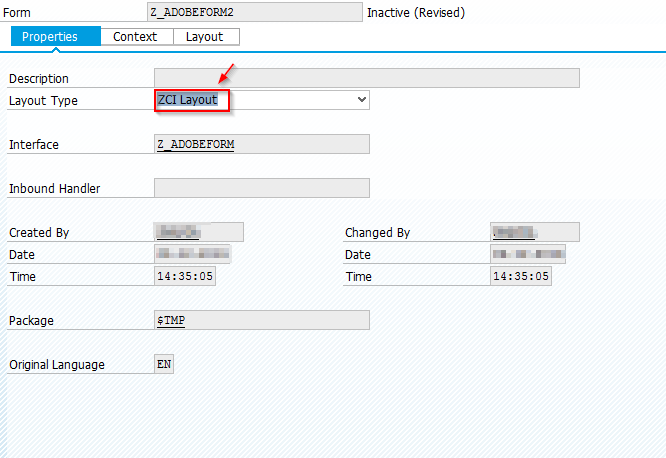
click on ”Properties ” Tab in the screen.
In the layout type choose ”ZCL Layout ” as shown below and press enter.
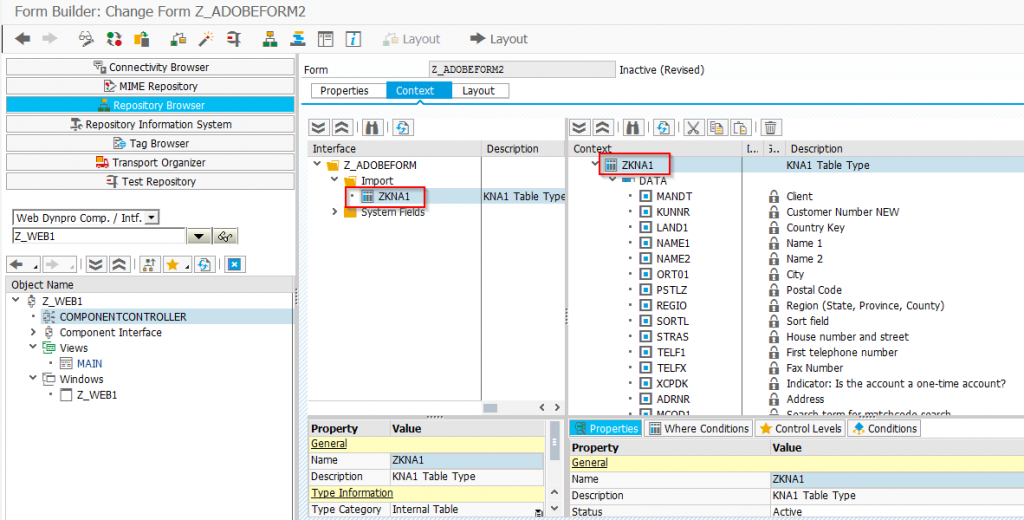
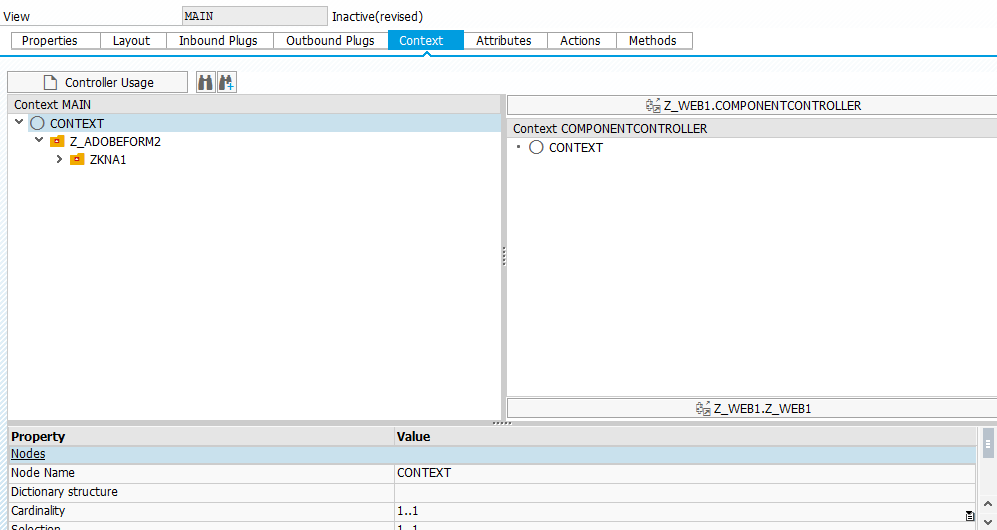
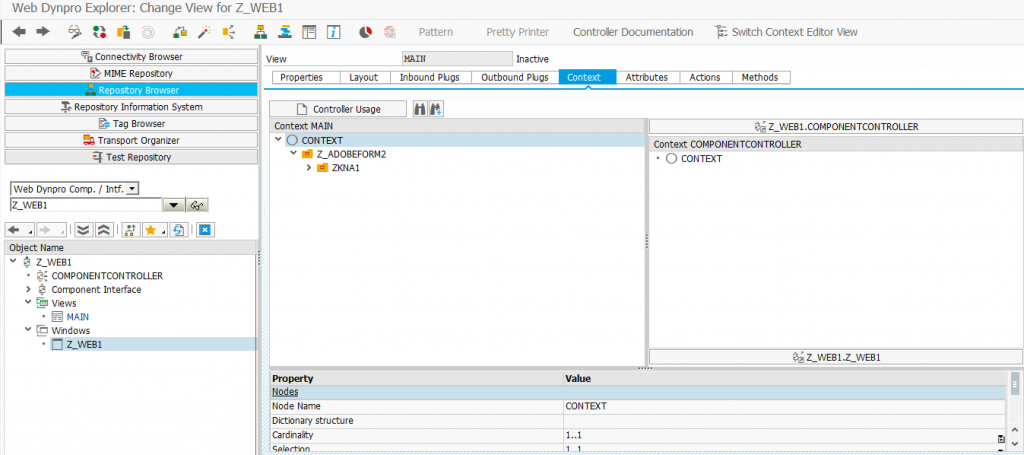
Then goto ” Context Tab ” and expand the import as shown below.
Then click the layout tab, then below screen will appear.
In the ‘Library ” select the text , Place it in the design view and give a description.
After Activate the Adobe Form and Double click the view ” MAIN_VIEW ” .
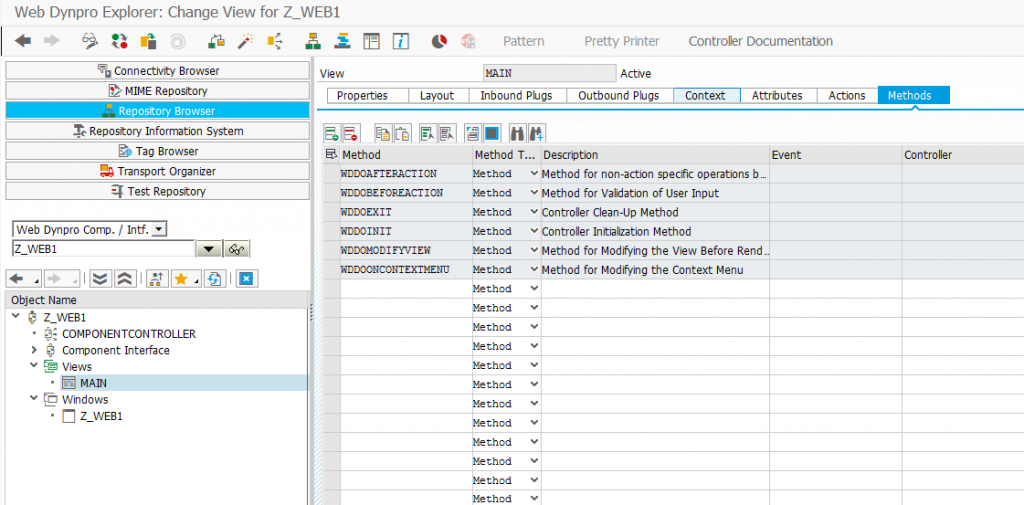
Navigate to the ”Methods ” tab.
Step7:
Write a code in the view (MAIN_VIEW) method ”WDDOINIT” Double click the ” WDDOINIT ” method and enter the below code.
method WDDOINIT .
DATA: node_zadobeform2 TYPE REF TO if_wd_context_node,
it_kna1 TYPE z_kna1_tab1.
SELECT * FROM kna1 INTO TABLE it_kna1 UP TO 5 ROWS.
node_zadobeform2 = wd_context->path_get_node( ‘ZADOBEFORMS2.ZKNA1’ ).
node_zadobeform2->bind_table( new_items = it_kna1 set_initial_elements = abap_true ).
endmethod.
Click the main window.
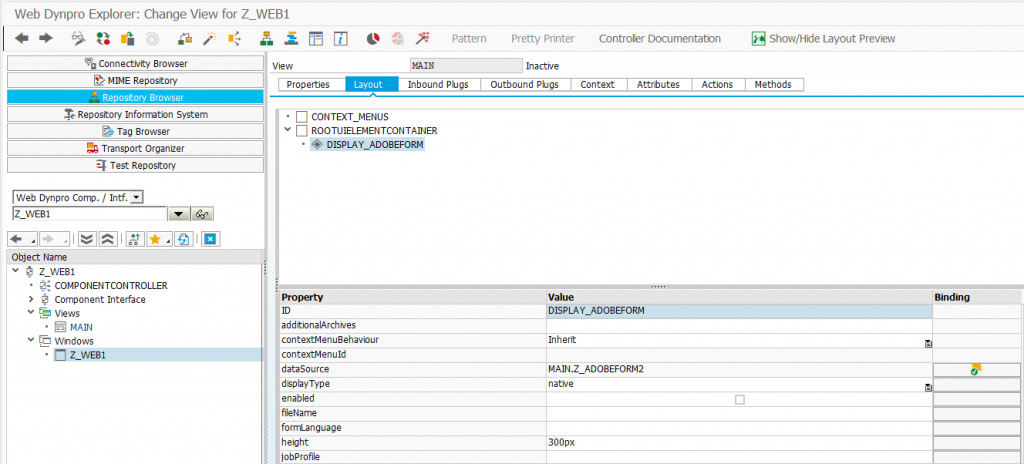
You can see the view embedded to the window (MAIN_WINDOW) .If it does not appear Drag and drop the view ” MAIN_WINDOW ” to the window ( MAIN_WINDOW) as shown below.
Then select the whole Web Dynpro component and activate as mentioned below.
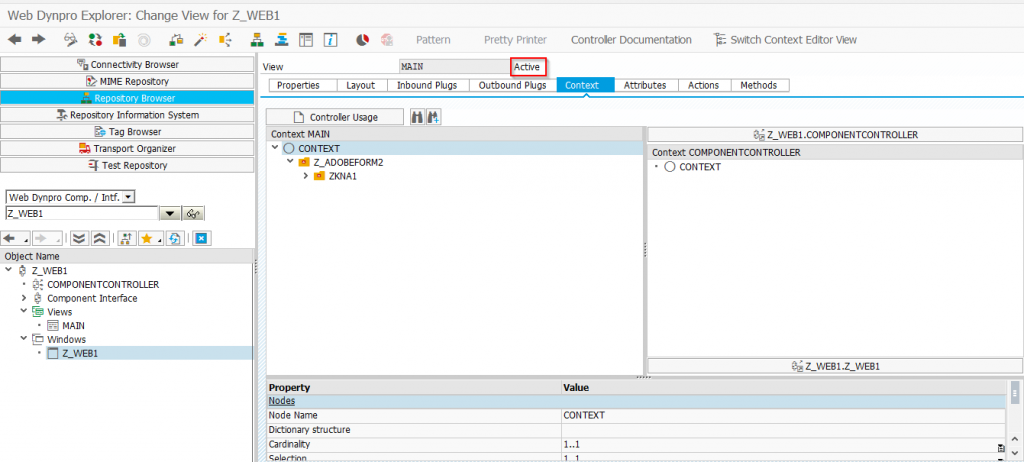
Now the Web Dynpro component is active.
Step8:
Create a Web Dynpro application to test the development.
Then create a Web Dynpro application as shown below.
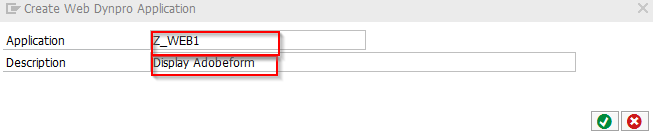
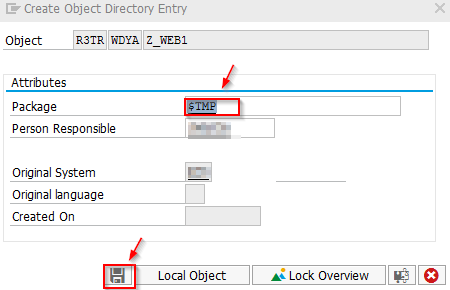
Save it Local Object.
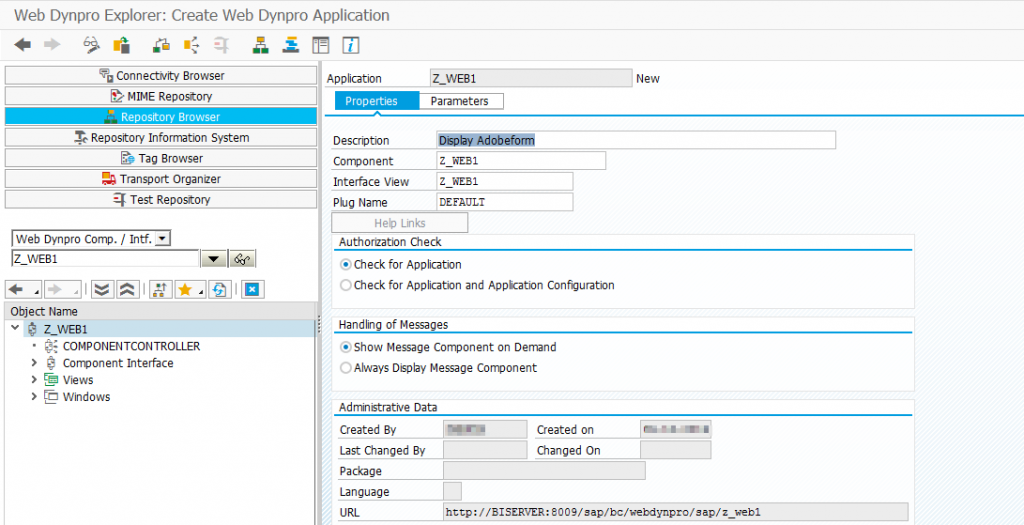
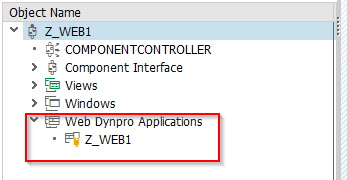
Expand the ” Web Dynpro Applications ” as highlighted .
Step 9:
Test the Web Dynpro Application
Then Right Click the Web Dynpro Application ” Z_WEB1 ” and click the test.
Then a browser Window Will Open and display the adobe form.


