Introduction
In this Blog post we will explain how to use a new migration app ( Migrate your data app ) using demo system S4hana 2020
In SAP S/4HANA 2020 and later versions, you need to use Migrate Your Data Fiori App instead of LTMC, you can still use LTMC in S4Hana 2020 but those projects will not be changed using Migrate Your Data app you can only display it.
How to create project using Migrate Your Data app
in our example we will use migrate data using staging table to upload the data using XML file format
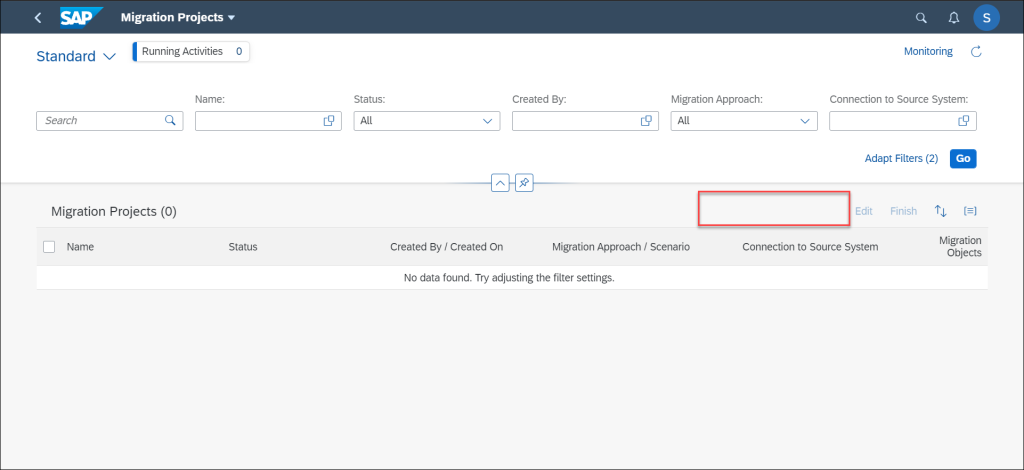
Click on create project using staging table

choose you project name and mass transfer ID that will help you later to transfer your project between your clients
then click on step 2

you will be transferring to migration object screen, you need to search for specific object then select it
in my case i will choose open sales order object
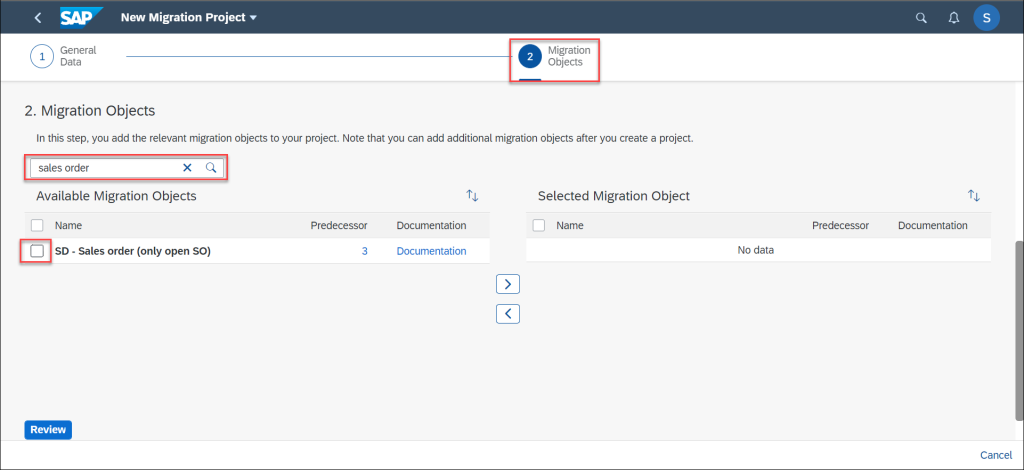
select the migration object and click on move bottom to include the object to your project
Note: you can include more than one migration object in your project
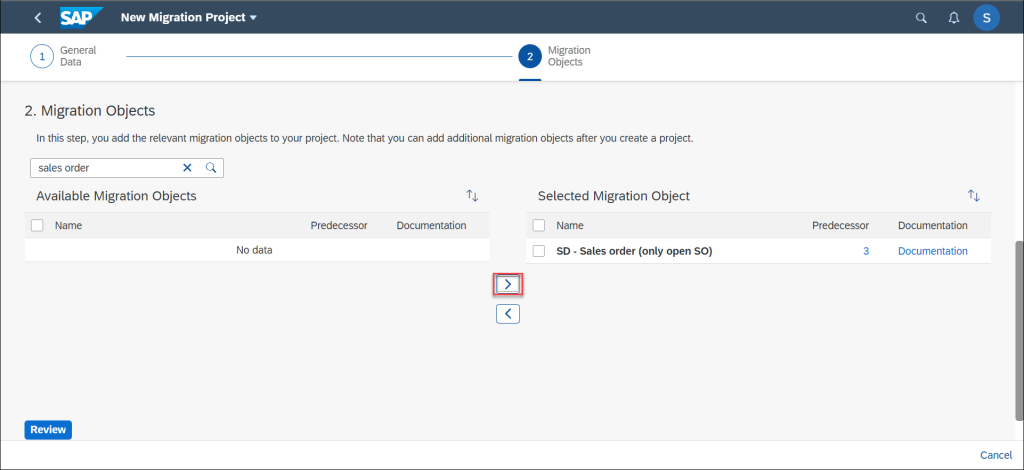
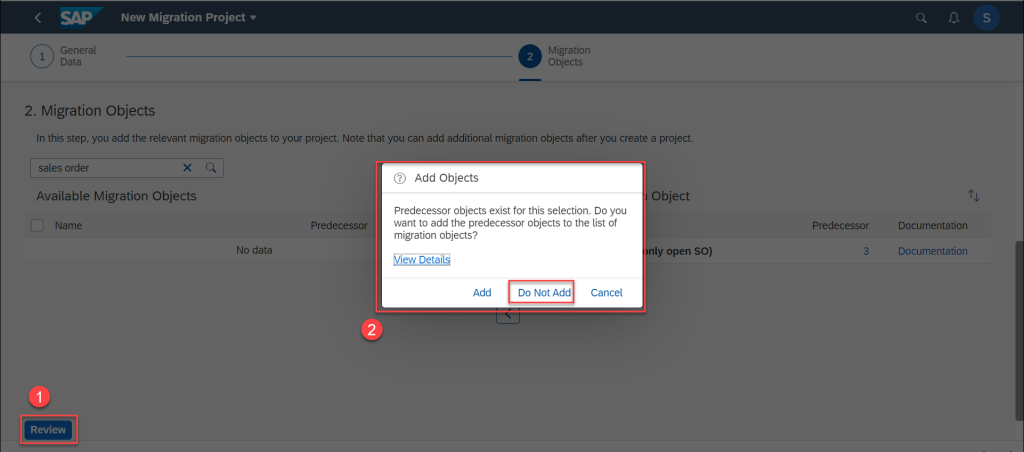
then click on review
then below message will appear asking for your permission to add another related object ? in my case I will choose do not add
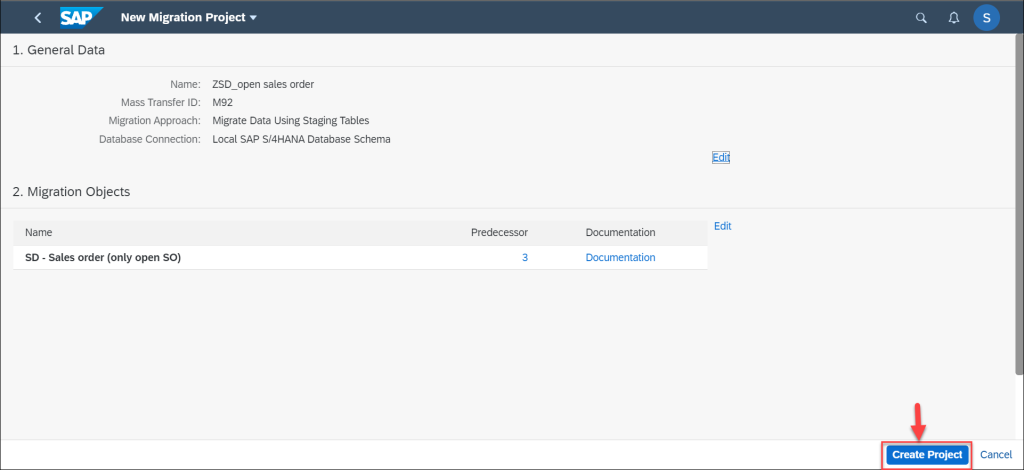
below screen will show you overview of your project and migration object
click on create project
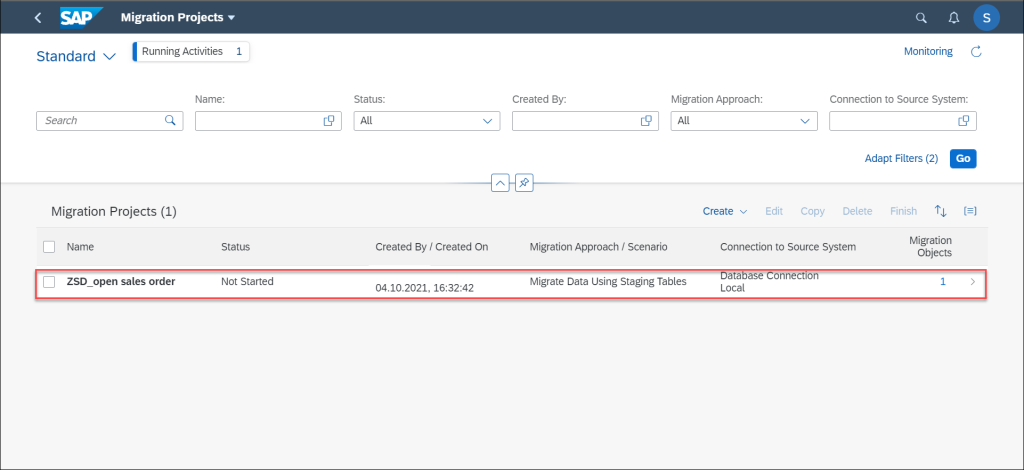
now your project is created with your migration object and ready to download your template file and proceed to migrate your data
How to create field mapping using download and upload function
in this section we will explain how to map the value you inserted in the XML file with SAP value
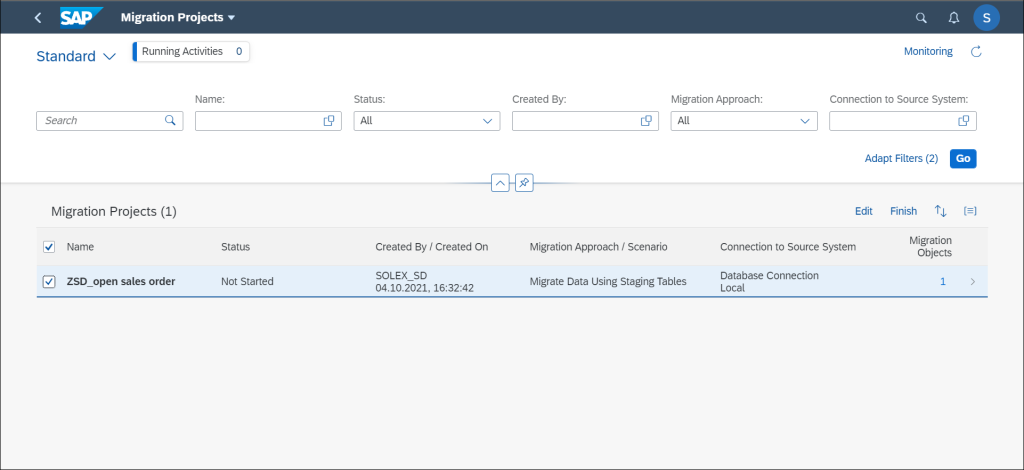
click on created project
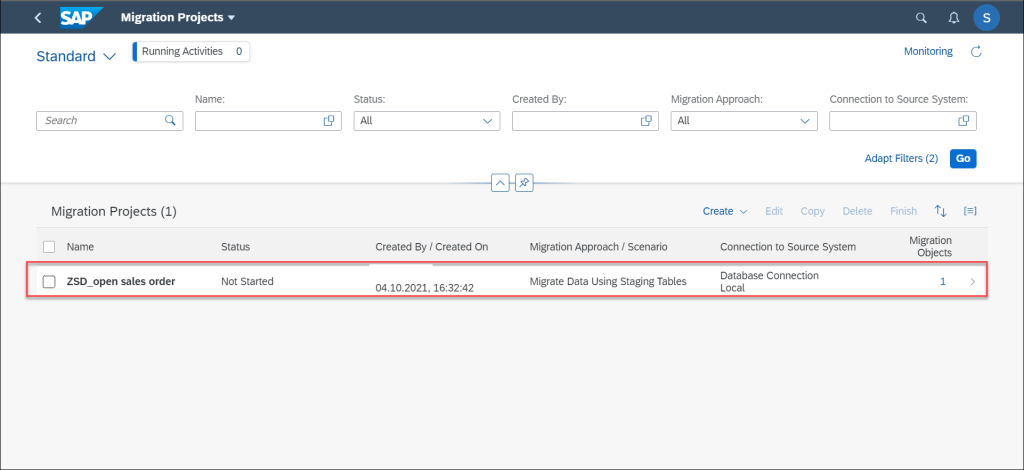
you will find that there is an open mapping tasks
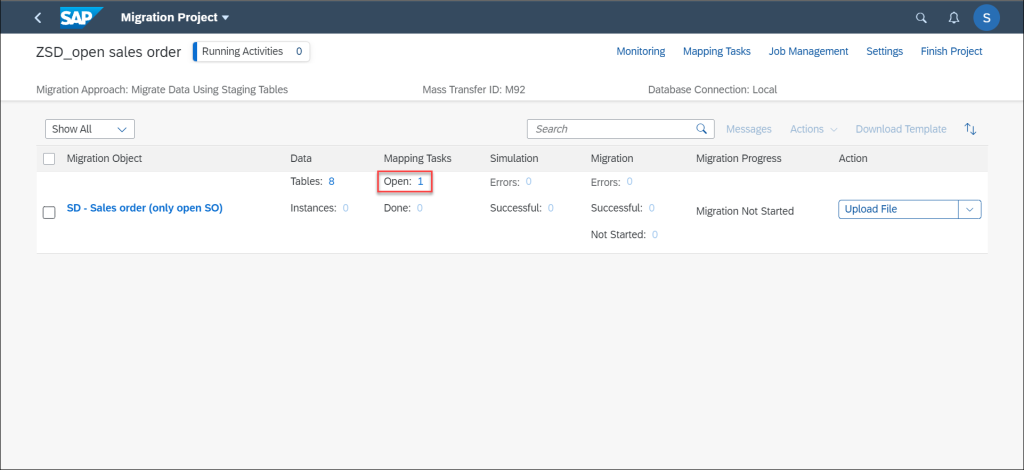
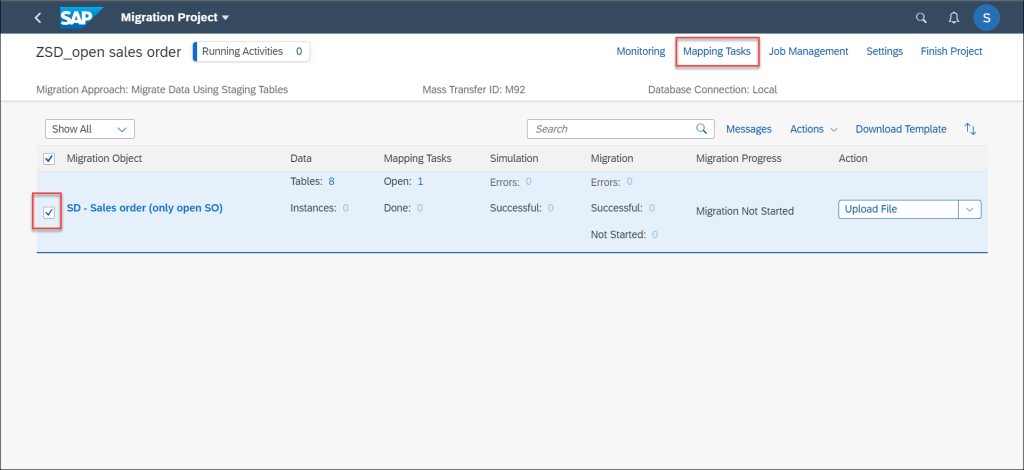
select the object and click on mapping tasks
here you have 2 options to do mapping, you can download the fields you need to map then edit that field in XML then upload it again or you can do the field mapping directly in the project
now we will see the option of create mapping directly in the project
in our case we need to map the number range for sales order if it external or internal, click on mapping task.
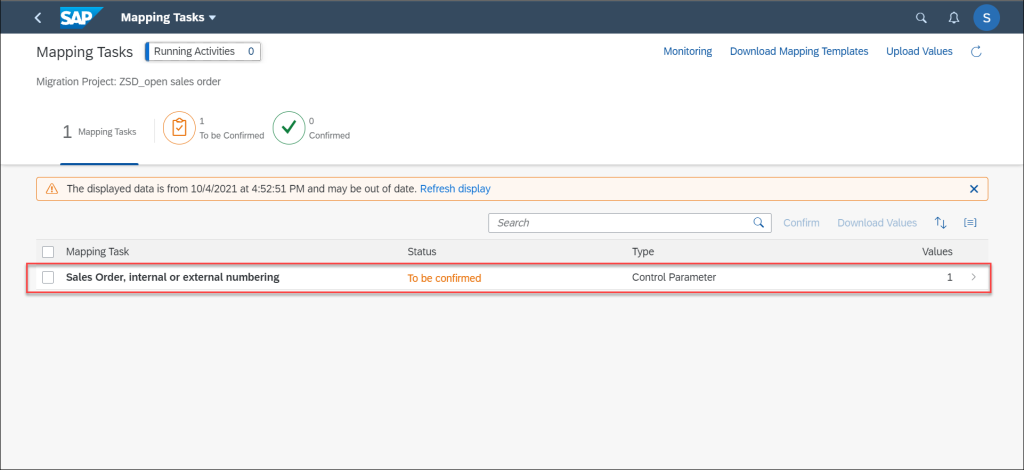
below screen will open, in the left side you will see the mapping task and you can change or confirm it on the right side of the screen.
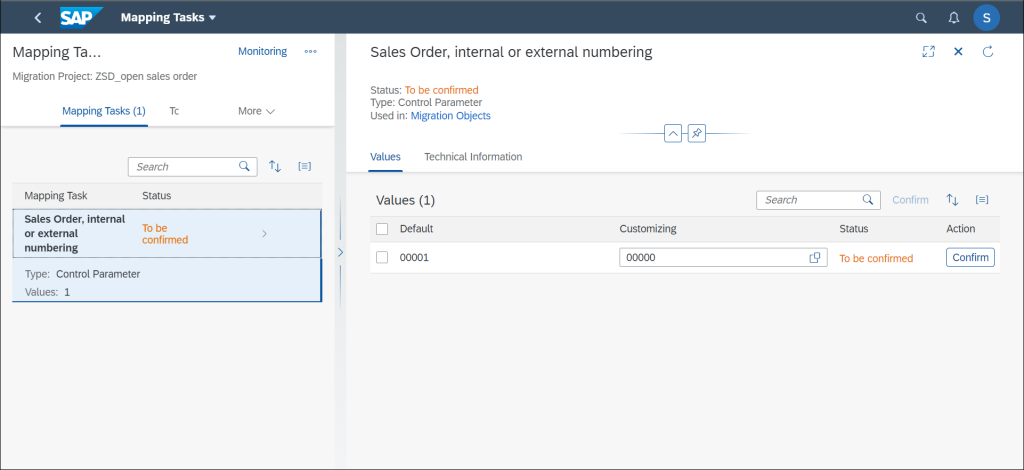
click on customizing and choose the right mapping as per you requirement
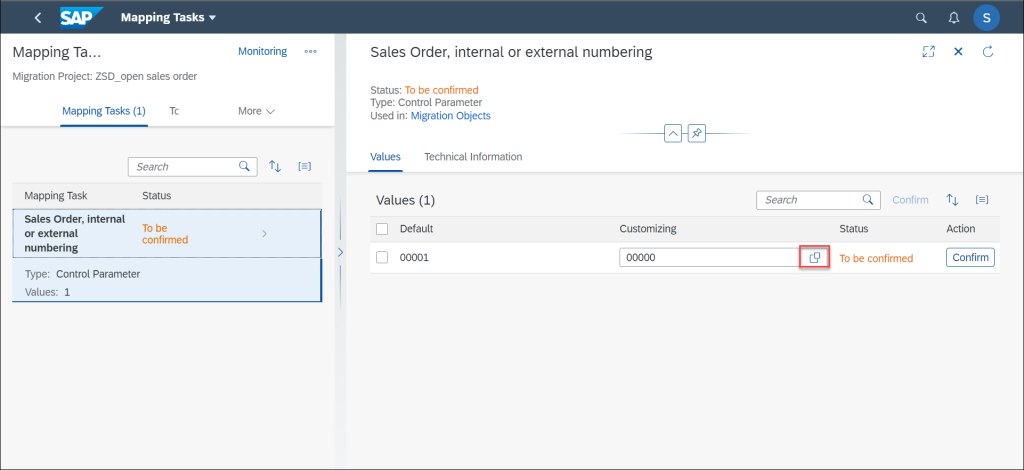
in my case I will select internal numbering

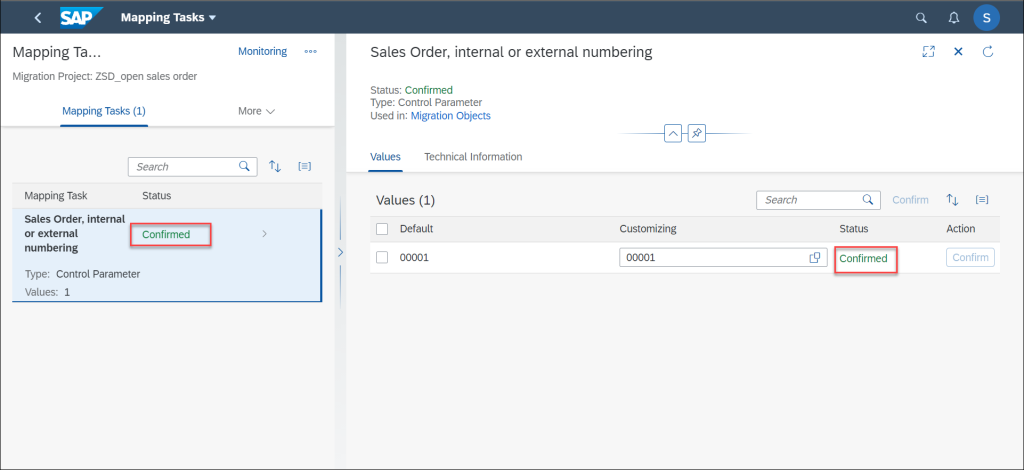
status changed to revised, then confirm to continue

status changed to confirmed
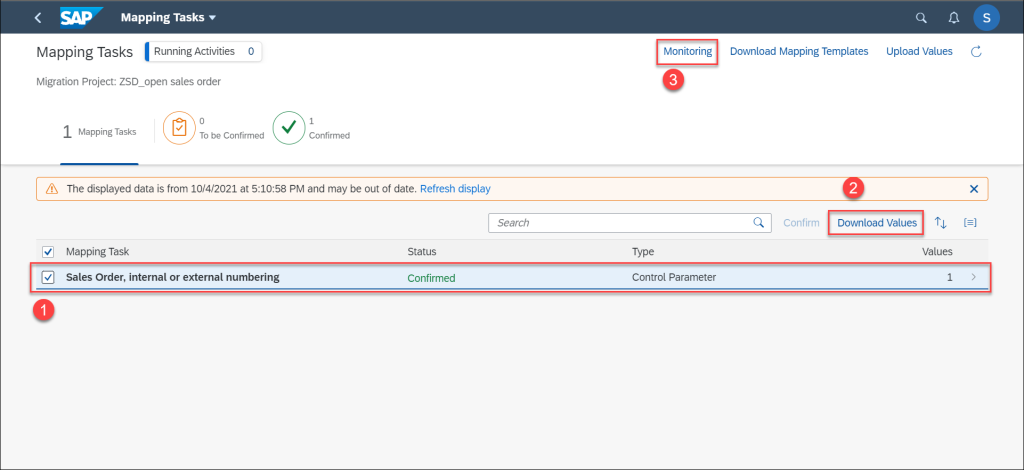
second option is to do mapping using XML file then upload it again with the mapping value
this option will help you to keep all mapping tasks in one file to upload it again in another client
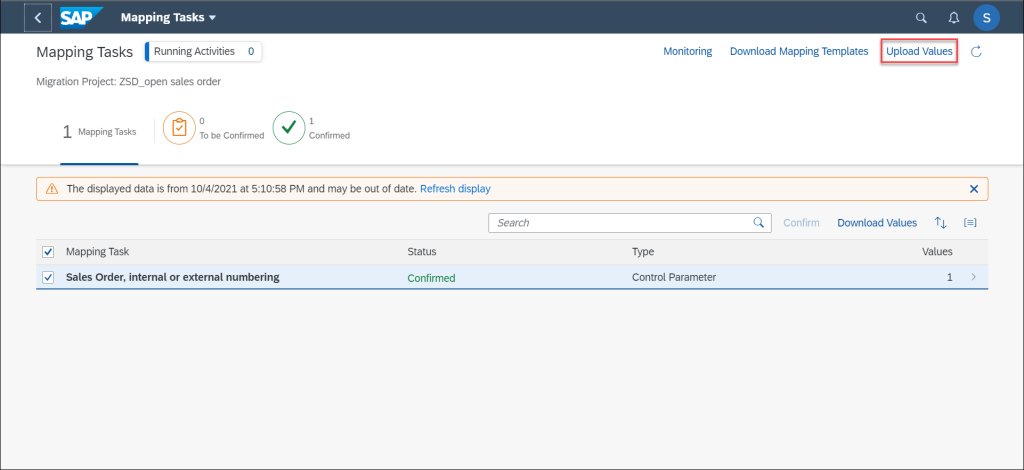
Select mapping task and click on download value then go to monitoring to download the XML file
choose mapping project and click on download file

after download the file edit the data in the XML file then upload it again
How to upload your data using XML file
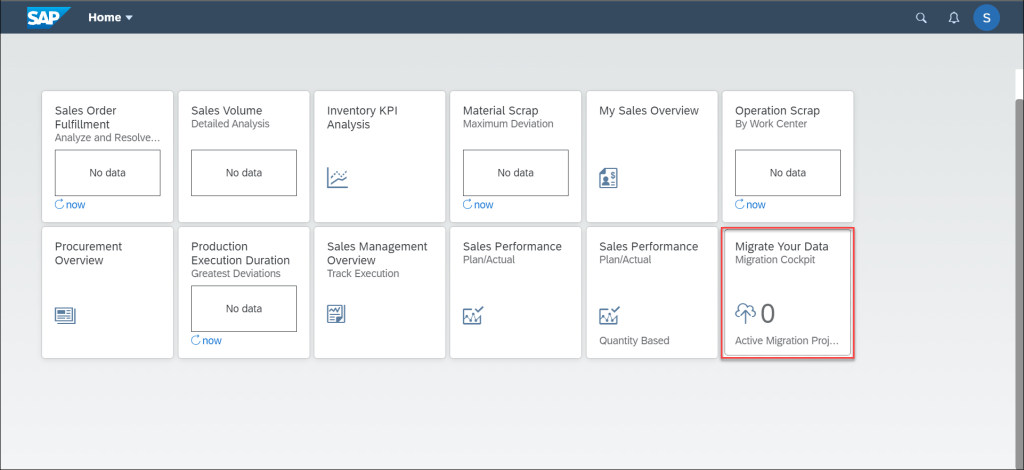
open migrate your data app then select your project as below
click on project name
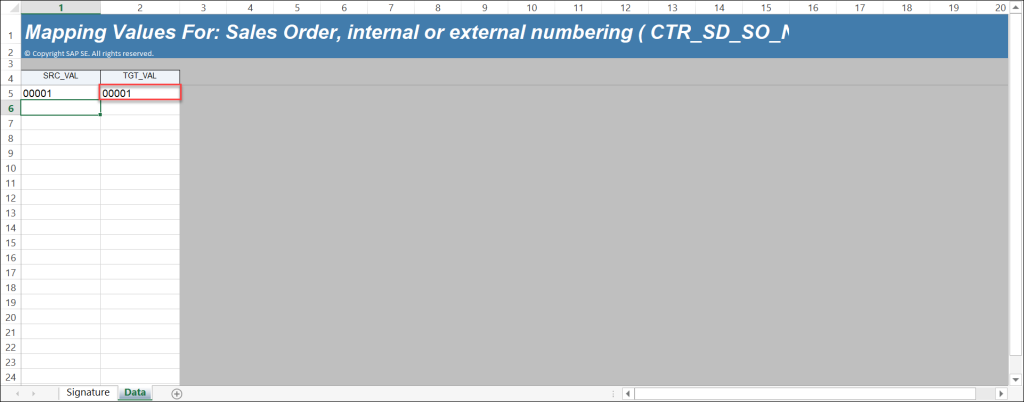
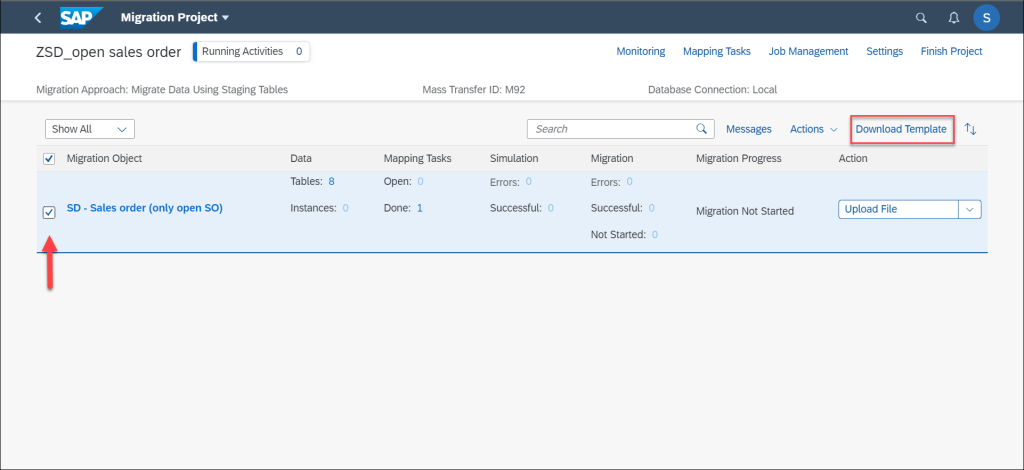
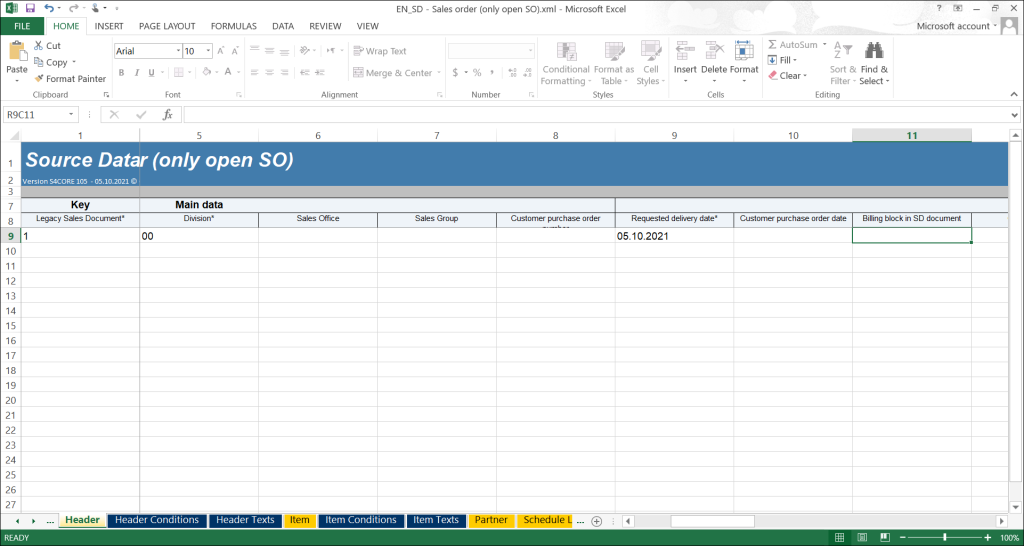
select your migration object and choose download template
after downloading the template you can open it and fill the data as per your requirement then save the file
and click on upload file
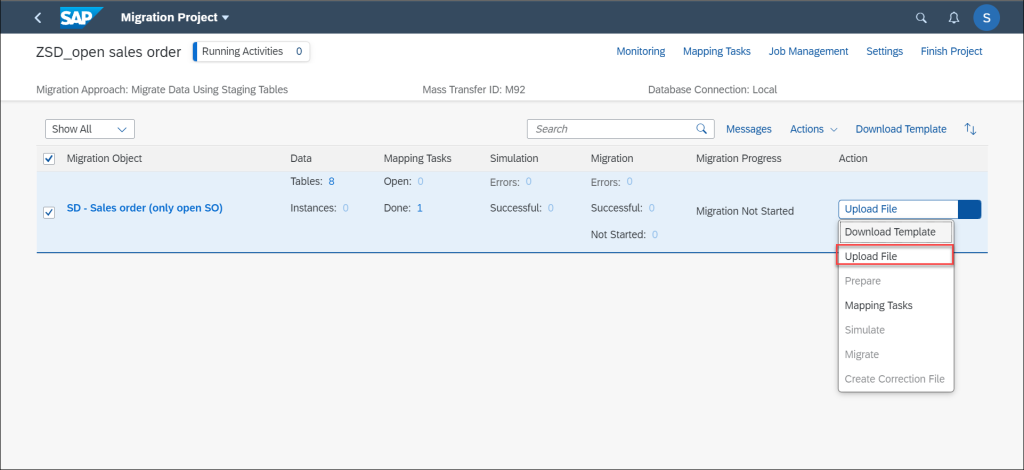
below screen will open > click on upload then choose your file location
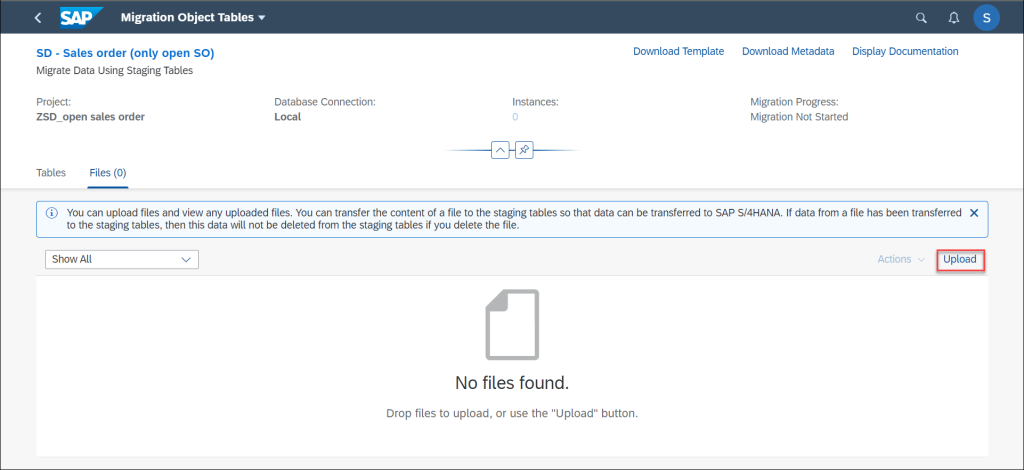
wait until uploading is finish, the uploaded file will appear in the below section

then wait until the file is transferred

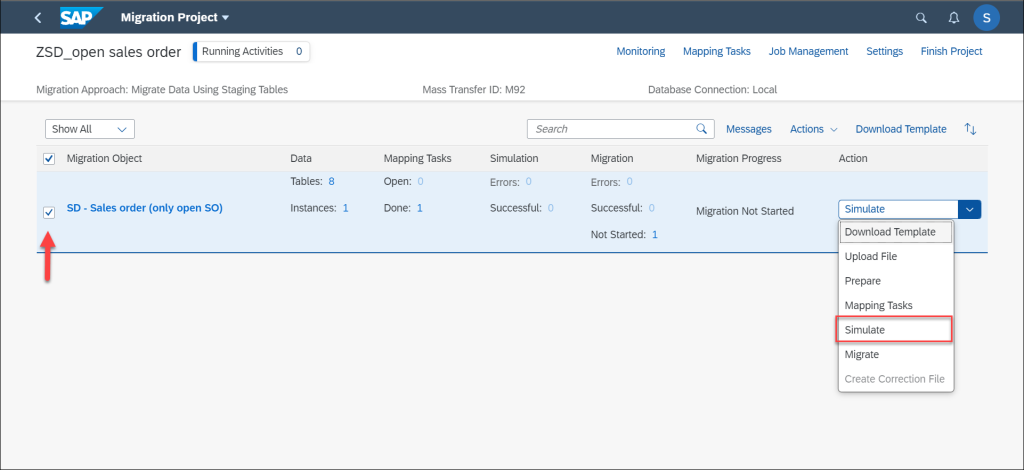
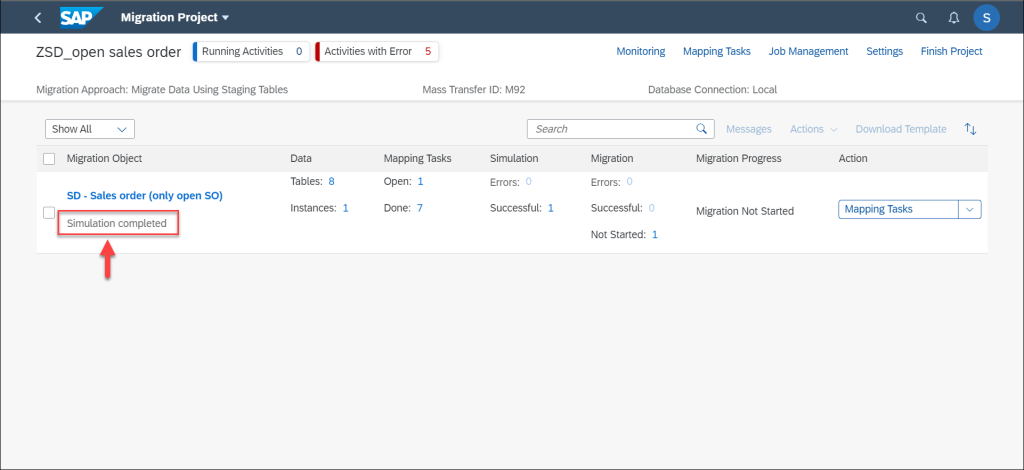
go back and select simulate
wait until simulation is done, if there is an error you will find it as below
there is an error in task mapping we will map it as we discussed in the previous section in this blog
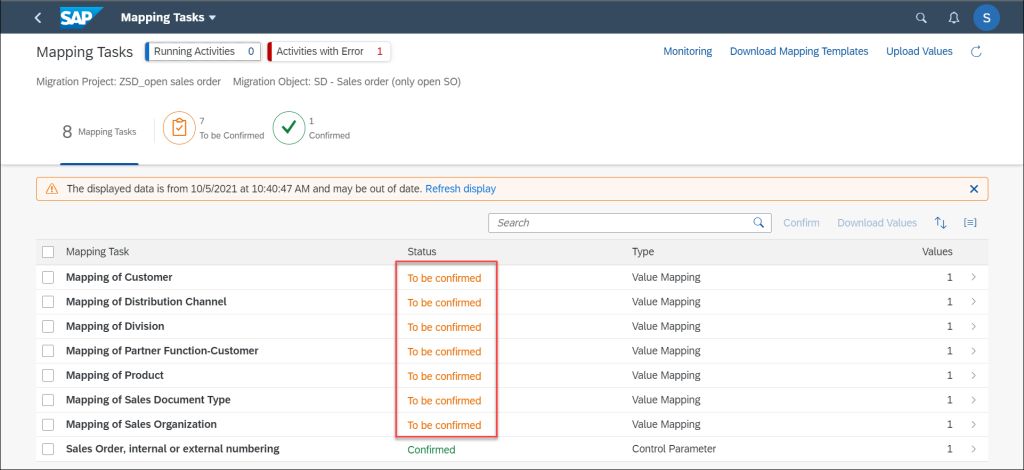
click on mapping task

then map and confirm all tasks as explained in the above section of this blog
after confirming all task needed you can go back and simulate again, you will see that there is no error in simulation
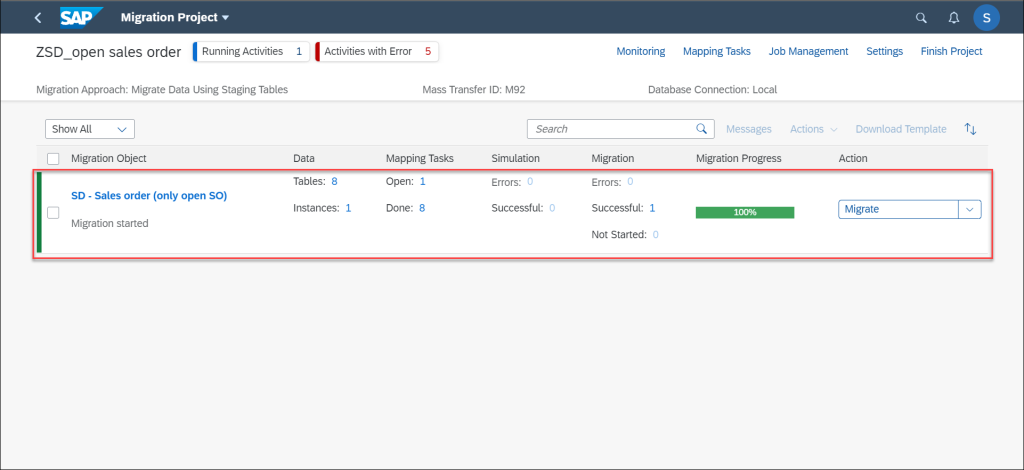
click on migrate to start migrate your data

after completing the migration you will see that your data is migrated successfully
How to transfer your project to another client
Go to source system for example DEV system ( which you create a project on it )
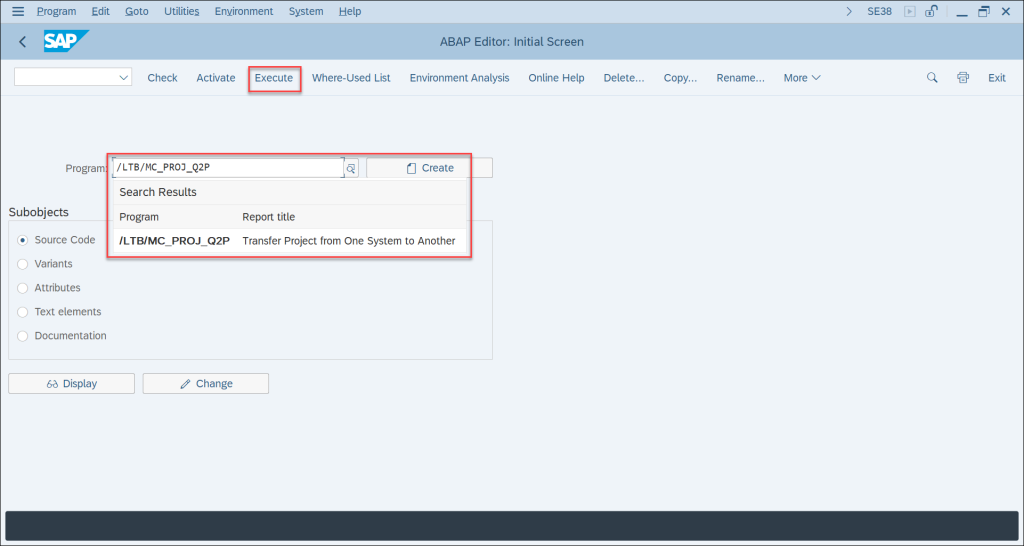
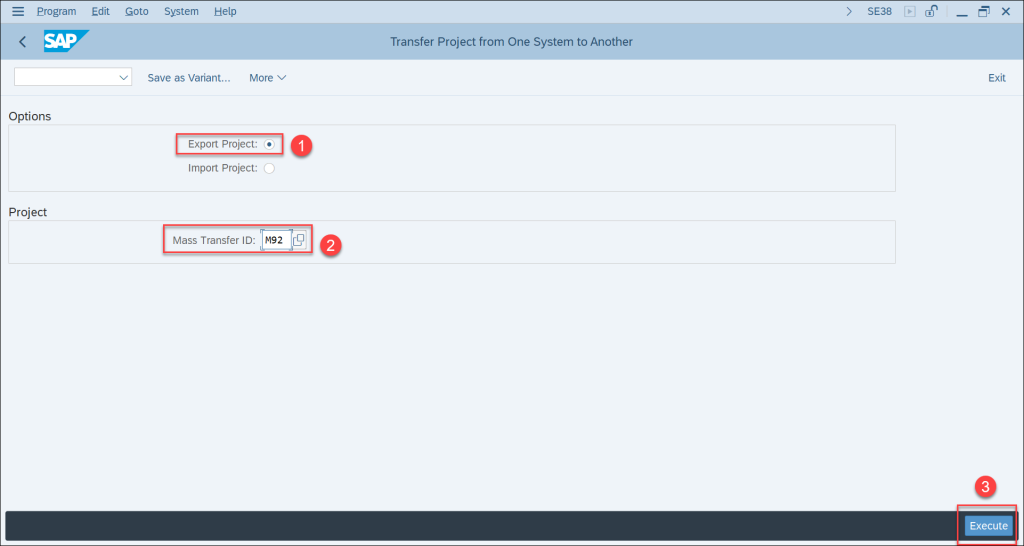
Execute t-code SE38
Execute report /LTB/MC_PROJ_Q2P
click on export, then insert your mass ID you have inserted when you create the project
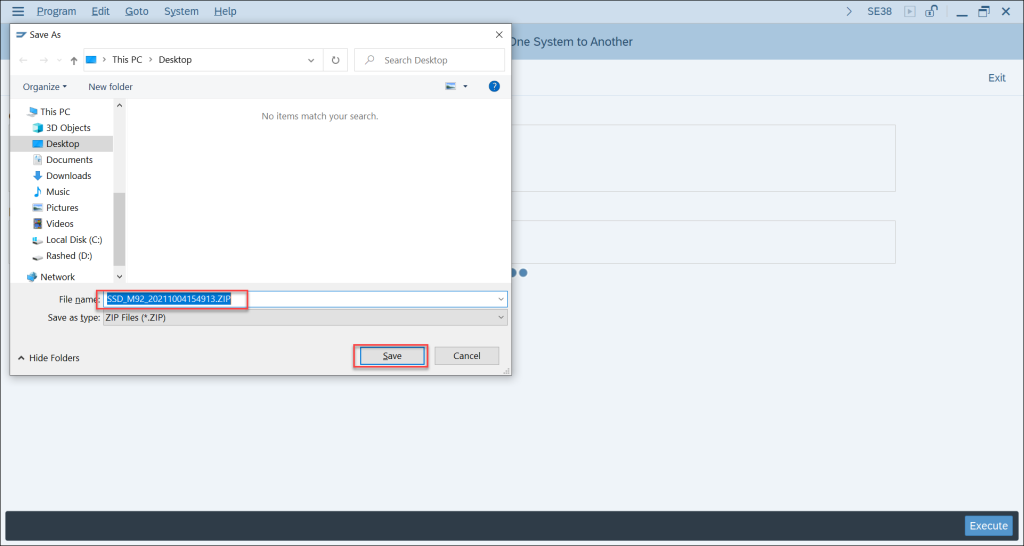
choose the location to save the project file
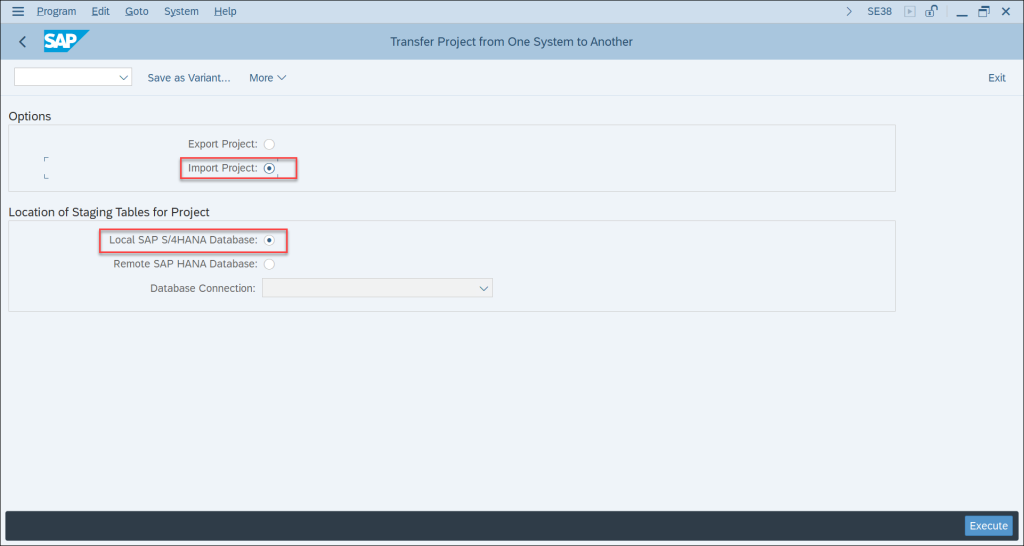
Then go to the target system ( for example production system ) and Import the project file that you save earlier
go to Se38 > insert program : /LTB/MC_PROJ_Q2P > execute > then choose import, select an option of local sap s4hana database
then execute and choose the program file you have saved earlier from source system
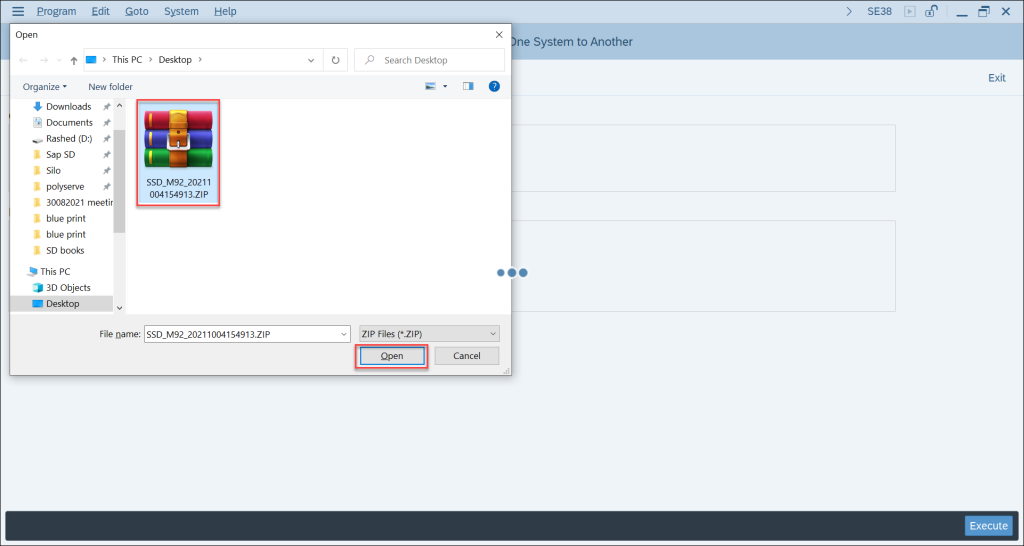
project will transfer successfully and you can use it in production server
NOTE : instead of using se38 and execute the program, you can do the same from LTMOM it will transfer you to the program directly to export and import your project
how to move your project between clients
you have an option in LTMOM to move the project from client to another client, for example you want to move you project from DEV 100 to DEV 110, this option will help you do that and remove the project from DEV 100
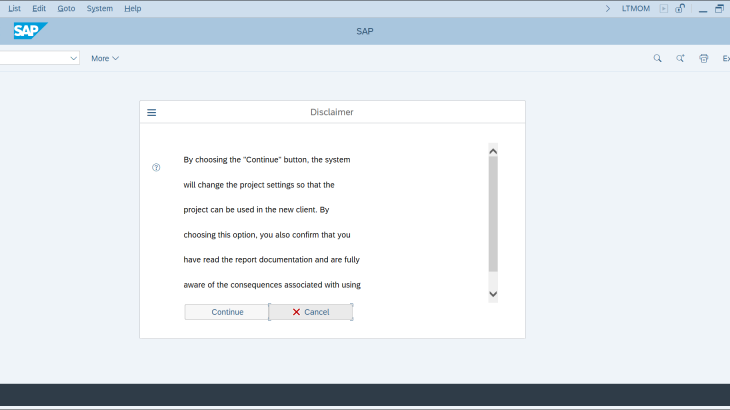
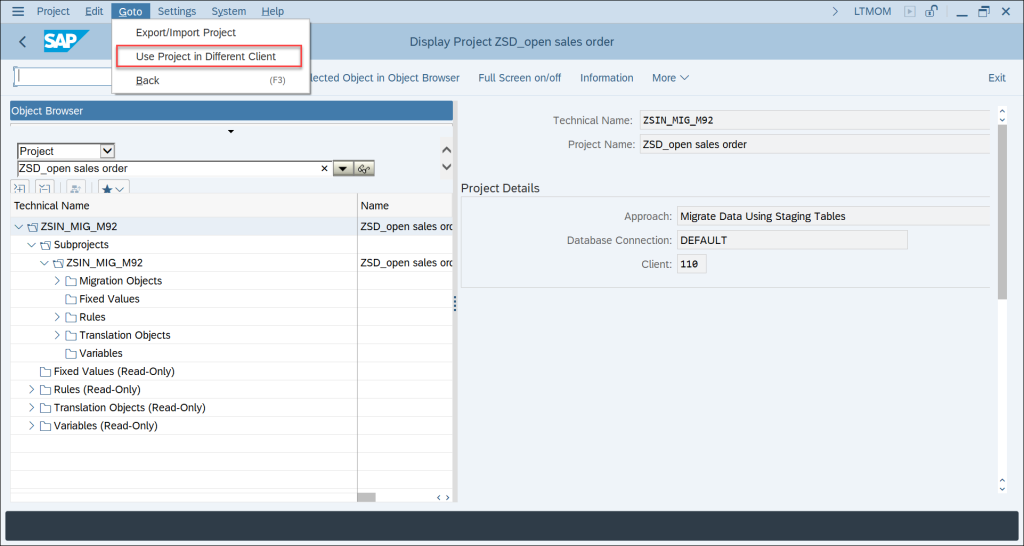
Go to T-code: LTMOM in target client > choose your project > Go to > use project in different client
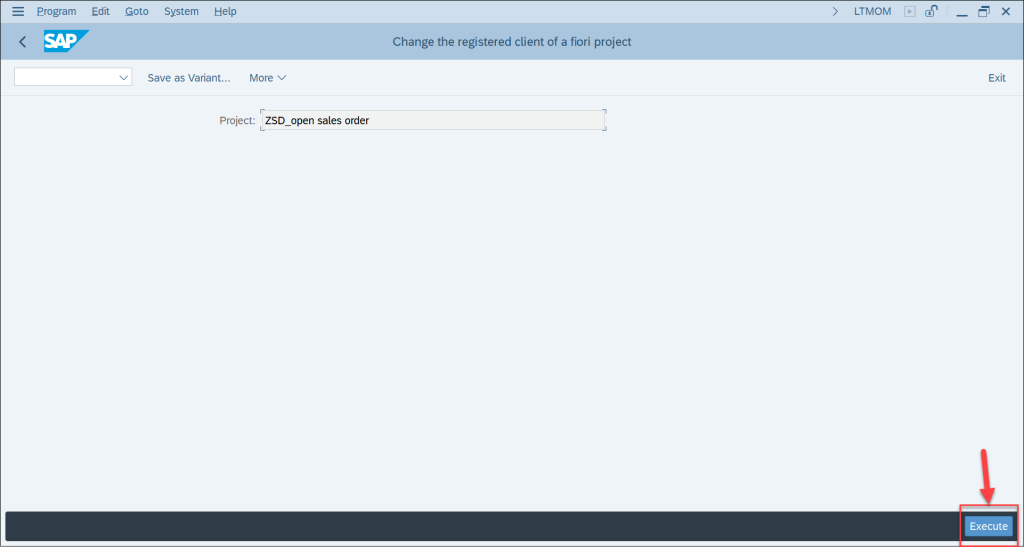
then execute
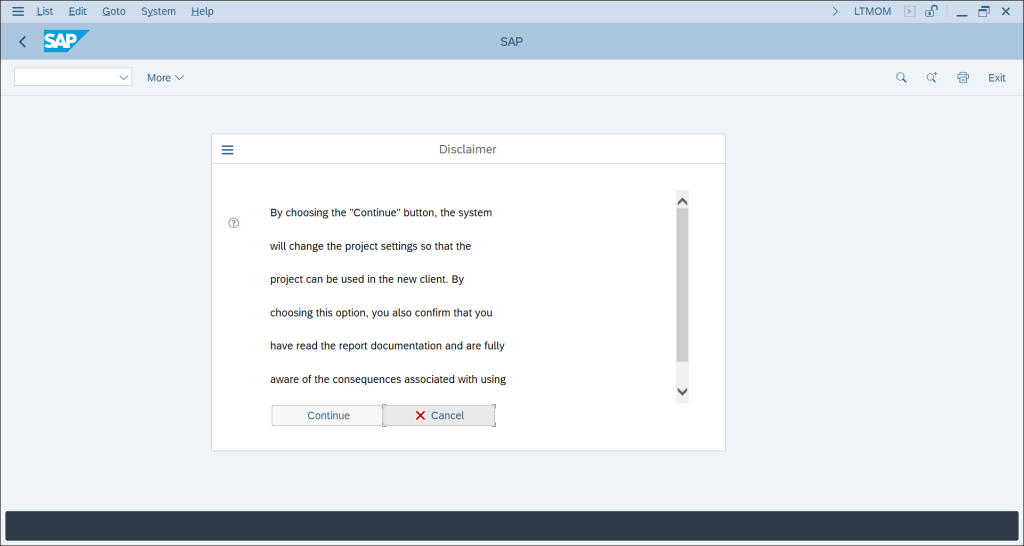
below screen will open, click on continue
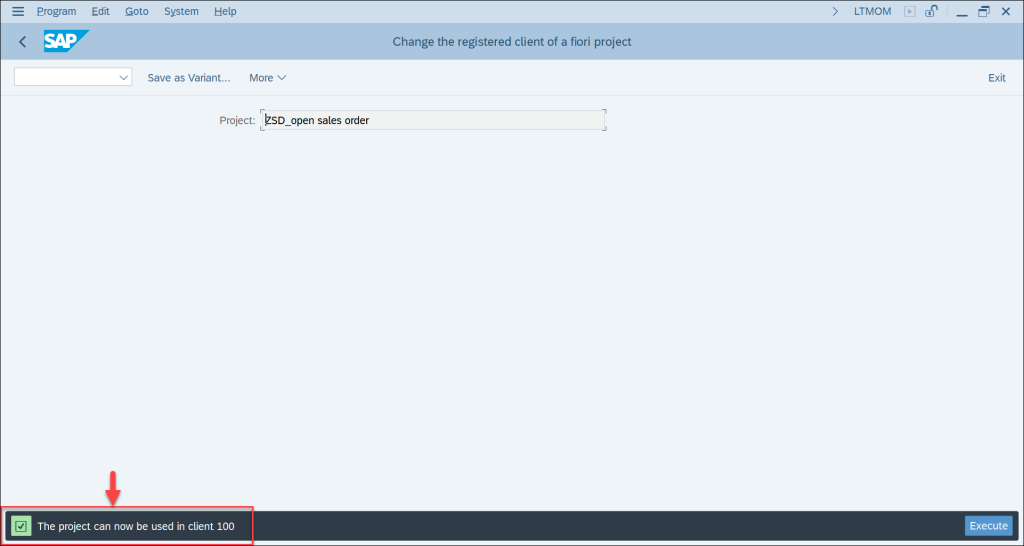
the project will be moved from the source client to the target client
Important information for production system ( non modifiable system )
It is not possible to create or modify projects in production system. You cannot, for example, remove a migration object. If you need to make such changes, you can change the project in the source system and transfer it again to the target, creation option will not be available in production system
Example: You transfer a project that contains migration objects A, B, and C to the target system. In the source system you remove object C. You transfer the project again to the target. The project in the target system will now contain objects A and B only.
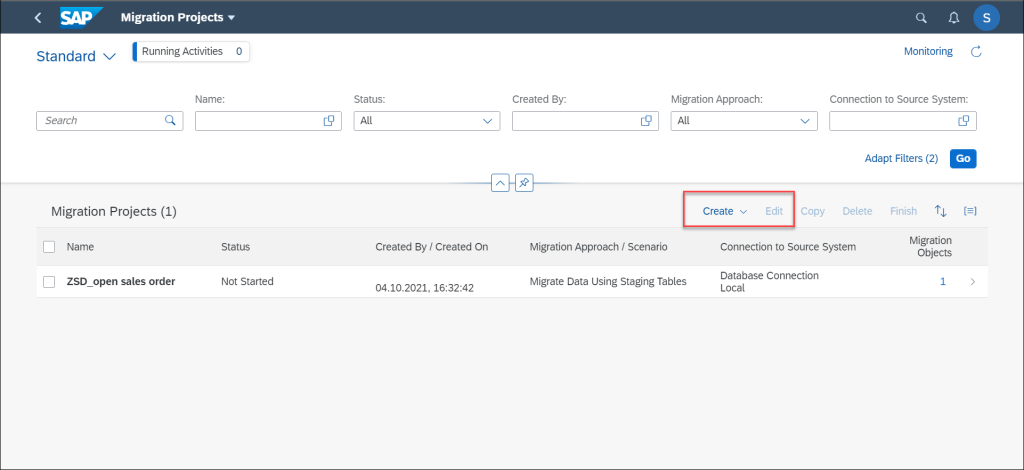
below screen from production system, as you see there is no option to create a new project
Additional Information for non-Production Systems
You can create and modify projects in any system that is not a production system. If you add an object in the target system, it will not be removed if you transfer the project again.
Example: You create a project with migration objects A, B, and C. You transfer this project to a non-production target system. In the target system, you add object D. The project in the target system contains objects A, B, C, and D. In the source system, you remove object C, and then transfer the project again to the target system. The project in the target system now contains object A, B, and D.
below screen from non production system ( DEV ), as you see there is no option to create a new project