While most of the business users are enjoying the SAP Fiori Apps, we have come across a situation, where standard Fiori apps are not available for some transaction codes or reports, or business users are interested to access the custom transactions/reports via Fiori Launchpad.
Also Read: SAP Fiori Application Developer Certification Preparation Guide
I am writing this blog post to explain how to build custom Fiori apps. I am hoping the detailed steps in this blog will help you to build a custom app for Fiori Launchpad.
Activities to be performed in S/4 (Backend) System
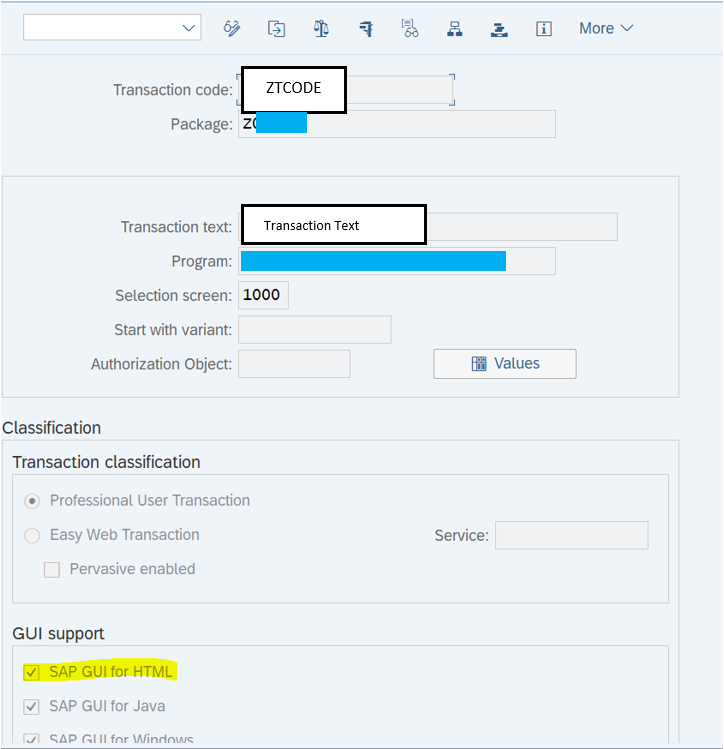
1. Go to transaction SE93and verify whether the transaction is marked as SAP GUI for HTML
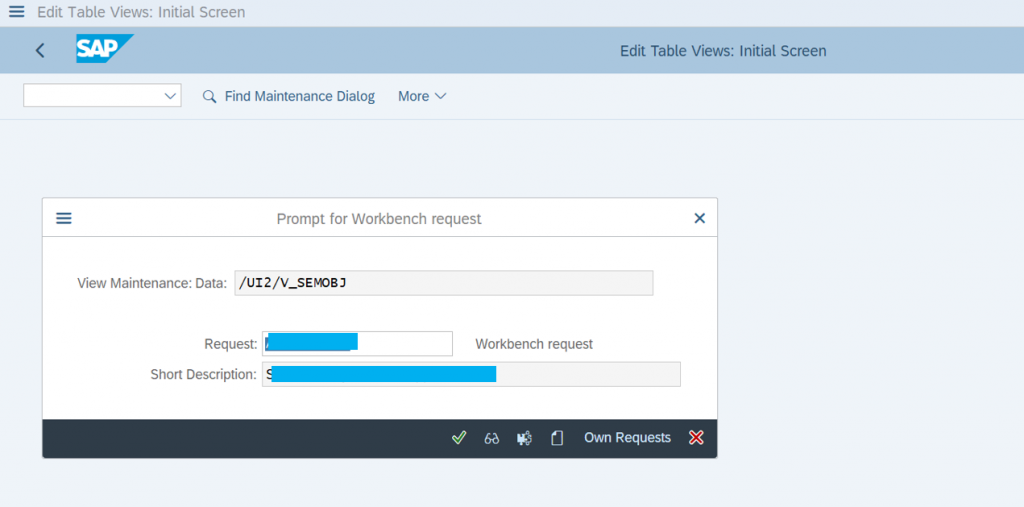
2. Launch T-code /UI2/SEMOBJ_SAP
Go into change mode, and click on New Entries
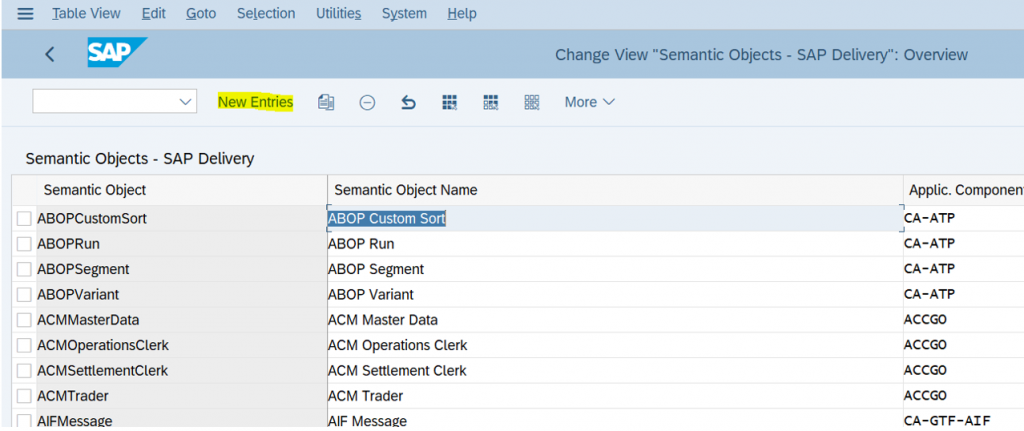
Define the Semantic Object, Semantic Object Name and Semantic Object Description of your Own Choice, and choose the Application Component specific to the transaction

Once you save the entries, system will prompt to capture the changes in Workbench Transport Request.
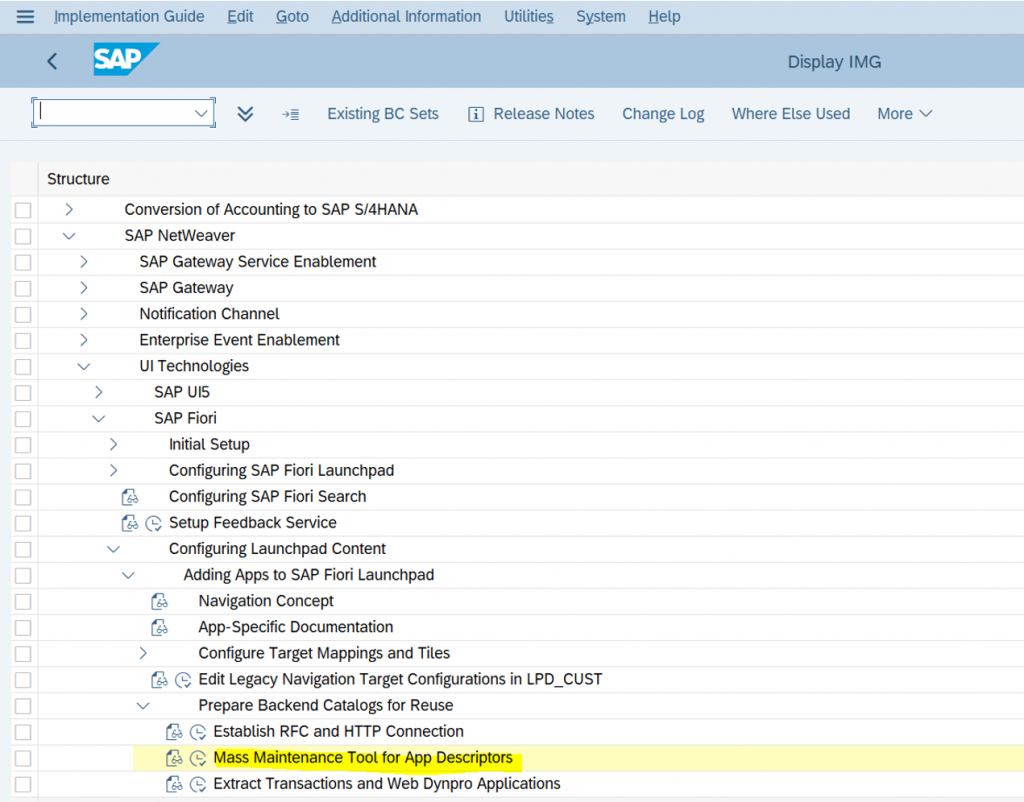
3. Now Launch SPRO, to create Application Descriptors
Path: SPRO → IMG → SAP NetWeaver → UI Technologies → SAP Fiori → Configuring Launchpad Content → Adding Apps to SAP Fiori Launchpad → Prepare Backend Catalogs for Reuse → Mass Maintenance Tool for App Descriptors
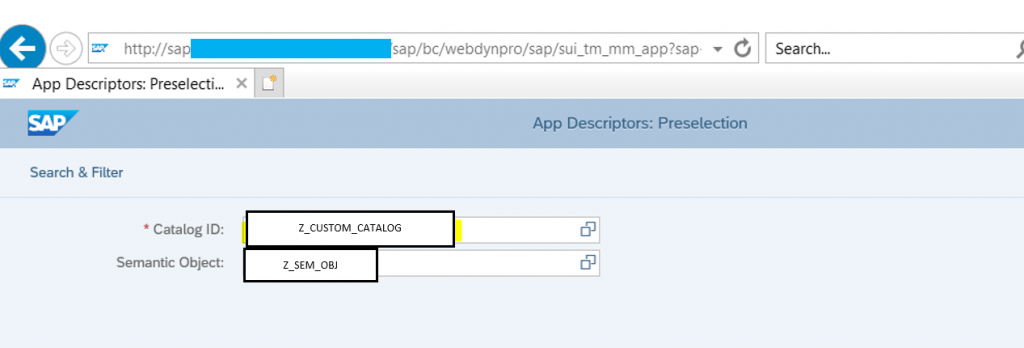
It will launch in web, here define Catalog ID and enter the Semantic Object created in previous step:
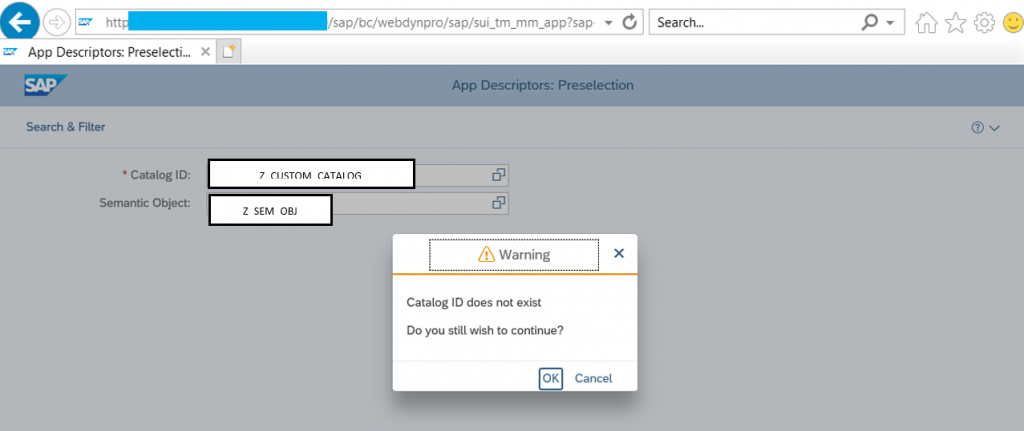
Click on Continue, as the Catalog ID is newly being created, click on OK to continue in the pop-up message
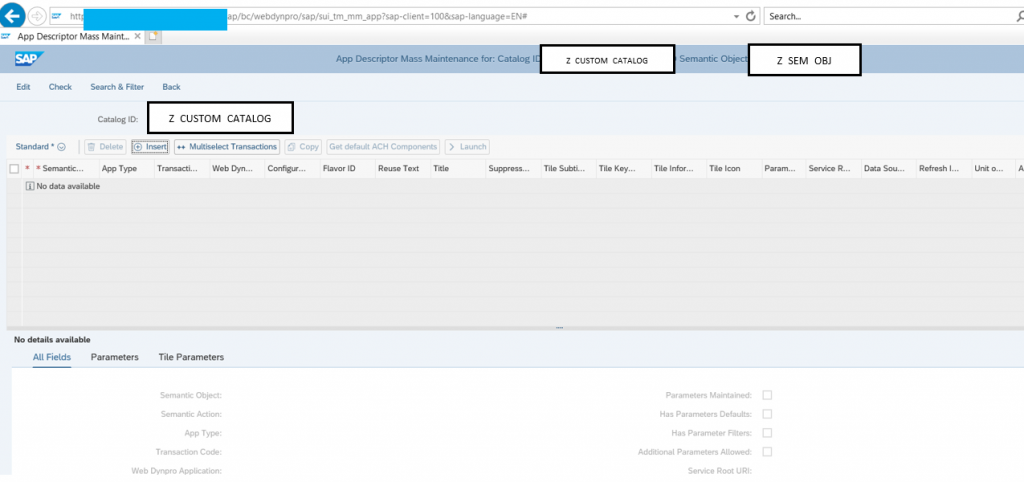
Click on Insert Button
The System will prompt you to save the changes in a package (create a custom package via SE80 transaction), and mention the Workbench Request that was created in the previous steps.

Now enter the below details:
| Semantic Action | Create (or choose based on the nature of transaction, you may choose it from the F4 help options) |
| App Type | GUI Transaction |
| Transaction Name | Z-TCode (It could be any transaction for which you are creating the Tile) |
| Reuse Text | Maintain Check-box (to inherit the transaction text in Title and Tile keywords, if you uncheck then define the Title and Tile Keywords of your own choice) |
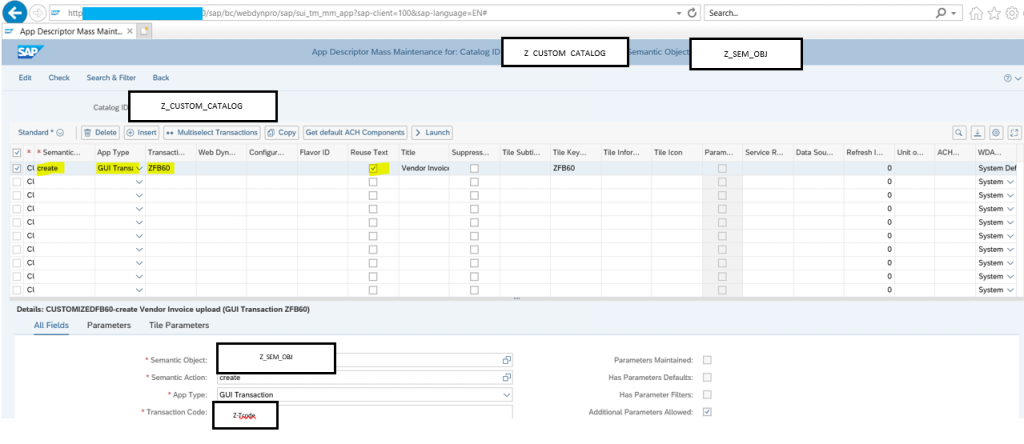
The details will appear as below, where parameters and Tile parameters are optional, then click on Save
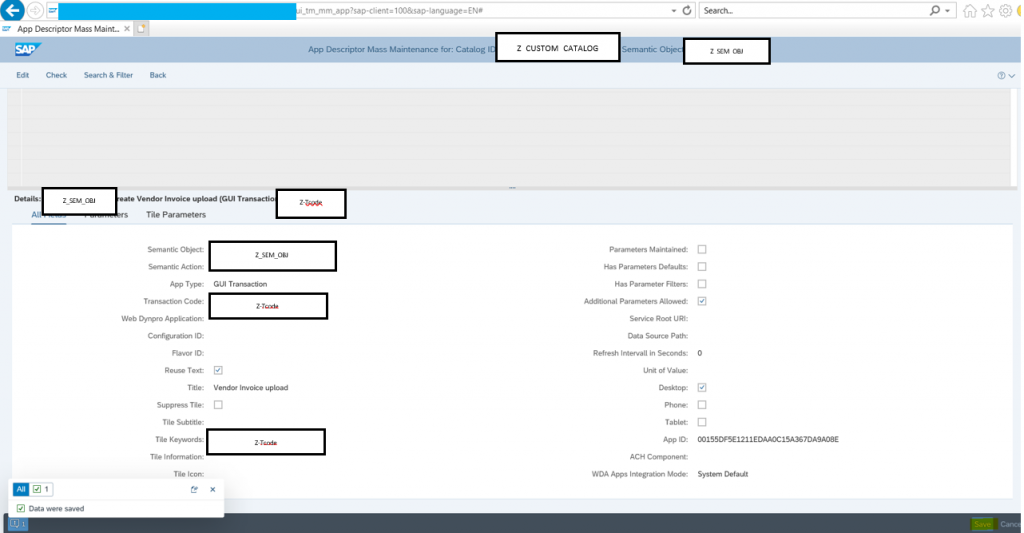
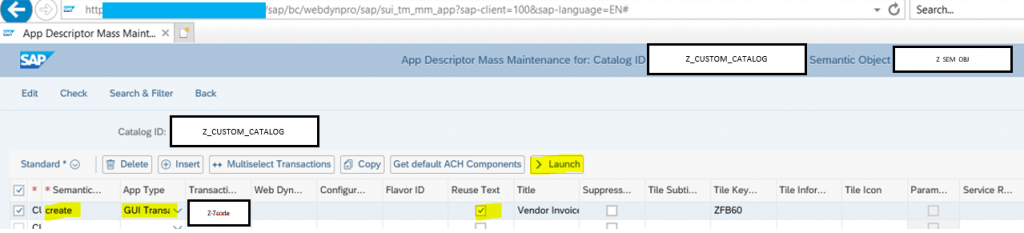
To test the application, how it looks on HTML, you may click on the Launch button.
Activities to be performed in Fiori (Frontend) System:
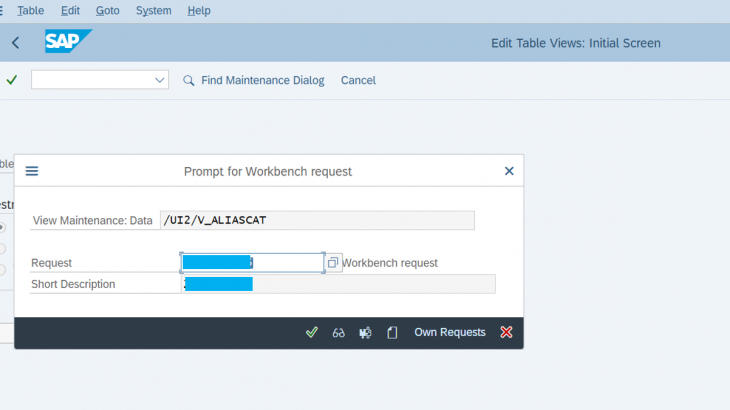
1. Go to SM30, to maintain the Alias Mapping for the backend Catalog ID (that we created in backend system) in /UI2/V_ALIASCAT

Click on New Entries
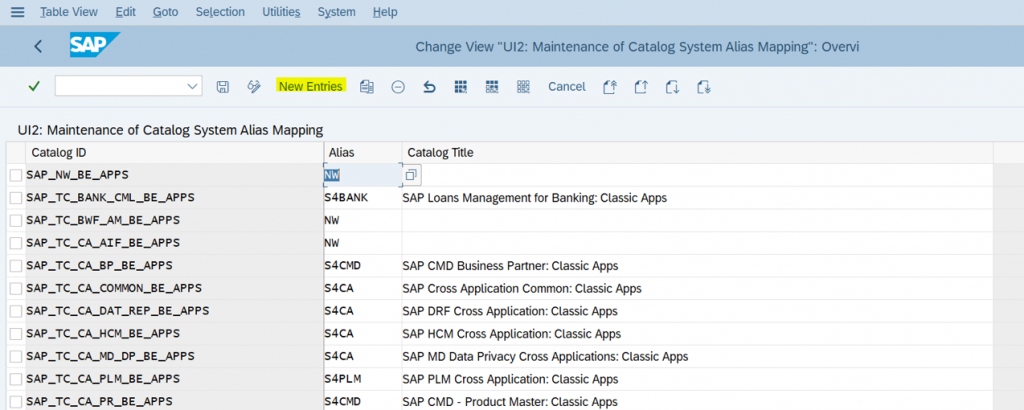
Enter the same Catalog ID created in the backend system, then maintain the Alias Name and define the Catalog Title
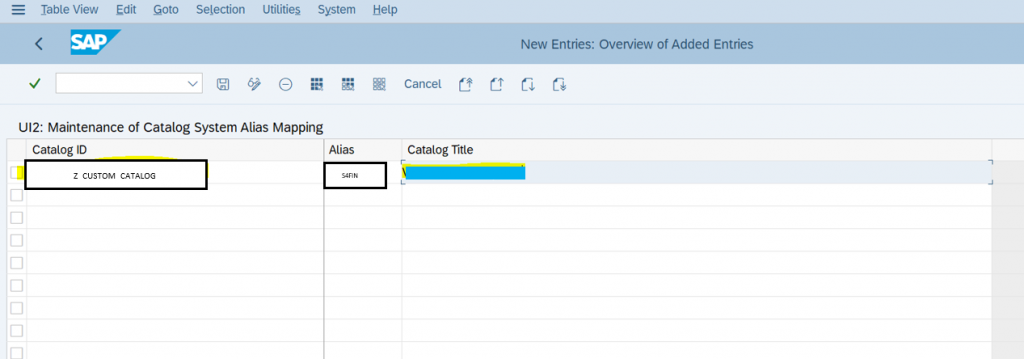
Once you save the entries, system will prompt you to save the changes in Workbench Request:

2. Now, go to SA38 and run an Extractor Report- /UI2/GET_APP_DESCR_REMOTE_DEV to extract the backend application descriptors and replicate them to the Frontend Technical Catalog:
Mention the Alias and the Custom Catalog ID created in the backend:
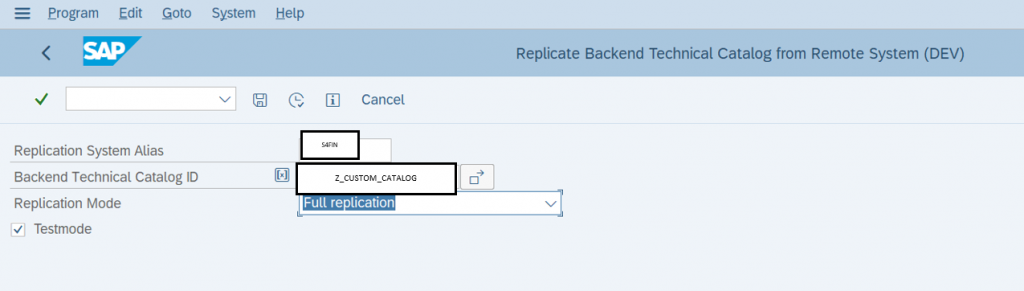
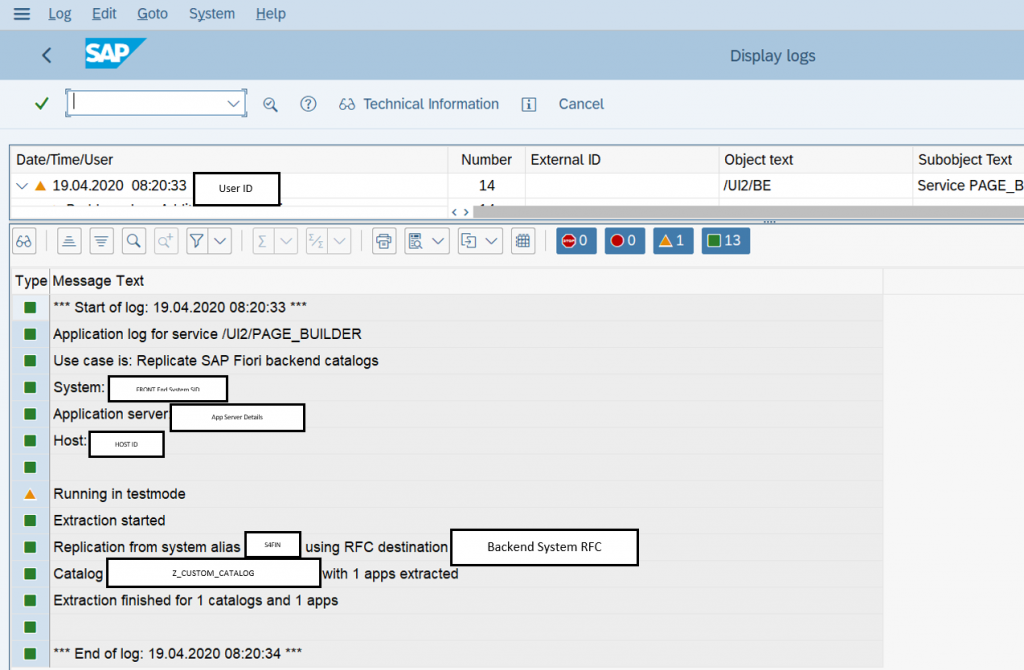
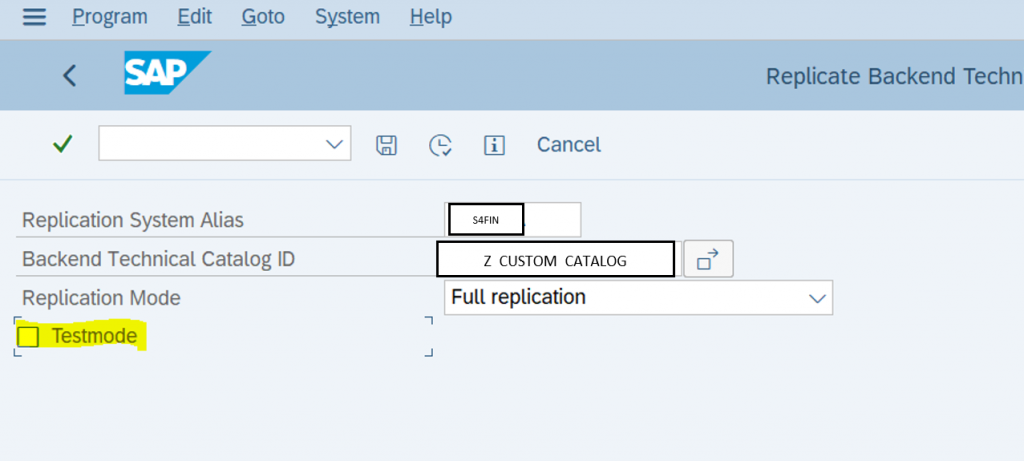
As the test run was successful, now run the report removing test mode check:
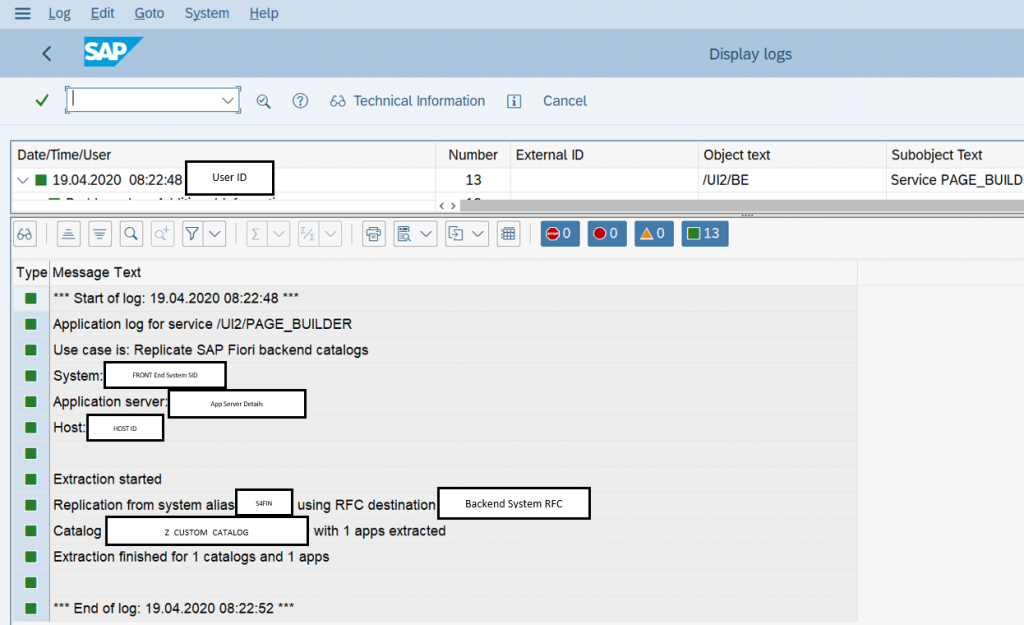
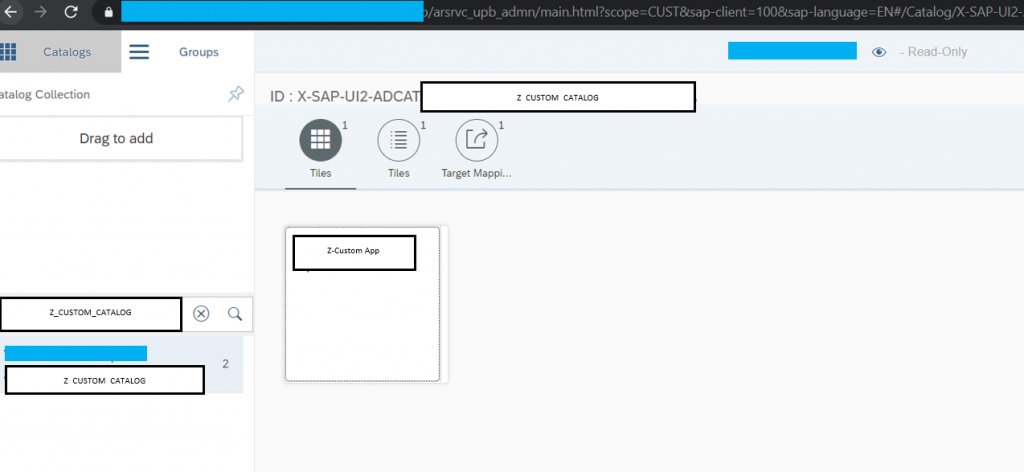
3. Once Extraction is completed, you would be able to find the Catalog in Fiori Designer:
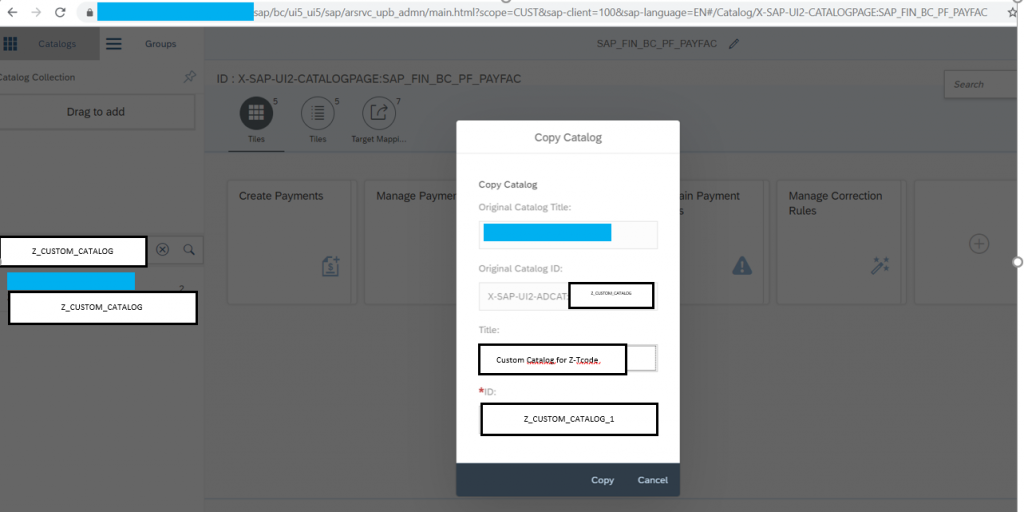
4. Now copy the Catalog to reference catalog, you may do it just by click on the existing catalog and drag it, you will see the option to create a New Catalog with References, then define the Title and ID:
5. Then create a custom group:
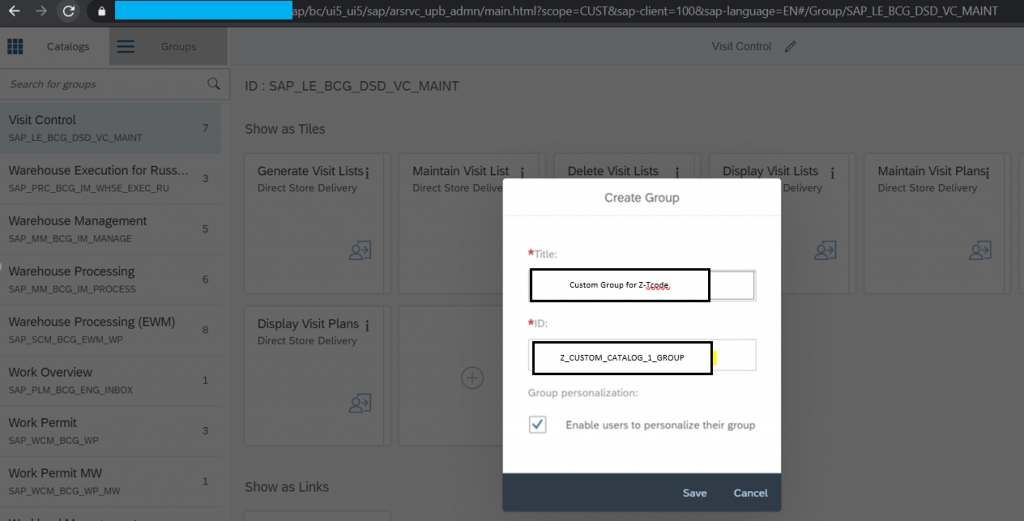
Click on + (Add) button:
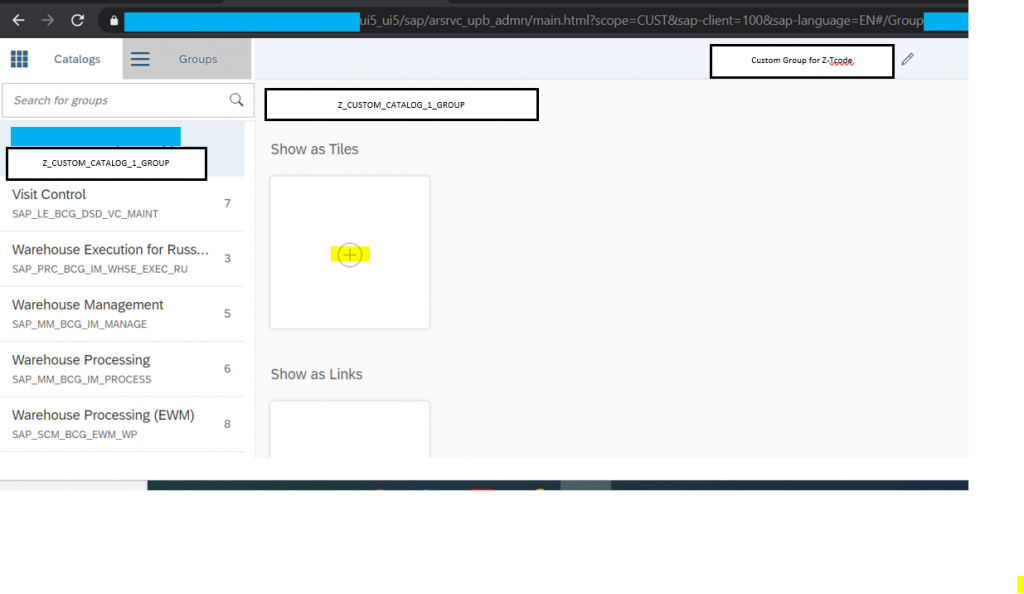
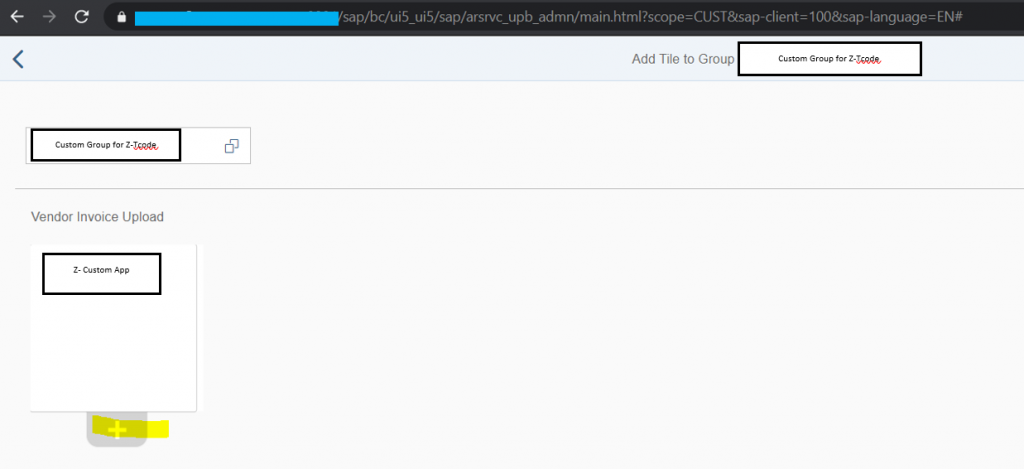
Then add the Tiles proving the Reference Catalog ID created in the previous step:
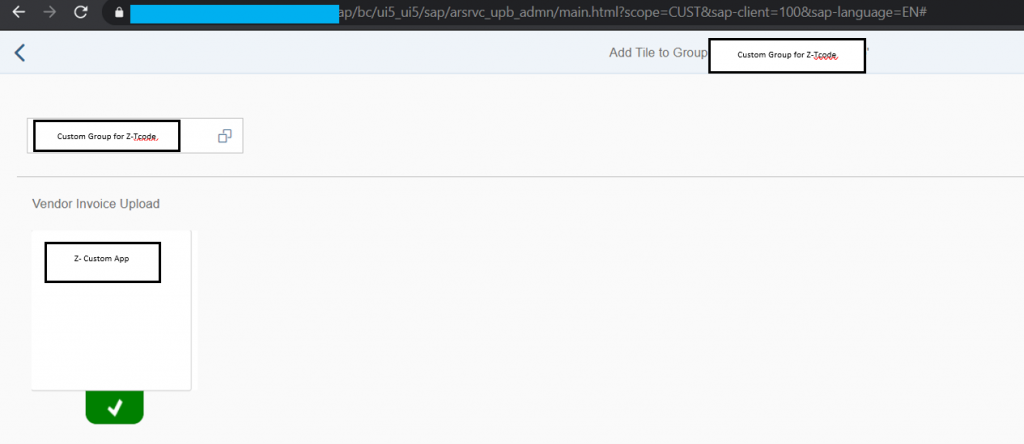
Finally, you have custom Catalog and Group to add it in PFCG Roles.


