
This blog helps to replicate data from HANA on-premise system to HANA cloud using Smart Data Integration. And also explains creating Flowgraphs using Business Application Studio for data transformation.
Let us understand below concepts:
SAP HANA Cloud :
SAP HANA Cloud is a fully managed in-memory cloud database as a service (DBaaS). As the cloud-based data foundation for SAP Business Technology Platform, it integrates data from across the enterprise, enabling faster decisions based on live data.
Smart Data Integration:
SAP HANA smart data integration is an ETL tool, which can be used to load data( either in batch or real-time) in HANA (on premise or in the cloud) from different sources by using pre-built and custom adapters.
Data Provisioning Agent :
The Data Provisioning Agent manages all SDI Adapters and connections to HANA database. It acts as the communication interface between HANA and the Adapter. The DP Agent version must match with the HANA version. Different types of adapters are deployed, these adapters are used to make communication between the HANA database and the source systems.
Now lets see how to access data from HANA on-premise to HANA cloud.
Log onto HANA cloud system and run the below script commands from SQL console.
CREATE SCHEMA “TESTSCHEMA”;
CREATE USER TESTUSER PASSWORD “Testdemo7”;
ALTER USER TESTUSER DISABLE PASSWORD LIFETIME;
CREATE ROLE TESTROLE;
grant SELECT, UPDATE, INSERT, DELETE, EXECUTE, SELECT METADATA ON SCHEMA “TESTSCHEMA” TO TESTROLE with grant option;
grant TESTROLE to TESTUSER with admin option;
grant “CREATE VIRTUAL TABLE”, “DROP”, “CREATE REMOTE SUBSCRIPTION”, “PROCESS REMOTE SUBSCRIPTION EXCEPTION” on remote source “Z_TEST_DEMO” to TESTROLE with grant option;
Remote Data Source Creation:
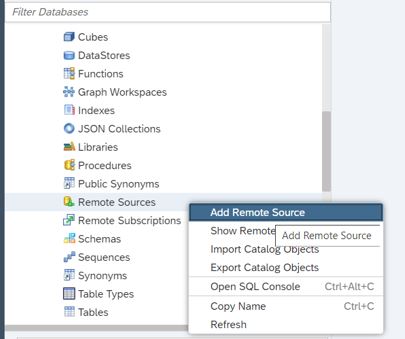
Create Remote Data Source in HANA Cloud system as shown:
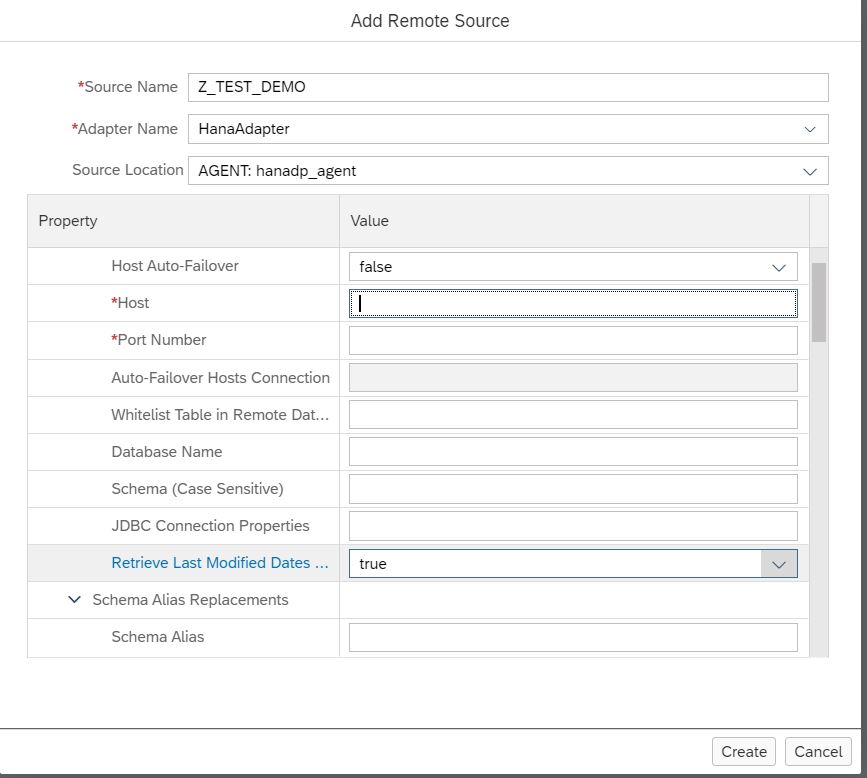
Log onto HANA DB explorer, connect to HANA cloud system, Open Catalog, choose Remote Source and click on Add remote source. In the pop-up, enter remote source details to be created.
Enter Source Name, Adapter Name, Select Source Location( Agent Details), Host, Port number, Log in credentials ( for HANA on-premise).
Once remote source is created, we will be able to view HANA On-premise system Table details.
Development in Business Application Studio:
Log onto Business application studio and follow below steps.
Create HANA DB Project.
To create HANA DB project from Business application studio, please refer to below URL
https://developers.sap.com/tutorials/hana-cloud-create-db-project.htmlCreate cross schema service as shown below:
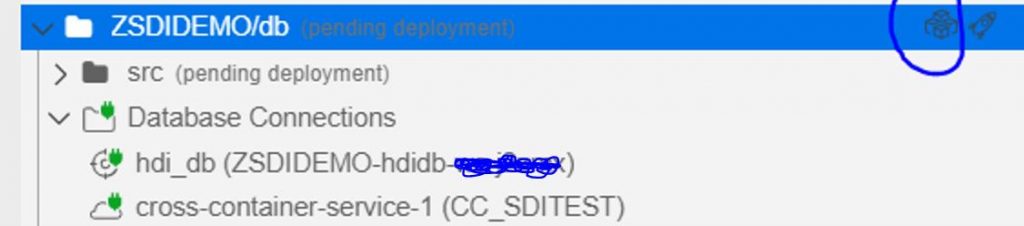
Click on SAP HANA Projects.
Select the project which you have created in the previous step.
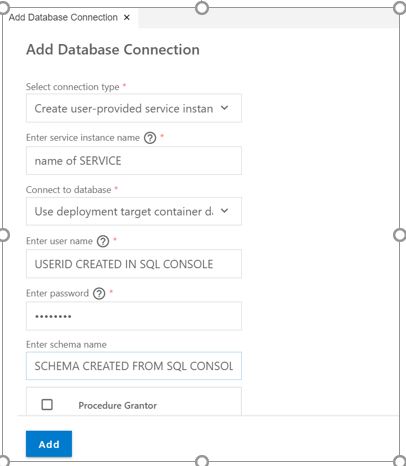
Goto Database Connections and click on + symbol.
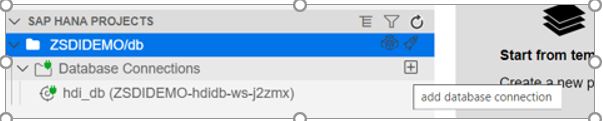
Enter below details to add Data Base connection.
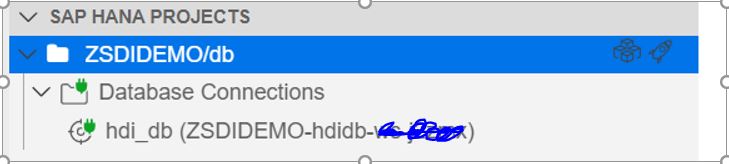
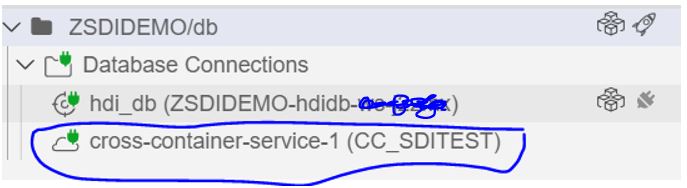
Now we can see added cross container service as shown:
Create .hdbgrants file.
Open HANA DB project->src folder
Goto view->Find command-> SAP HANA :Create SAP HANA Database Artifact

Select SAP HANA: Create SAP HANA Database Artifact
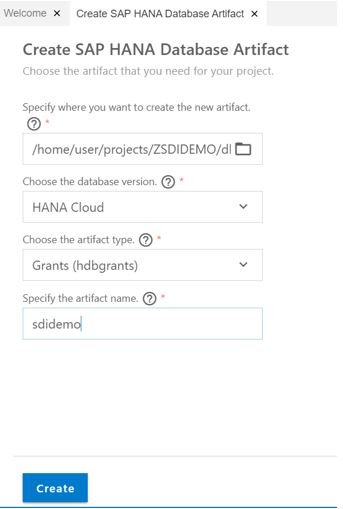
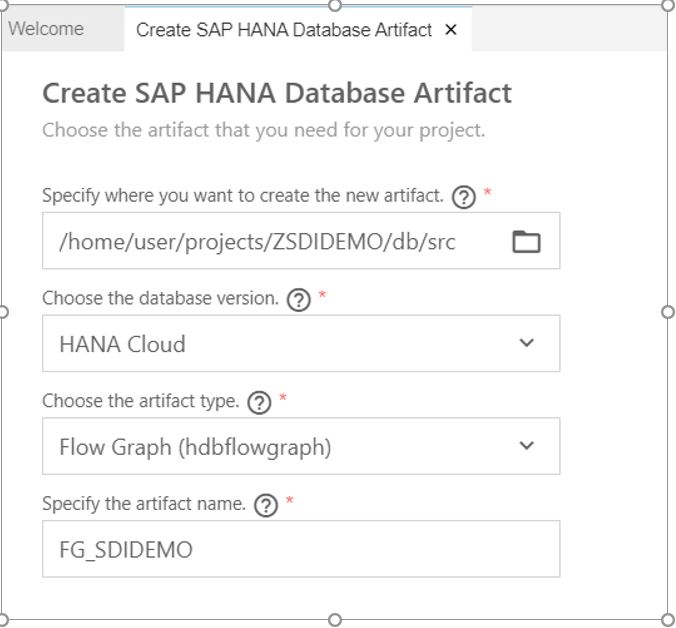
Navigates to below screen:
Enter details as shown below and click on Create button.
Write the below logic in .hdbgrants file:
{
“CC_SDITEST”: {
“object_owner”: {
“global_object_privileges”: [
{
“name”: “Z_TEST_DEMO”,
“type”: “REMOTE SOURCE”,
“privileges”: [
“CREATE VIRTUAL TABLE”,
“DROP”,
“CREATE REMOTE SUBSCRIPTION”
]
}
],
“roles”: [
“TESTROLE”
]
},
“application_user”: {
“roles”: [
“LKMROLE”
]
}
}
}
Click on below deploy button & deploy the file.

Create Virtual table as shown:
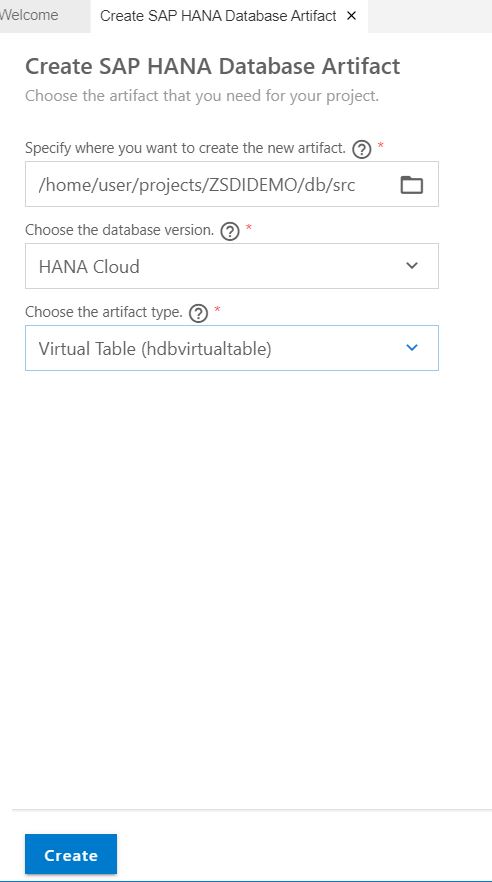
It provides the popup as shown and gives remote source which we have chosen in the previous steps.
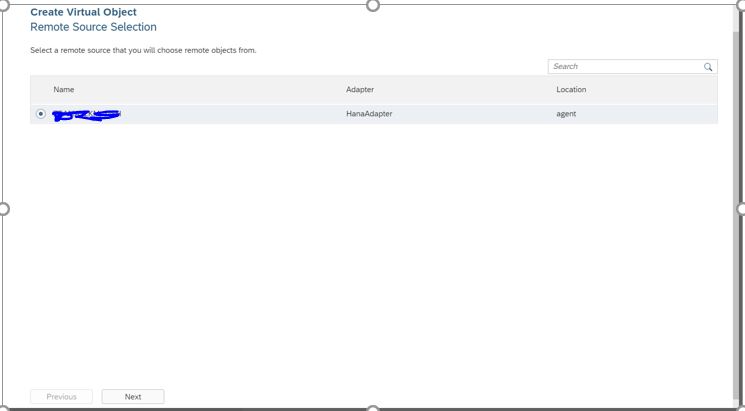
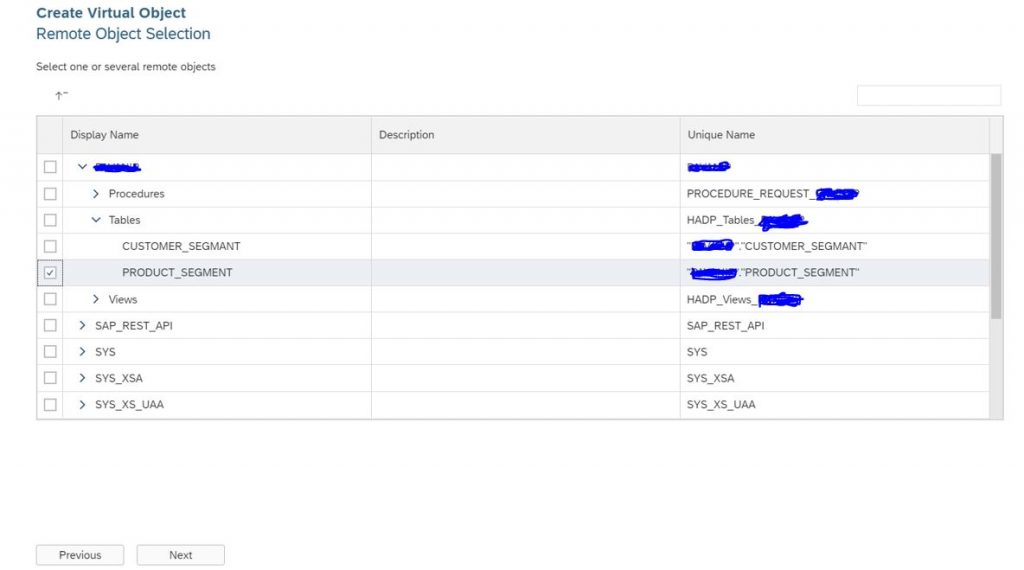
It provides all the details from the remote source system.
Select the table from remote system and click on Next button.
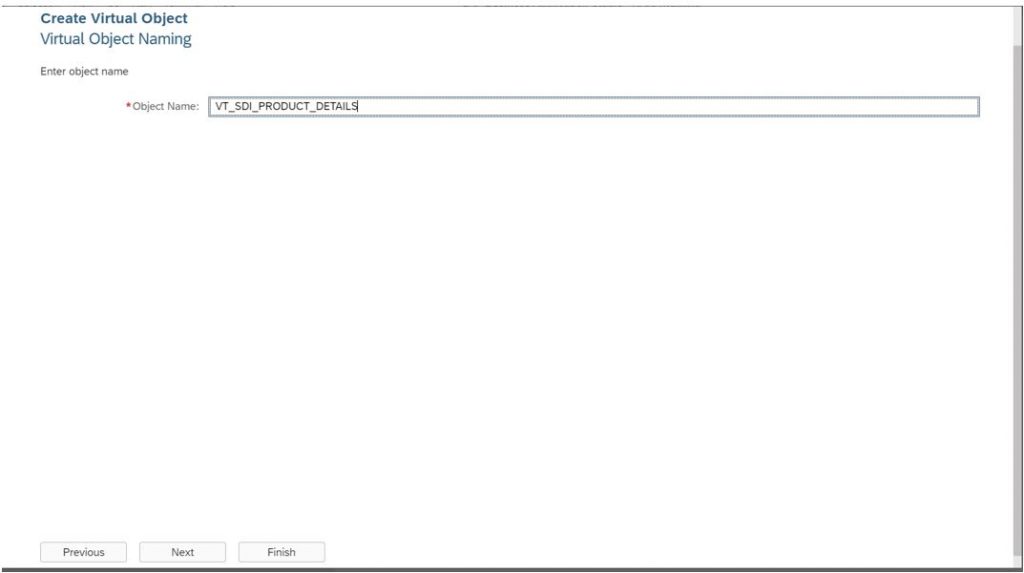
Provide Object name(Virtual Table name) in the next page and click on Finish button.
It creates the virtual table as shown below:
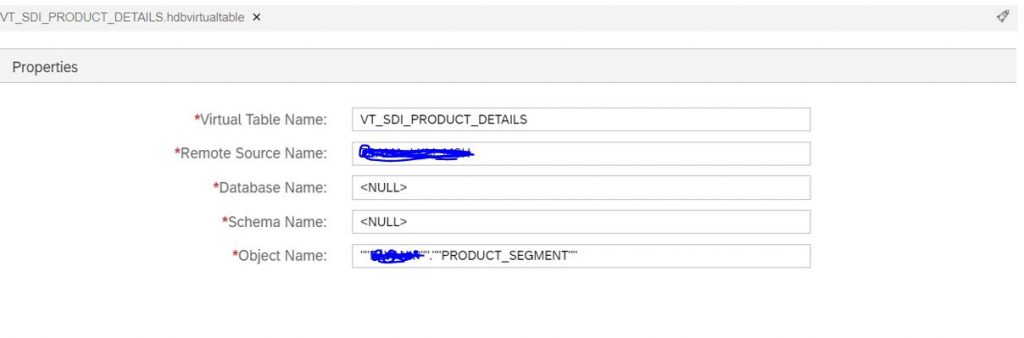
Deploy the object.
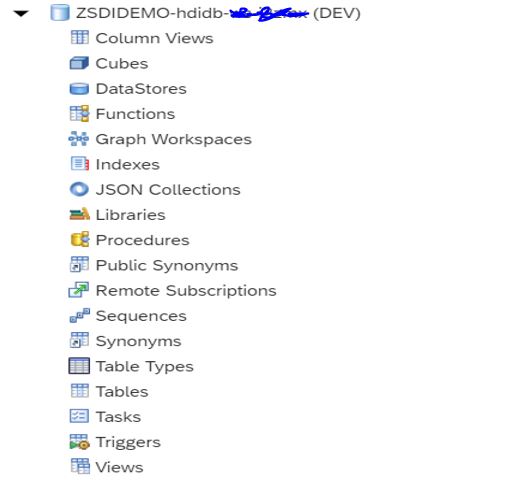
To view the object from HANA DB explorer, click on Open HDI container as shown below:
It navigates to HANA DB explorer, here we can view HDI Container.
Click on tables to view Virtual table created in previous step.
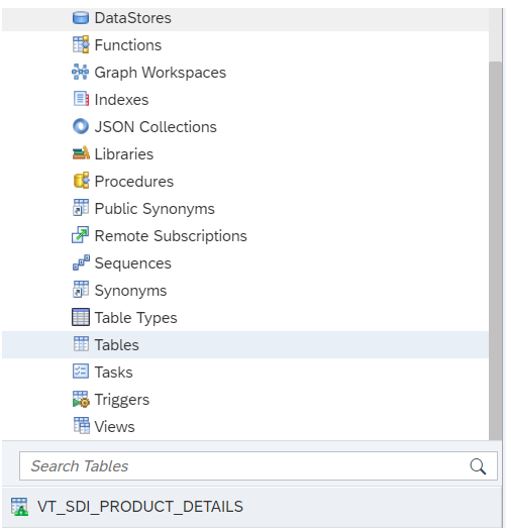
Click on table to view data.
Create flow graph as shown below:
Flowgraph is created as shown below:
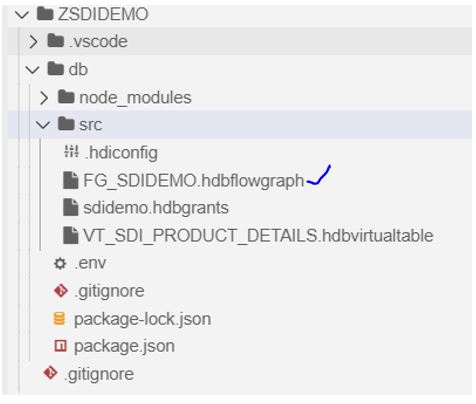
Right click on .hdbflowgraph and Open with Flowgraph Editor.

It opens as shown below
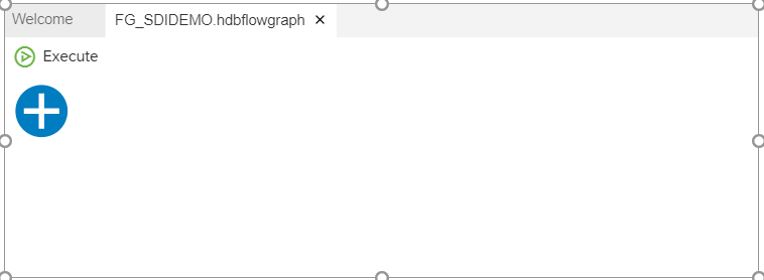
Click on + it opens pop-up as shown.
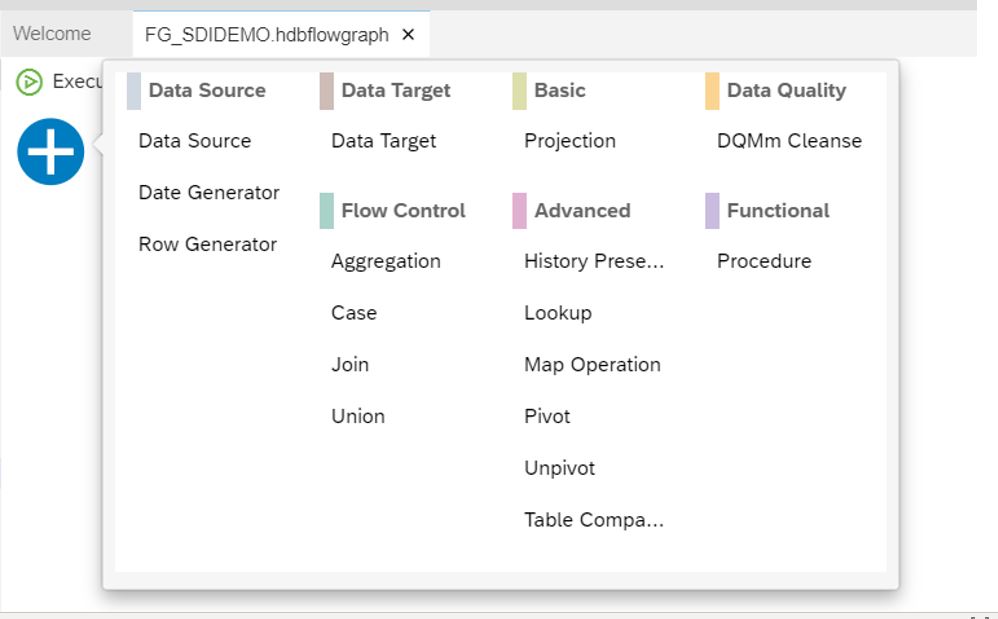
Click on Data Source.
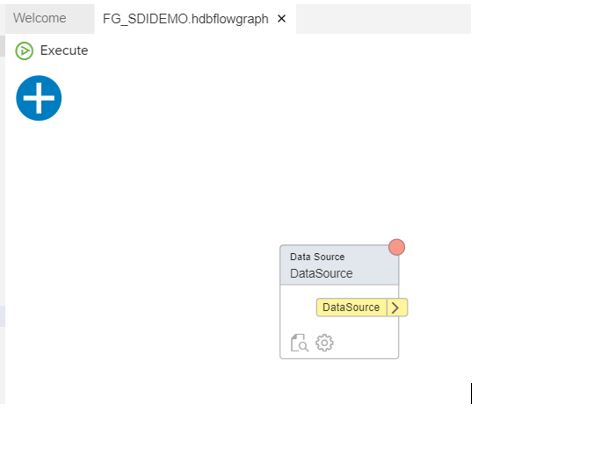
Click on Settings and it opens as shown below

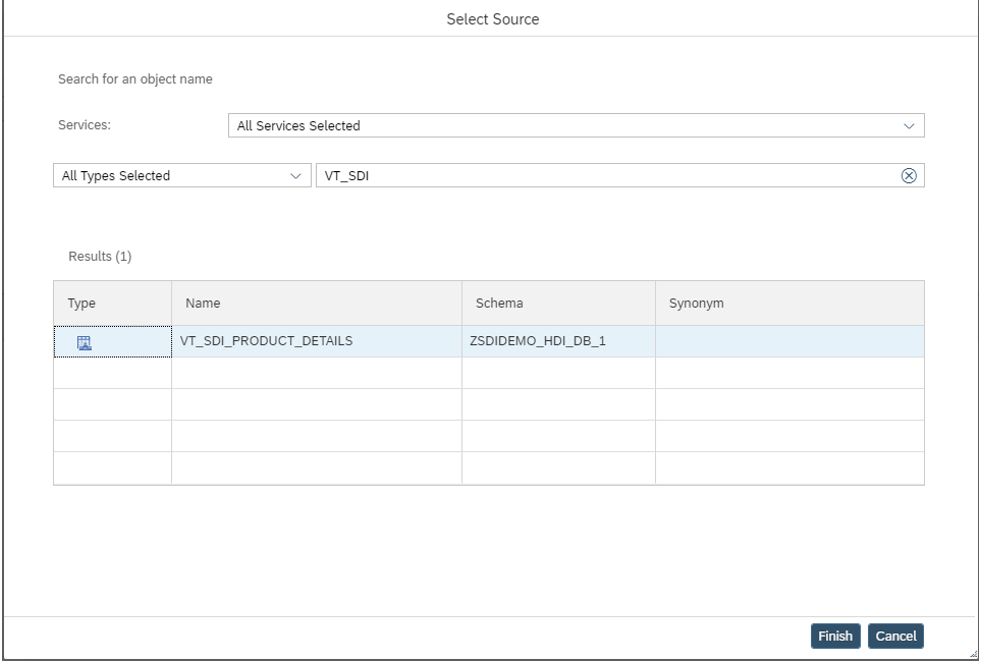
Click on HANA Object and in pop-up enter details.
Search with Virtual table created in previous step, select it and click on finish button.
Now click on Apply button.
Create one more data source in the flow graph pointing to the VT_SD_PRODUCT_SALES
( i have created one more virtual table)
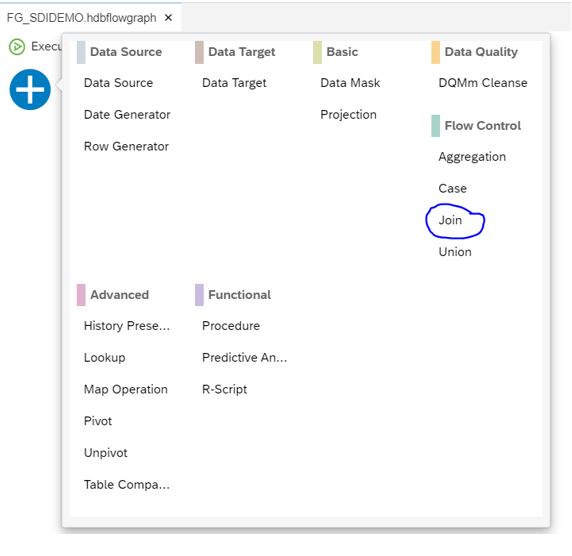
Click on + in Flow graph editor and select Join as shown below:
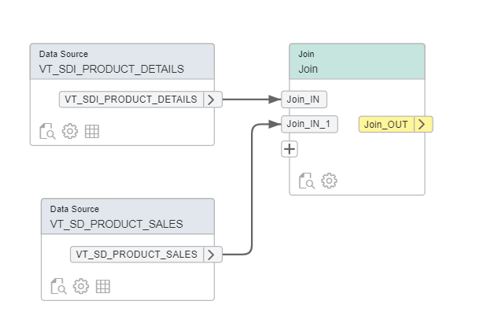
Now map the table to Join node as shown.
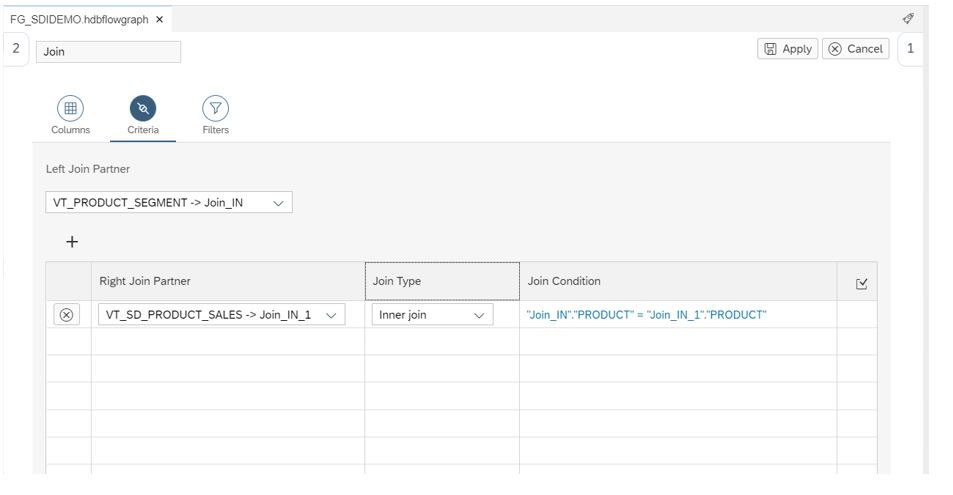
Click on settings in Join node.
Goto Criteria and make the Join condition as shown:
Create Data Target as shown:

Map Join_OUT to target as shown:
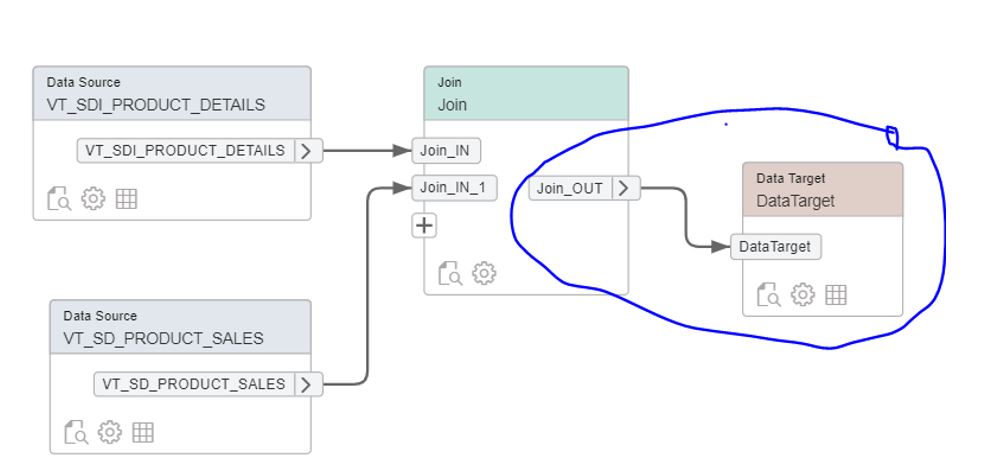
Click on Data Target setting to view output.

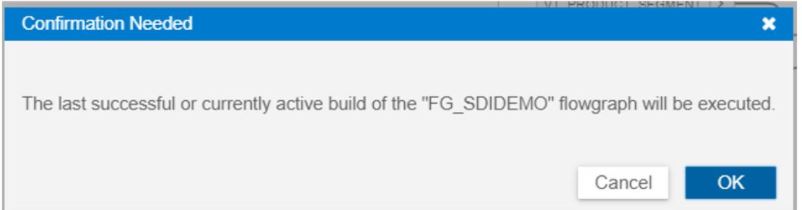
Click on Apply button and deploy the Flowgraph. Click on Execute button and in the pop-up click
on OK button.
Post successful deployment, you can see below message.

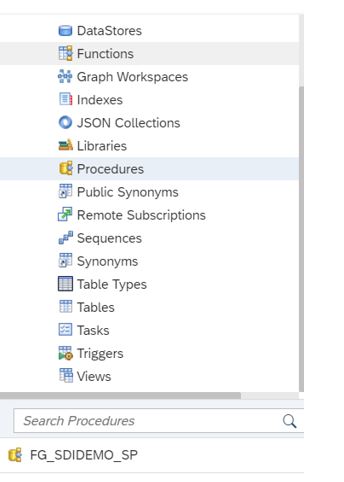
Now go to HANA DB explorer and open procedures.
You can see the deployed Flowgraph under procedures.
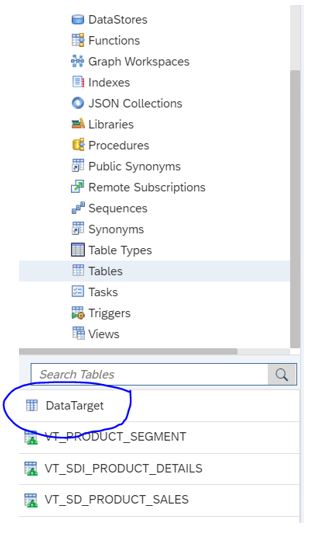
Goto tables to view Data Target.
Right Click on Data Target to view data.
Result:
Data as shown below:


