This was a request from one of my customer, they wanted to see a half interface from a SuccessFactors systems to a SFTP system.
Let’s begin!
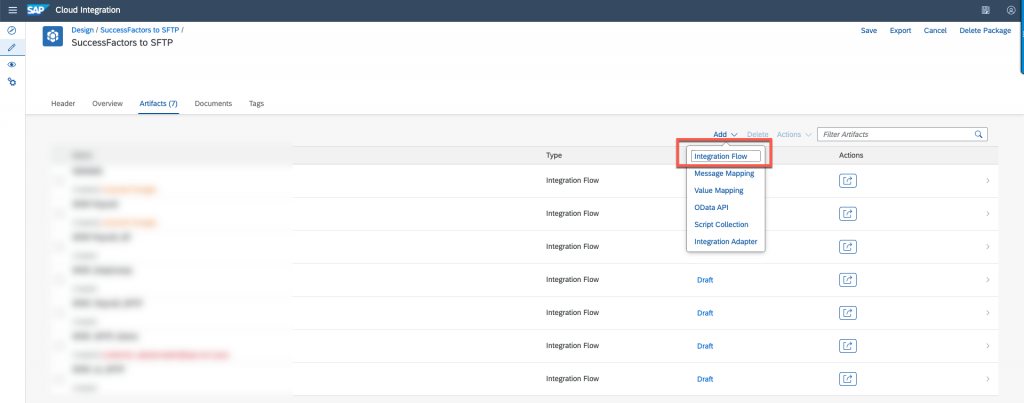
First let’s connect to our SAP BTP integration Suite and create a new integration flow.
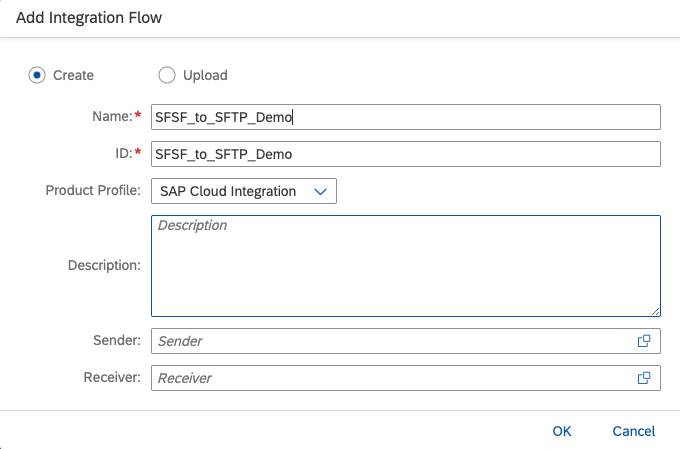
Give it a name and click ok.
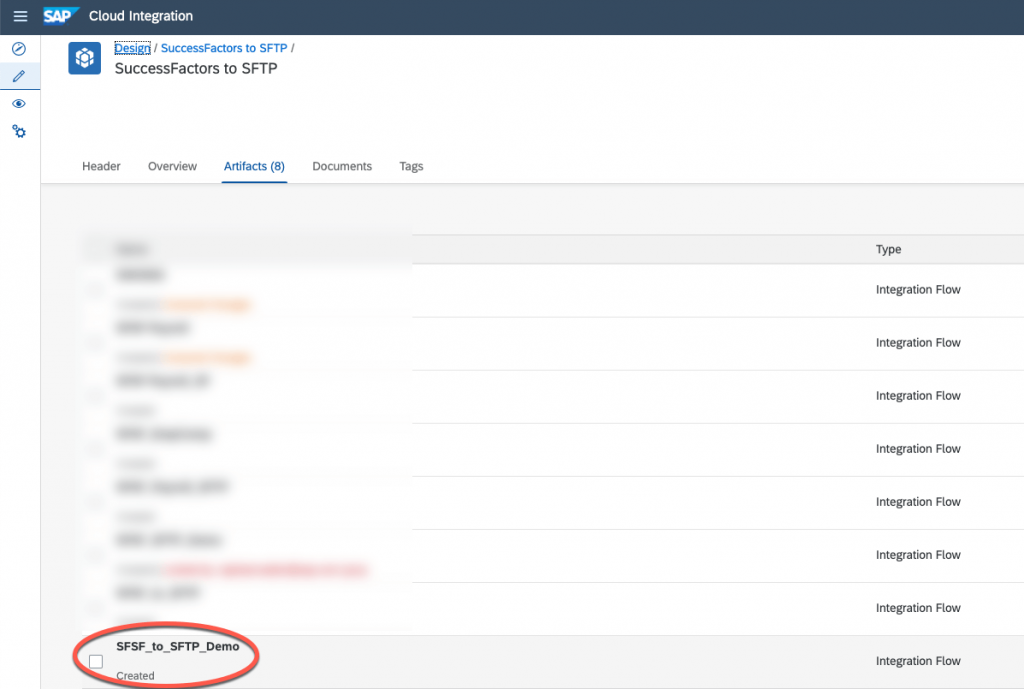
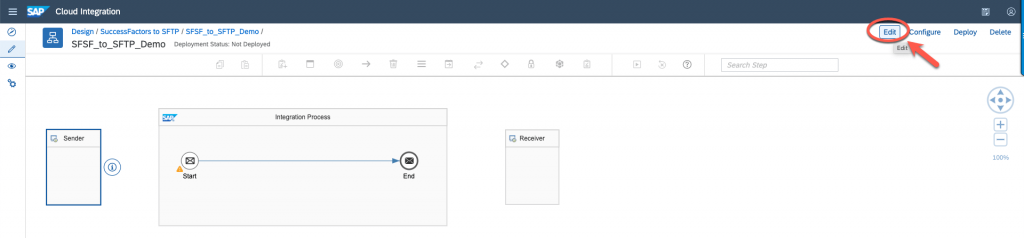
Click on the newly created integration flow to open and edit it.
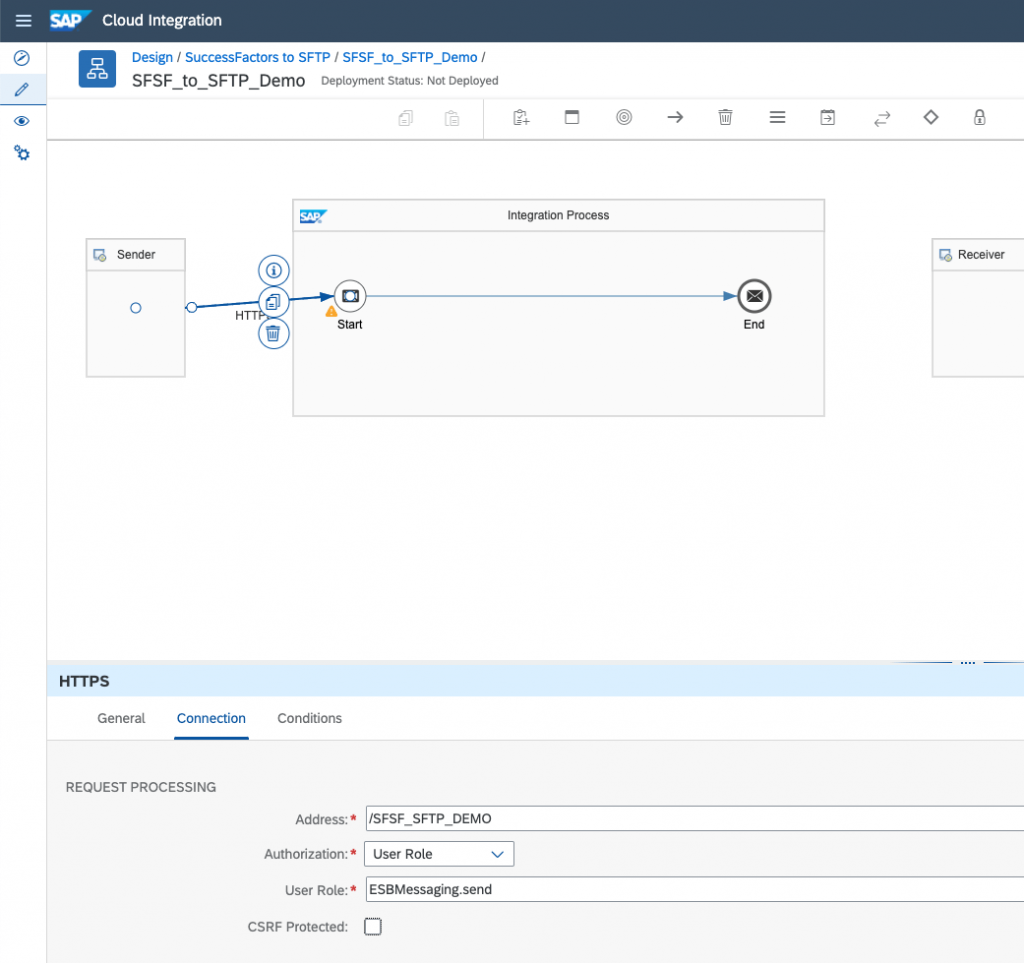
From the sender drag the arrow to the start event of our integration flow.

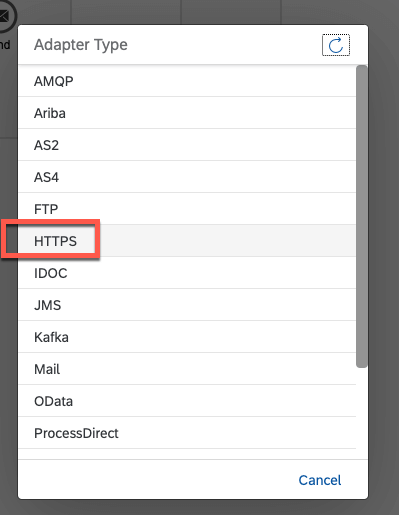
Choose the HTTPS adapter, this is how we will invoke our intregration flow with Postman.
Enter the desired endpoint for the call, you can use anything you would like. I’m using “/SFSF_SFTP_DEMO”. Then uncheck CSRF protected.
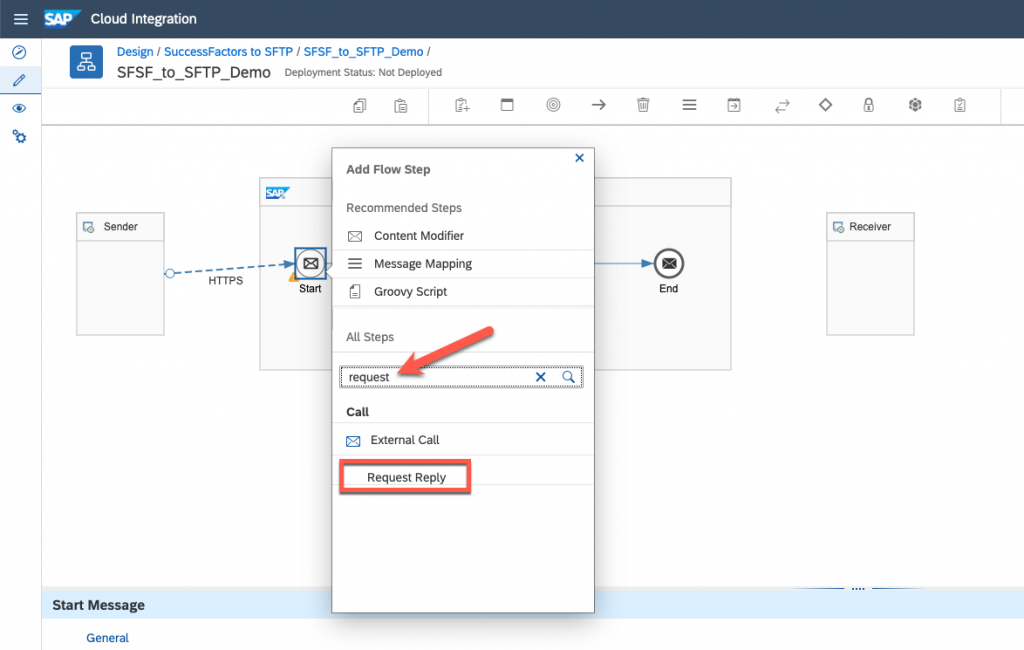
Add an new step by clicking on the plus sign in the start event.

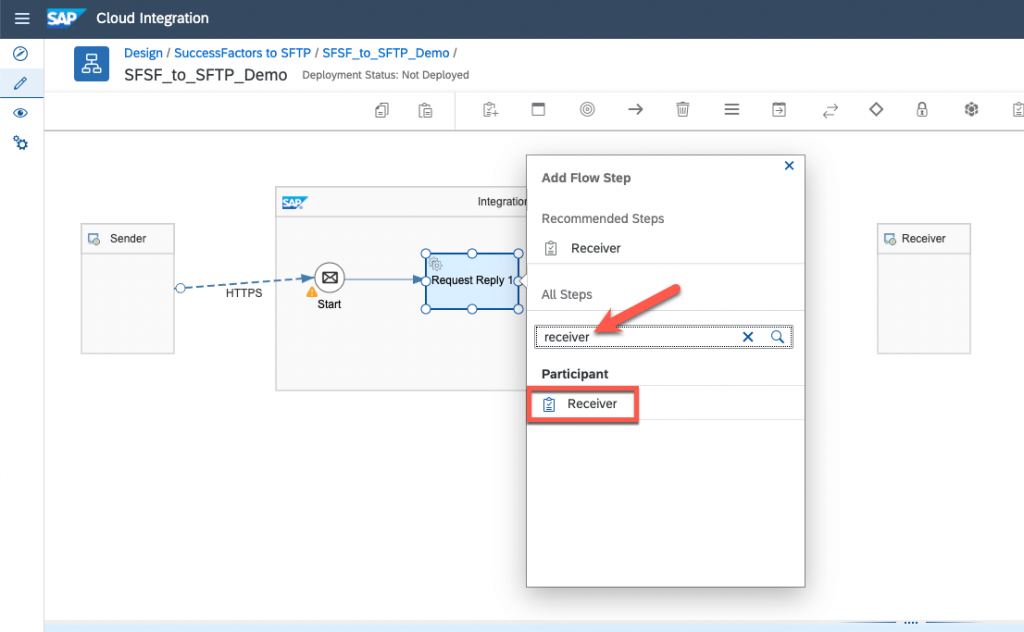
Let’s add a request reply. Search for request and add it by clicking “Request Reply”, this will be our call to our SuccessFactors system.
In the same way by clicking the “+” sign of the request reply, add a receiver and place it right under the request reply. This is our call to our SuccessFactors system.
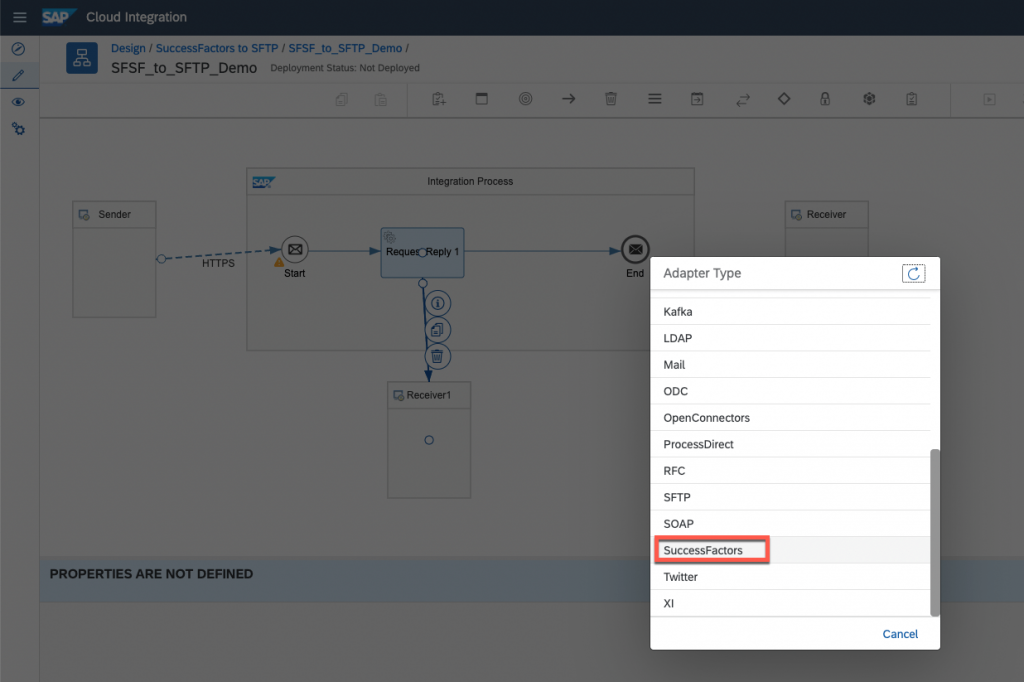
Pull the arrow from the Request Reply to the Receiver, choose SuccessFactors as the Adapter type.
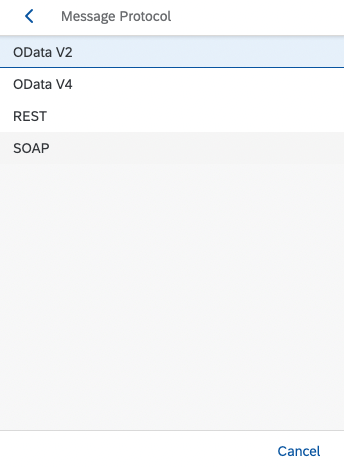
Choose your protocol, in my case, I’m using SOAP.
In the connection details, enter your SAP SuccessFactors system, and choose a basic authentication.
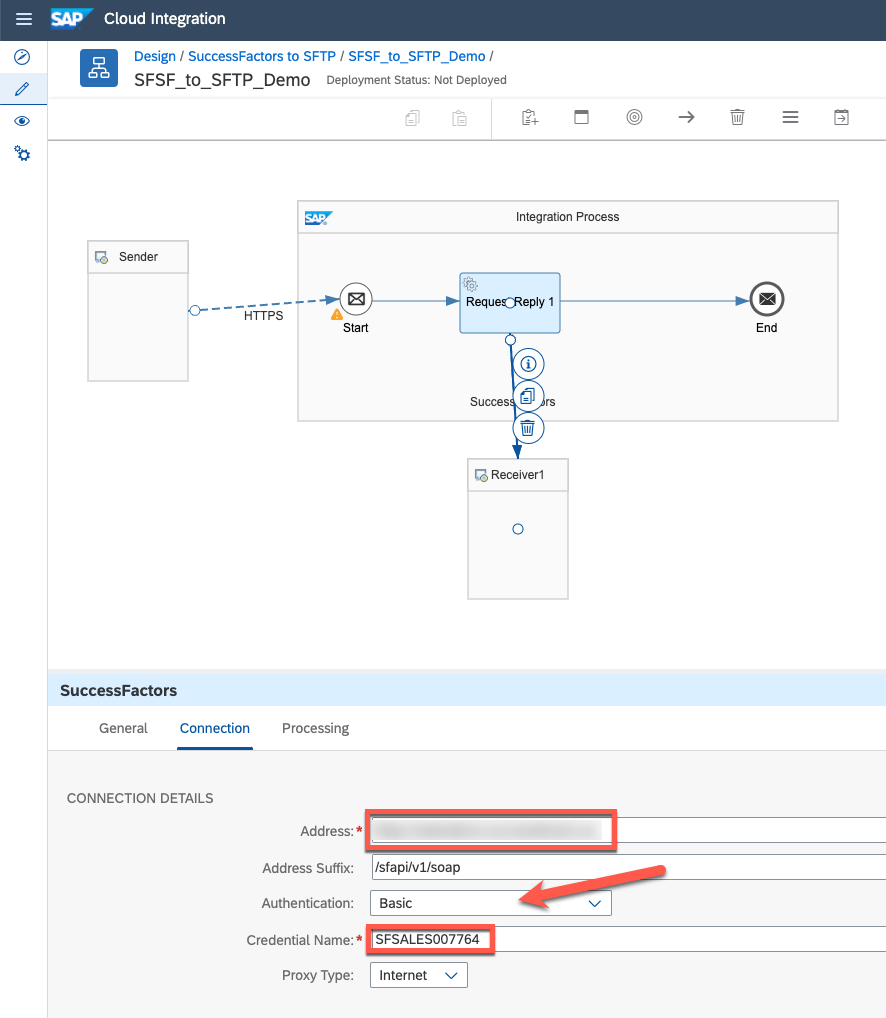
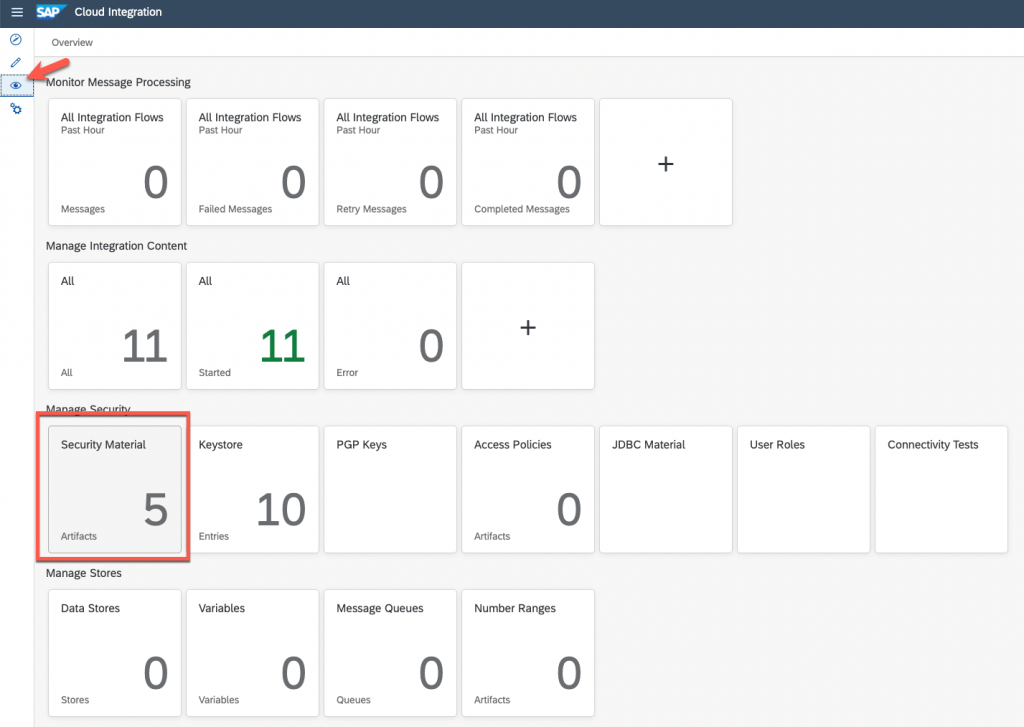
Here I use a credential name that I set up the the security material of the integration suite. Just as a reminder, this is where you can find it.
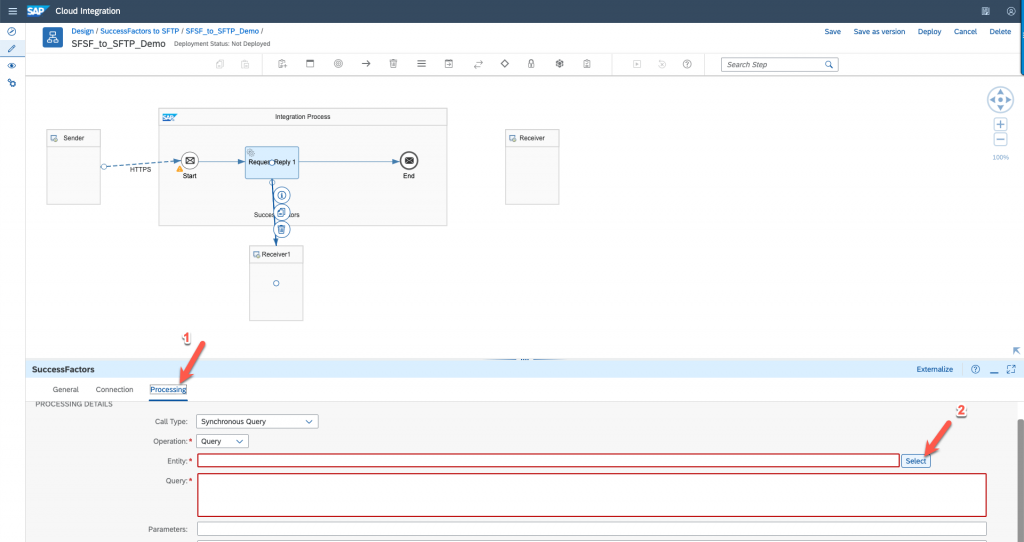
Now we need to select the entity and query we will be exporting. Click on processing and select your entity.
Connect to your system

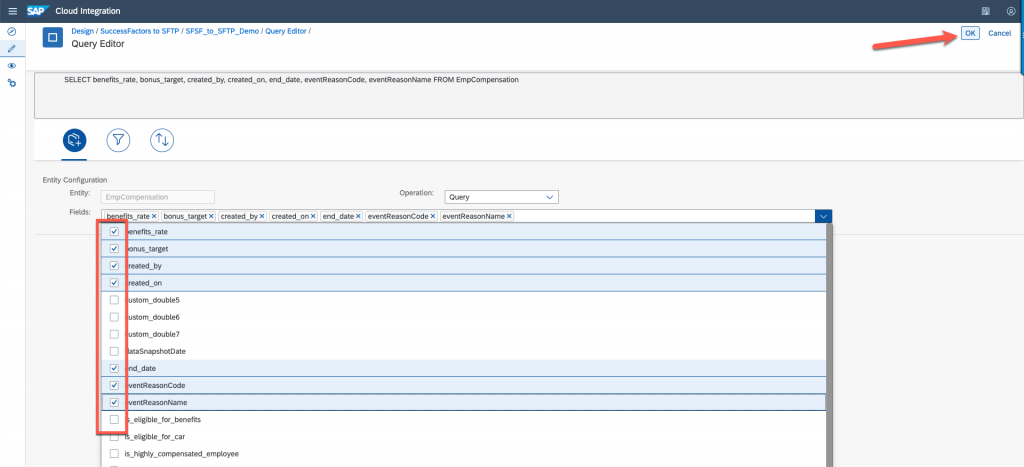
Choose your entity, here I chose EmpCompensation
Choose the fields you want and click “OK”
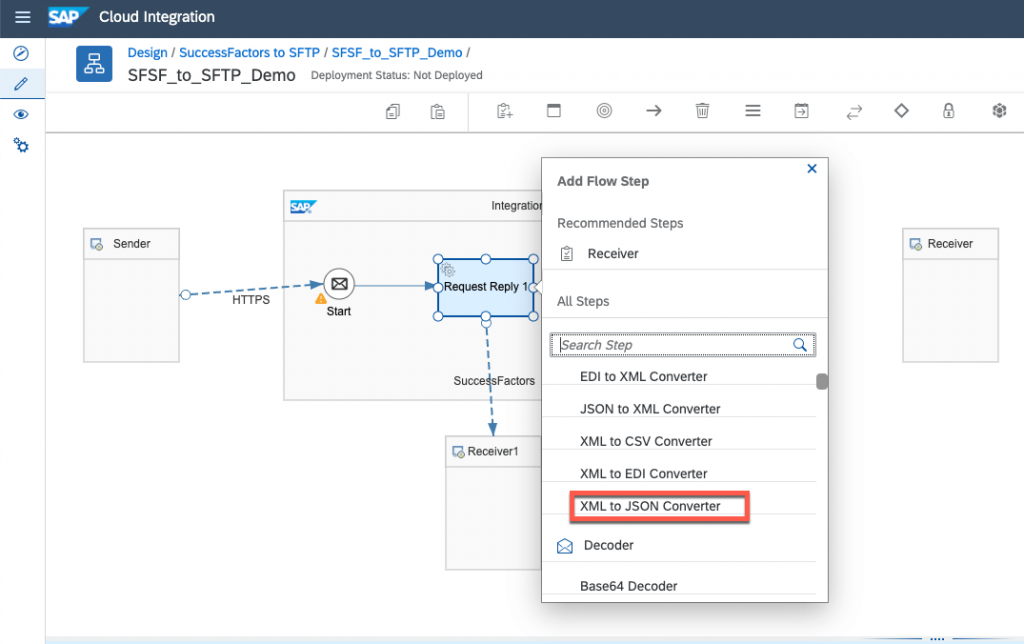
Let now convert this XML response to a JSON format, click on the “+” sign of the Request Reply and add a XML to JSON converter. We don’t need to modify anything here.
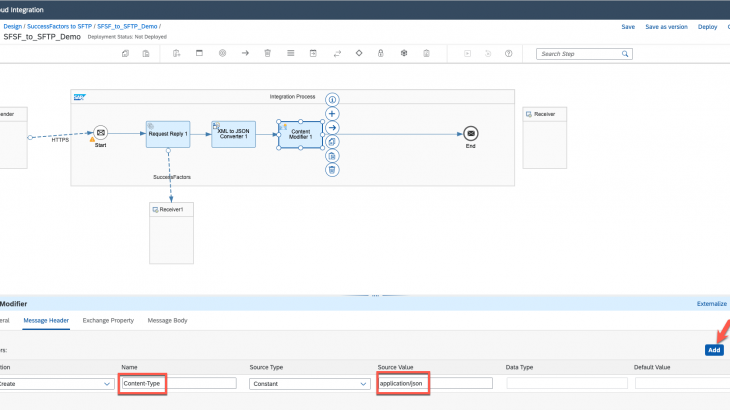
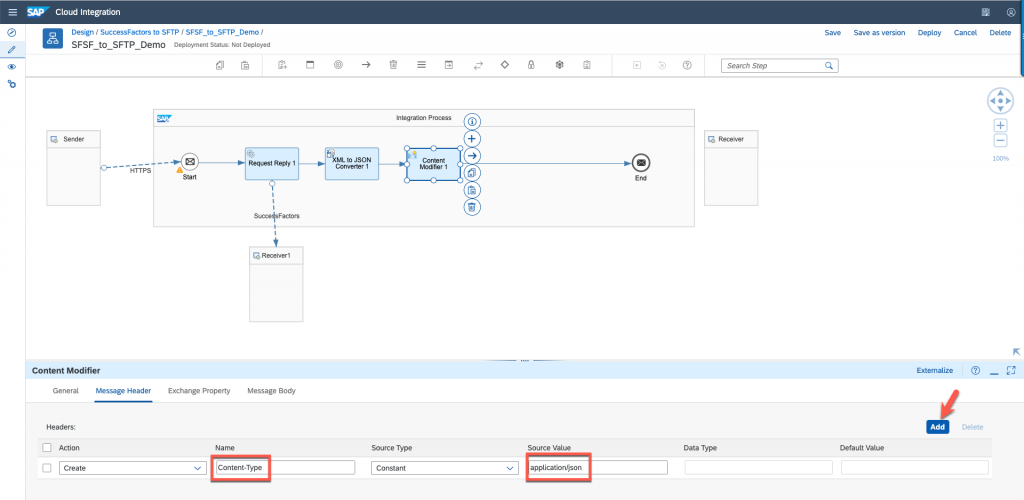
Let’s add a content modifier after this converter by clicking again the “+” sign.
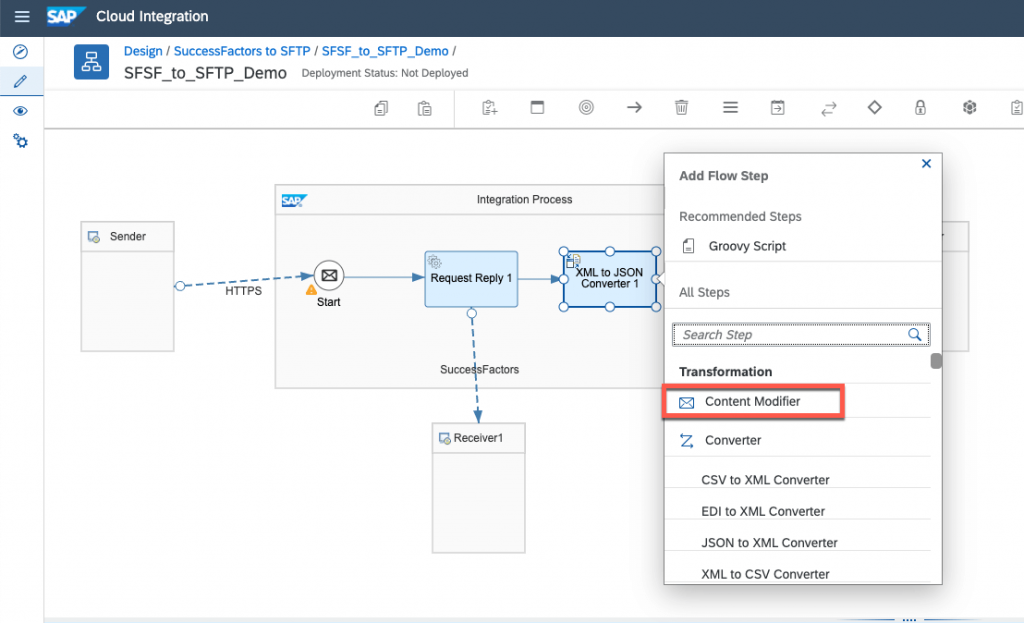
In the Message Header, we will just notify that this is a JSON message by adding “Content-Type” and the value “application/json”
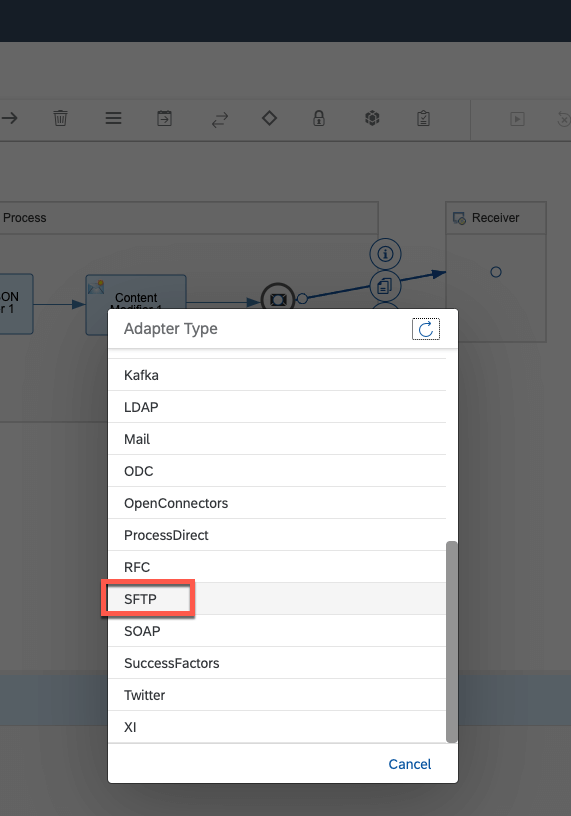
From the End event, drag the arrow to the receiver, this will be our SFTP system. Choose SFTP as the adapter type.
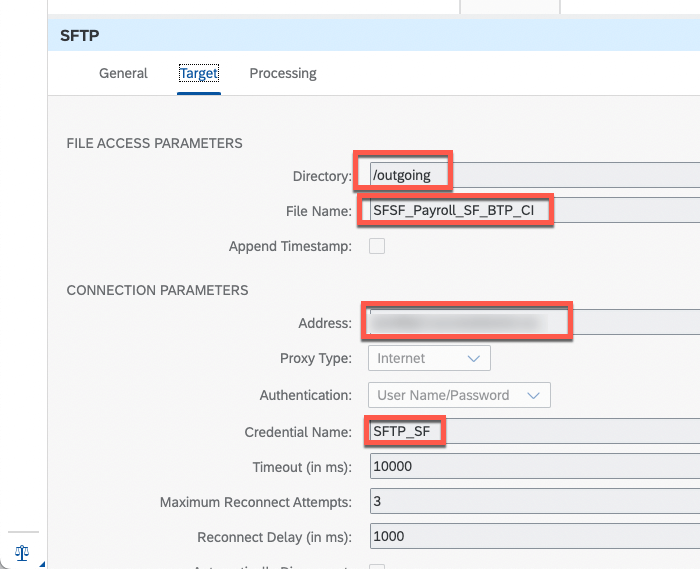
Specify your output directory, the filename, the address of your SFTP system and your credential name.
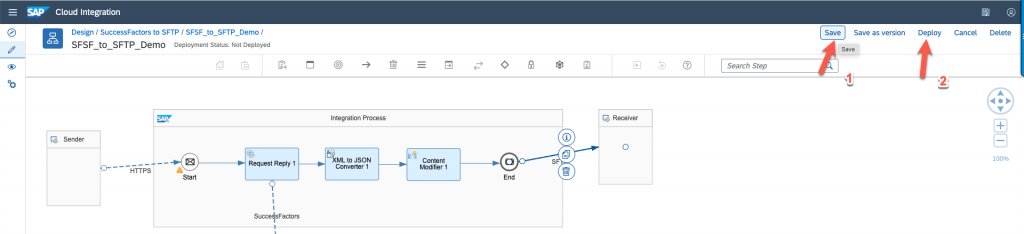
We are ready to save and to deploy our integration flow.
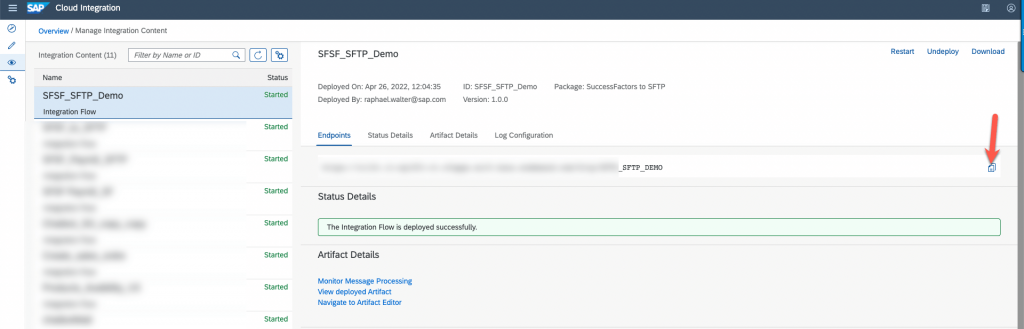
Verify that the integration flow is up and running, retrieve the end point.
Once you have your token, let’s test this this in Postman.
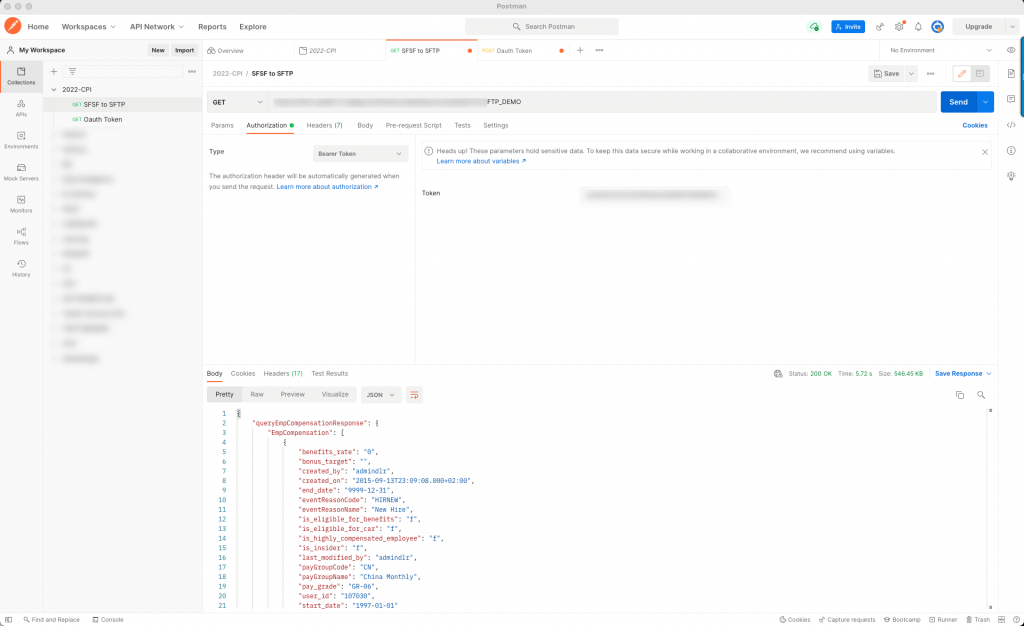
This looks perfect! Let’s verify that the file was indeed pushed to our SFTP system!
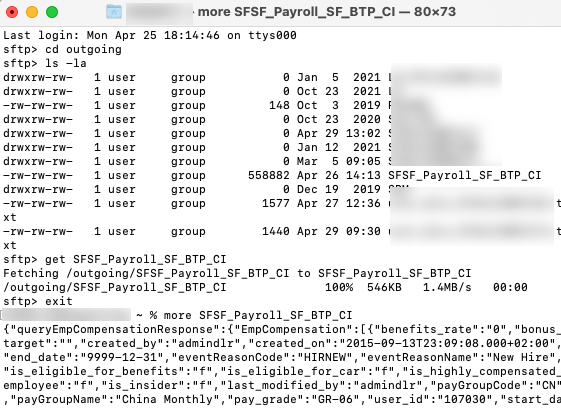
The file is there and has the data coming from SAP SuccessFactors!


