Introduction:
In this blog post we will be discussing the steps required to setup connectivity between SAP Datasphere (formerly Data Warehouse Cloud) and SFTP data source hosted on-premise.
Components involved:
- SAP DWC/Datasphere
- SAP Cloud Connector – on premise
- SFTP server – on Premise
The connectivity type used will be ‘Generic SFTP’ and it will support ‘Data flows’.
Pre requisites:
- The firewall rules must be adjusted to allow SAP Cloud connector to connect with SFTP server.
- SAP Datasphere is allowed to connect with SAP CC.
- You must have access to Cloud Connector administration.
- You must also have administration credentials on SAP DWC/Dataspehere.
Step 1: SAP Datashphere environment
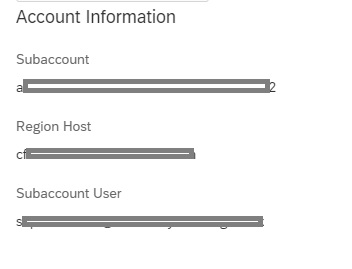
Collect details of your DWC environment – log in DWC -> System -> Administration -> Data Source Configuration
make note of account information, subaccount, Region, user and also make sure that you have the password for the subaccount user.
Step 2: SAP Cloud Connector
Log in to SAP Cloud Connector – Click on ‘Connector’ -> Add Subaccount

Fill the subaccount information picked from DWC in Step1
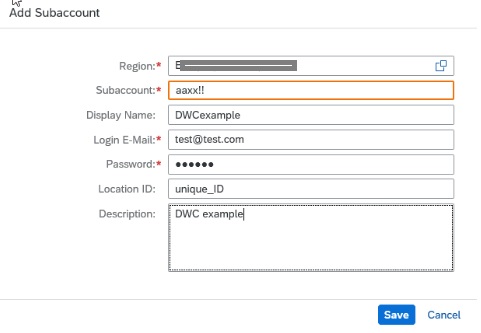
Take note of the ‘Location ID’. It will be used later in the steps.
Location ID is defined by us, it is a unique ID for the account.
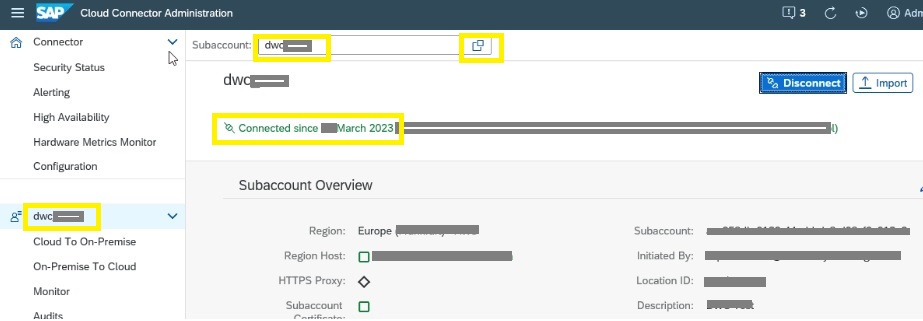
When the account is set-up we can select to switch account to view its status
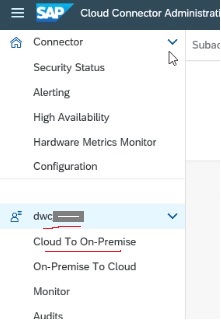
Step 3: SAP Cloud Connector
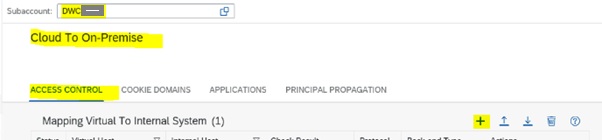
In the Cloud Connector -> select sub account and then click ‘Cloud To On-Premise’
On the ‘Access Control’ tab click +
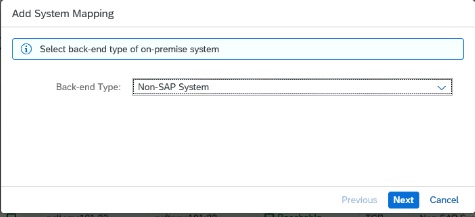
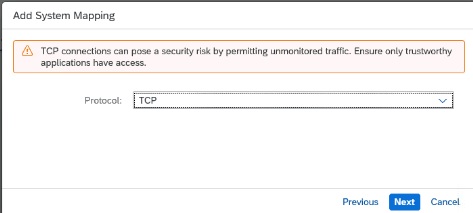
For SFTP connectivity (or for any other non-SAP connectivity) – select the following options
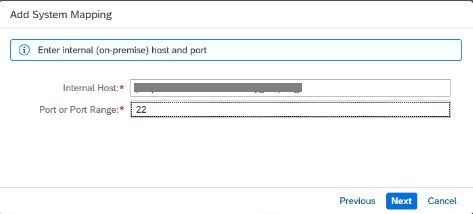
Fill in the SFTP server details
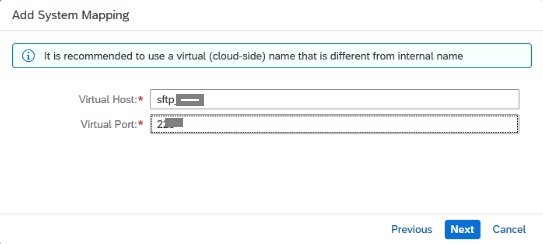
On the next screen – define a virtual host and port. The virtual host and port will be used for connectivity on the cloud side.
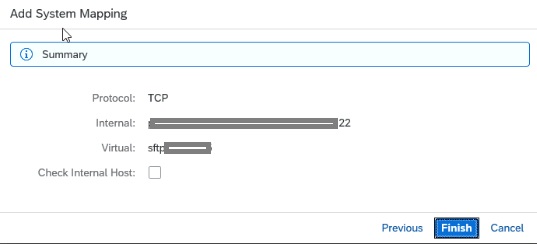
Review summary and finish the setup
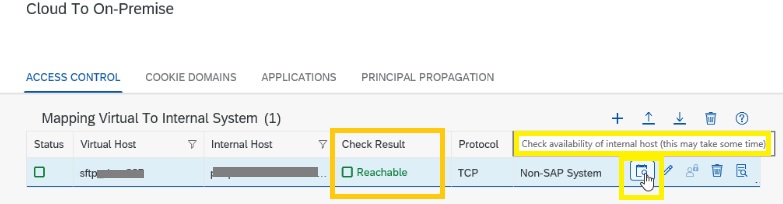
To check and validate the connectivity from Cloud Connector
Step 4: SAP Datasphere
Log on to the DWC environment : Go to ‘system’ -> ‘administration’ -> ‘Data Source Configuration’
Click – ‘Add a new location’
Add the cloud connector location ID which we created in SAP Cloud Connector subaccount setup.
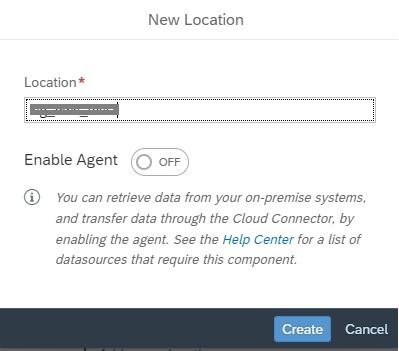
click create.
Next,
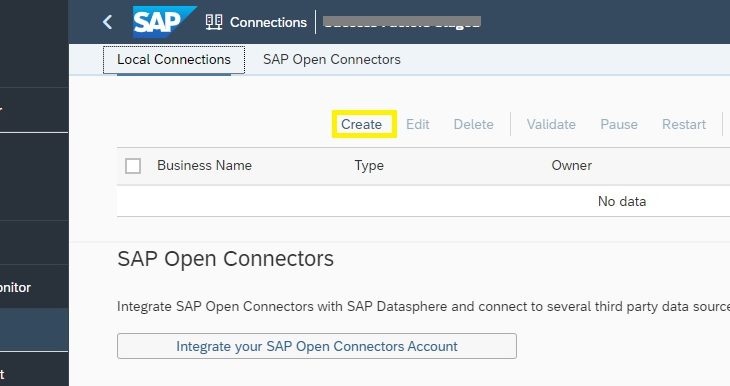
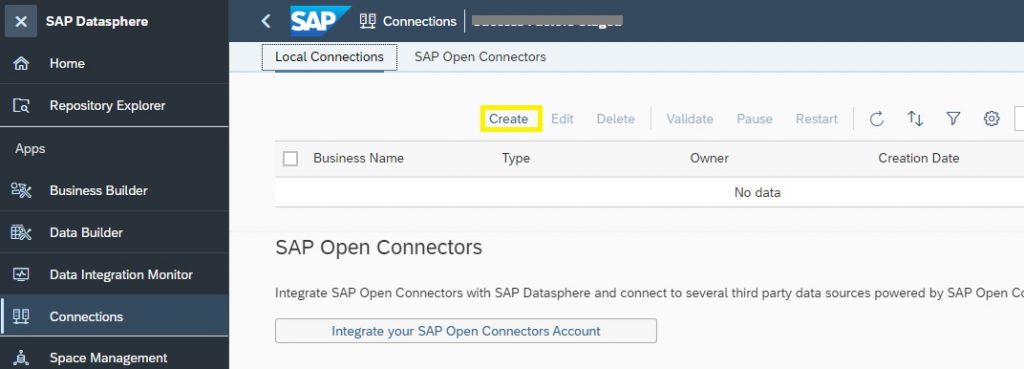
Click on ‘Connections’ -> navigate to the appropriate SPACE ID which you want to use for connectivity.
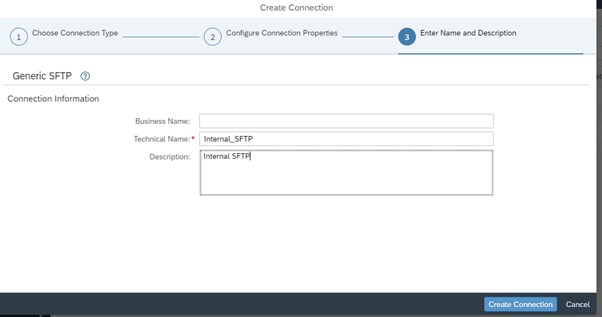
click ‘create’
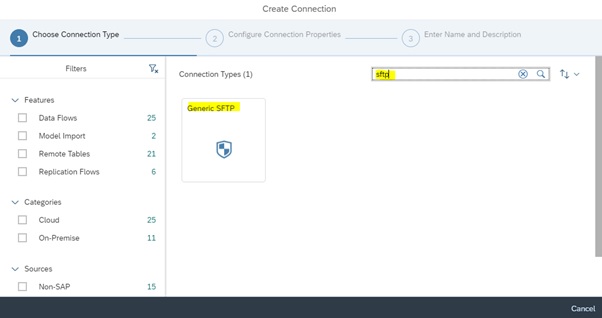
select the connection type -‘Generic SFTP’
Fill the respective fields
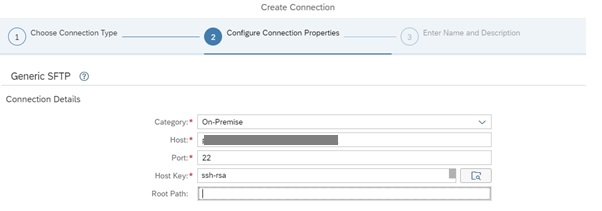
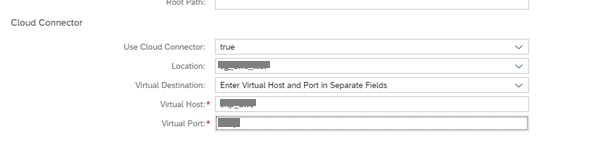
*Note that the host key will be provided by the SFTP administrator.
Procedure to generate the host key is explained here
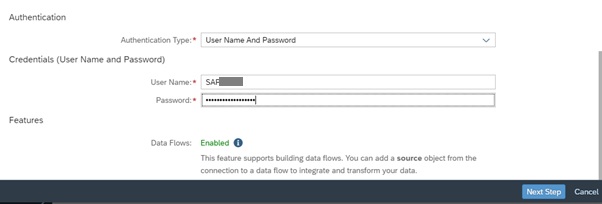
*Authentication can be user/password based or it can also be SSH type.
*Desired root path can also be defined for browsing objects.
Finalize the connection
‘validate’ the connection from DWC
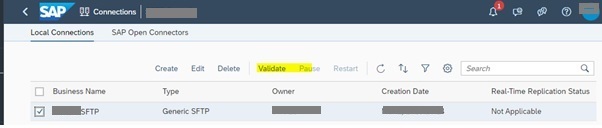
Successful connection will return the following
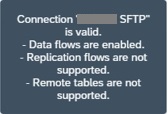
Conclusion:
Source data on the SFTP servers can easily be accessed using the procedure defined above.
Data Flows are enabled without the need to set any additional connection properties.
Troubleshooting:
Cloud Connector Troubleshooting, logs and traces:
Update the trace level by clicking edit button and select the highlighted parameters


