Overview
This blog post will cover the step-by-step process for setting up SAP Cloud Platform (SCP) Business Rules in the Cloud Foundry (CF) environment using SAP Business Application Studio (BAS).
In this sample scenario, I will be creating an application using BAS that will allow users to access the Business Rules service in the CF environment and let consuming applications (such as a REST client) call the Business Rules REST API to invoke the rules.
At a high-level, the following topics will be covered:
- Enable SCP Business Rules service and BAS in the SCP Cloud Foundry environment
- Create Role Collections and assign to the user
- Create a Business Rules service instance and service key
- Create a project in BAS and configure Business Rules
- Create a sample Business Rules project
- Test the service with Postman
Prerequisites:
- You are a global administrator in your SCP global account (required for subscriptions)
- You are an org and space member (required for configuring entitlements and creating service instances)
- You are a security administrator (required for role assignments/creation)
NOTE: I am using a production account in the Australia, Sydney (ap10) region.
1. Enable SCP Business Rules service and BAS in the SCP Cloud Foundry environment
Configure Entitlement for the Business Rules Service
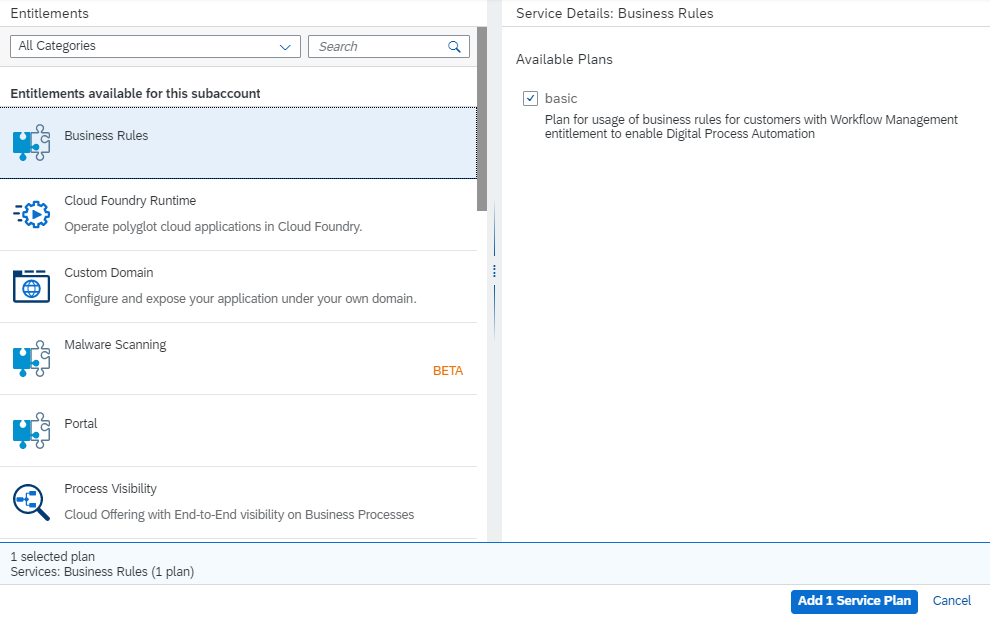
- Navigate to the organization > Entitlements > Configure Entitlements > Add Service Plan
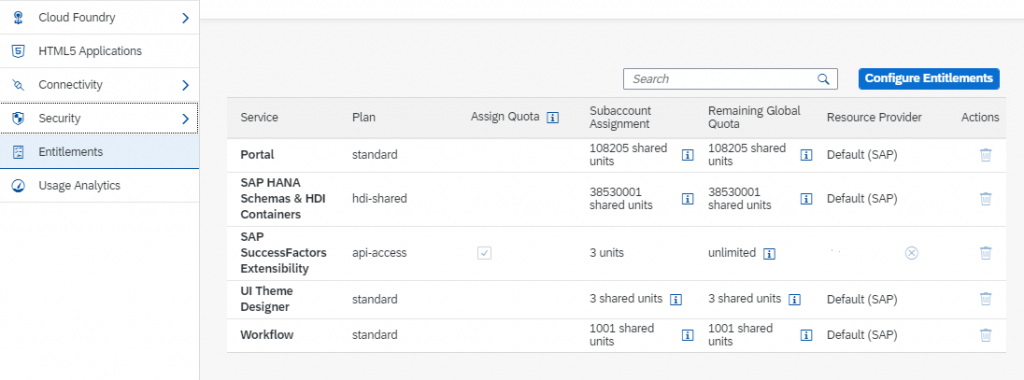
- Select Business Rules Service and select a service plan (basic) > Add and Save
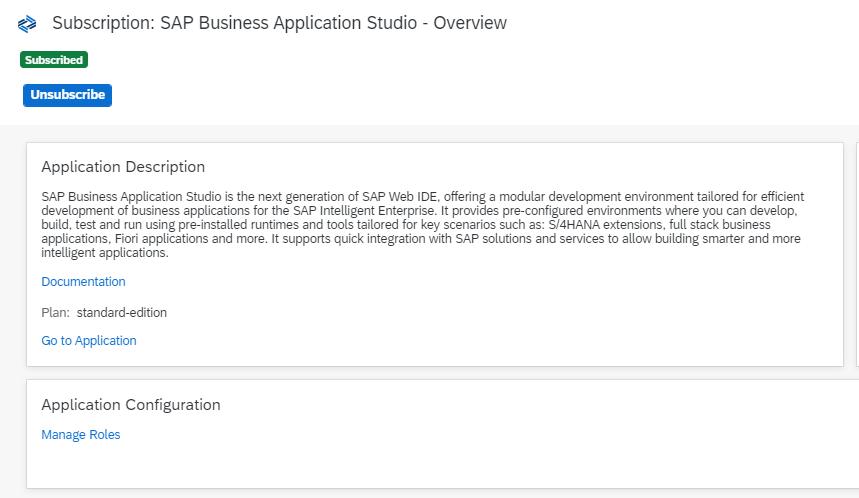
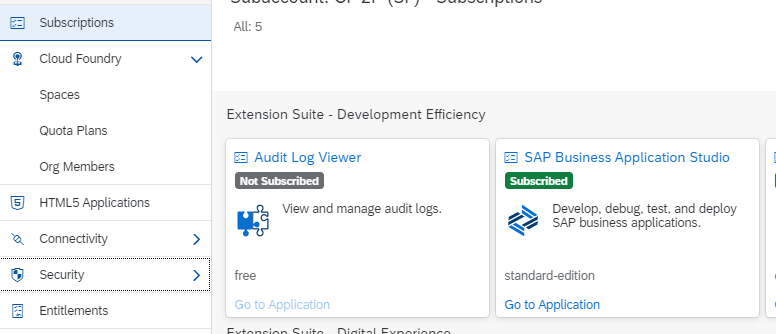
Subscribe to Business Application Studio
- Subscriptions > SAP Business Application Studio > Subscribe

2. Create Role Collections and assign to the User
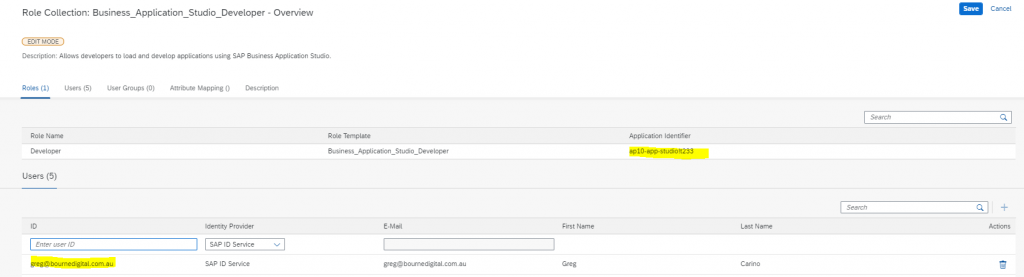
Assign the relevant BAS Developer Role Collection
- Security > Role Collections > Business_Application_Studio_Developer
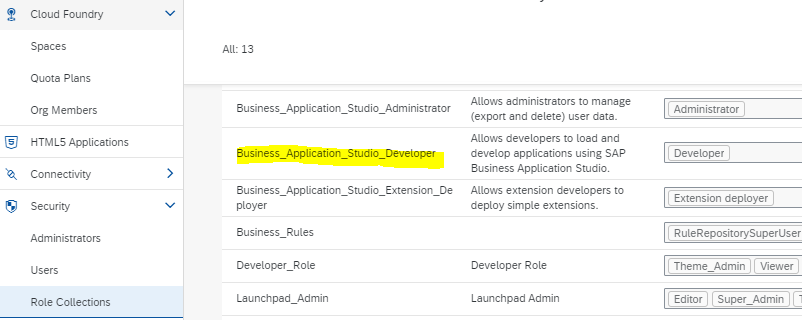
- Edit > Add User (enter ID based on configured IdP. eg: email if using the default SAP ID service) > Save
Assign relevant Business Rules Roles/Role Collection
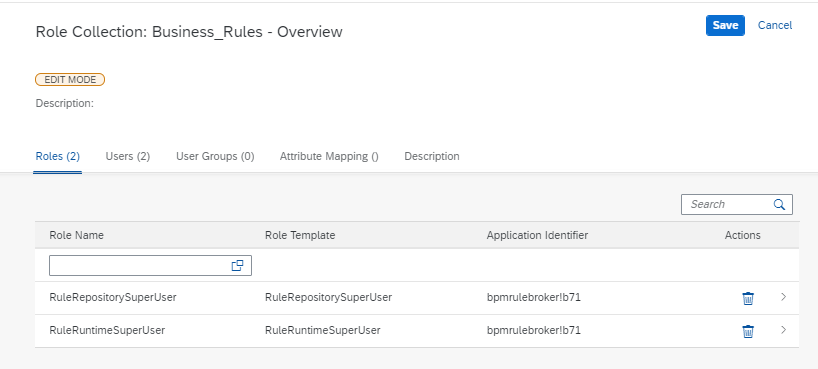
We need to add roles with the following application identifier: bpmrulebroker*.
There are two roles with such application identifier: RuleRepositorySuperUser and RuleRuntimeSuperUser.
There are two ways to assign these roles to your user:
1. If your account has a subscription to the Workflow Management service, these role collections will be automatically created. Assign your user to one of these role collections (if applicable):
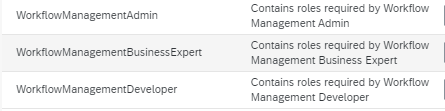

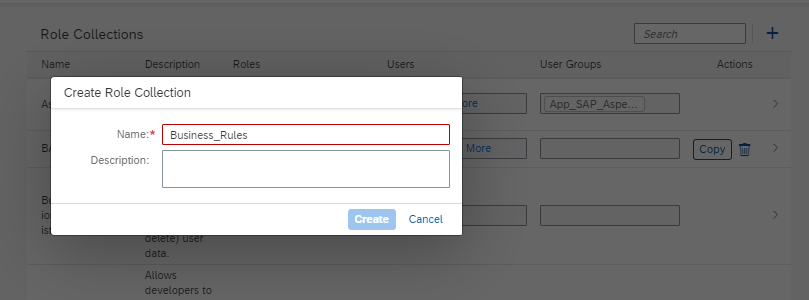
2. Else, create a custom role collection and add the required roles (RuleRepositorySuperUser and RuleRuntimeSuperUser)
3. Create a Business Rules Service Instance and Service Key
Create a Business Rules Service instance
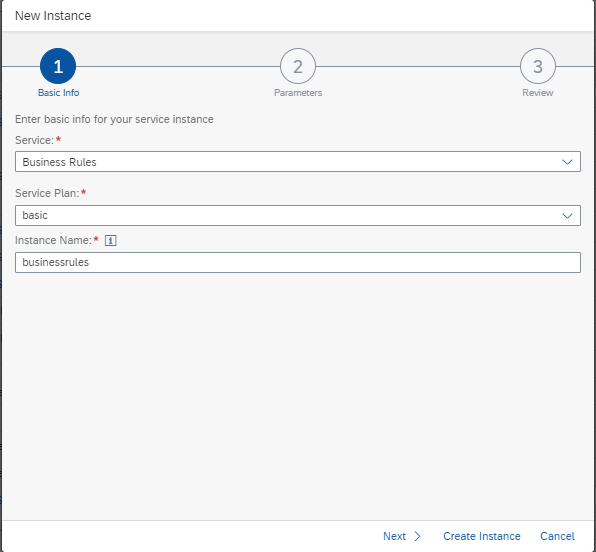
- Go to your space > Services > Service Instances > Create Instance
Service: Business Rules
Service Plan: basic
Instance Name: <any name>, in my case: businessrules
Leave Parameters blank (step 2), and ‘Create Instance’
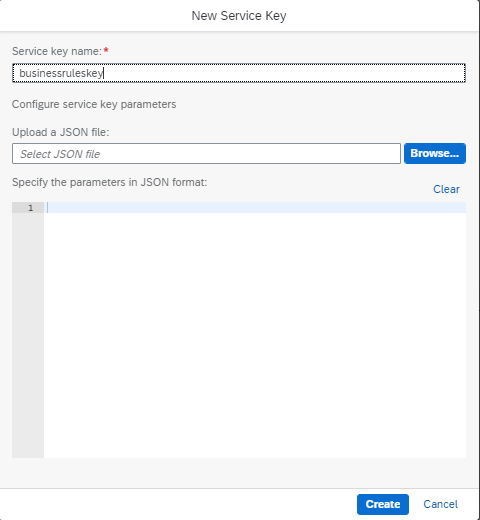
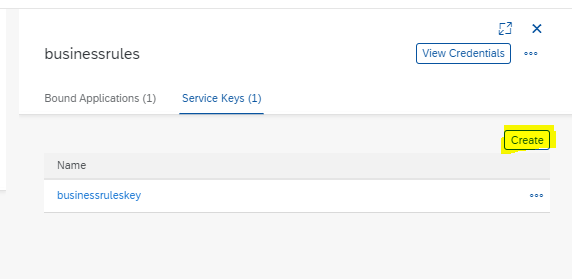
Create a service key for the created service instance
This service key will be used later to call the business rules API
- Open the created service instance > Service keys (Create) > Enter a Service Key Name > Create
- Open the created service key and copy the credentials in a separate file for now. We will use these credentials when testing the Business Rules service in Step 6.

4. Create a project in BAS and configure Business Rules
- Go to subscriptions > Business Application Studio > Go to Application
Create a new Fiori workspace
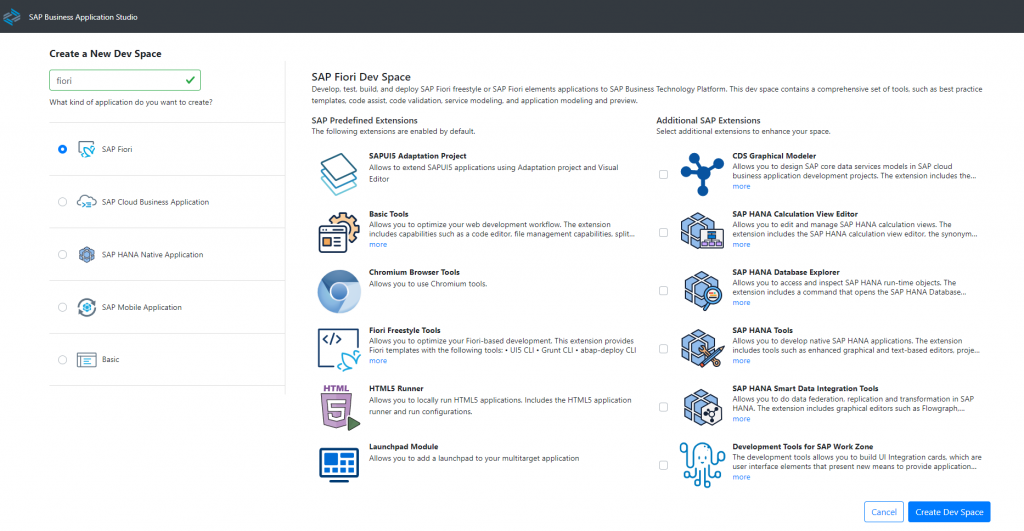
Create a project from a template
I will be using a standalone SAP Fiori Free Style Project to generate the boilerplate code for the application.
The most important configuration objects are the approuter (xs-app.json) and the mta.yaml. We will remove modules that are not required for this demo.
NOTE: This step can be done in a different way (eg: manual creation of objects from a basic MTA project template).
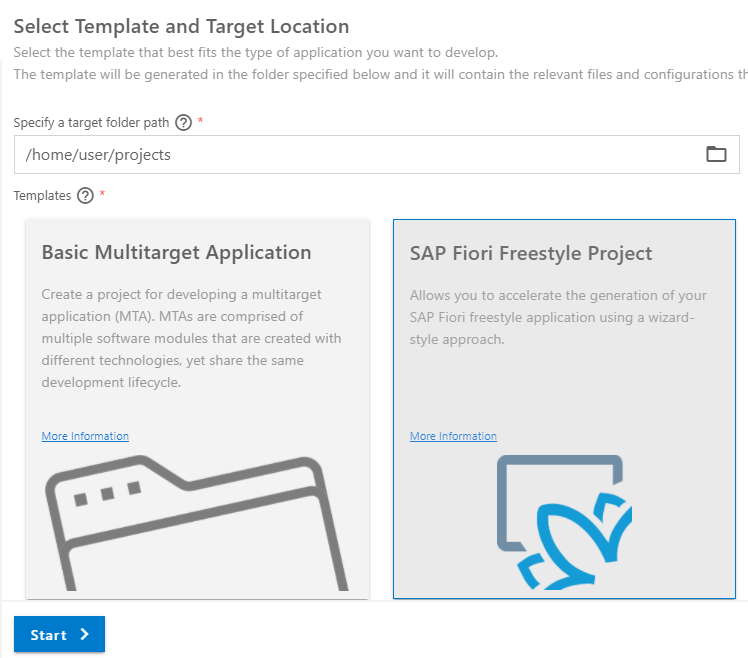
- In your empty workspace > Create new project from a template

- Select SAP Fiori Freestyle Project
Target Environment: Cloud Foundry
Template: SAPUI5 Application
Project Name: <any>, rulesmanager in my case
HTML5 application runtime: Standalone Approuter
HTML5 module name: <any>
Do you want to add authentication: Yes
Enter a namespace: <any valid namespace>
Enable Karma Test: No
View Name: <any>
Add data service: No
Configure the Business Rules service in the application
- After the project is created, open the mta.yaml file.
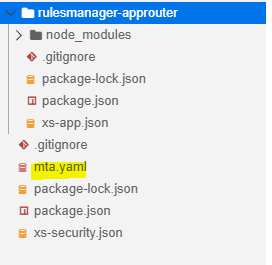
- Remove unrequired modules and resources (highlighted in yellow). You can also delete the generated HTML5 folder in the project
- Add the created Business Rules Service instance (businessrules, Step 3) as a required resource
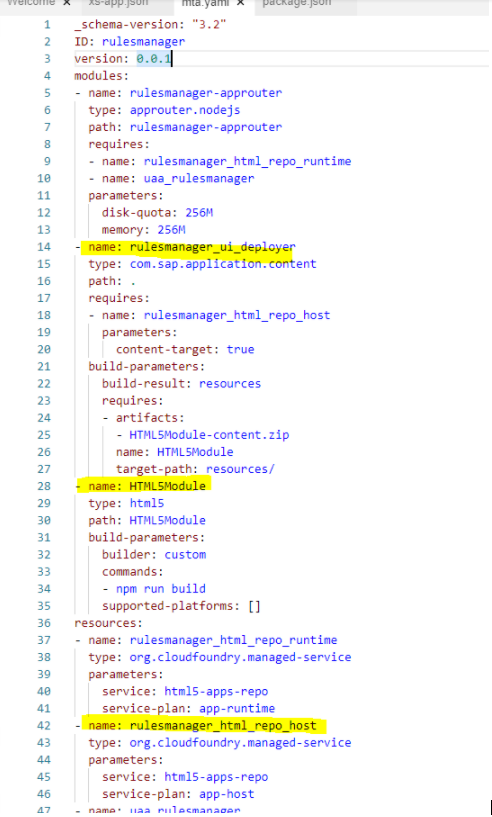
My mta.yaml file:
_schema-version: "3.2"
ID: rulesmanager
version: 0.0.1
modules:
- name: rulesmanager-approuter
  type: approuter.nodejs
  path: rulesmanager-approuter
  requires:
  - name: rulesmanager_html_repo_runtime
  - name: uaa_rulesmanager
  - name: businessrules
  parameters:
    disk-quota: 256M
    memory: 256M
resources:
- name: rulesmanager_html_repo_runtime
  type: org.cloudfoundry.managed-service
  parameters:
    service: html5-apps-repo
    service-plan: app-runtime
- name: uaa_rulesmanager
  type: com.sap.xs.uaa
  parameters:
    path: ./xs-security.json
    service: xsuaa
    service-name: rulesmanager-xsuaa-service
    service-plan: application
- name: businessrules
  type: org.cloudfoundry.existing-service
build-parameters:
  before-all:
  - builder: custom
    commands: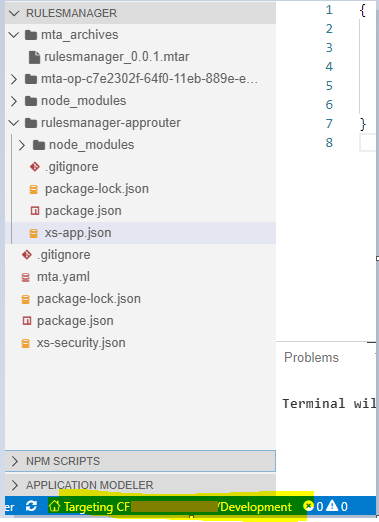
- npm install- Enter this configuration to the xs-app.json, of the approuter.
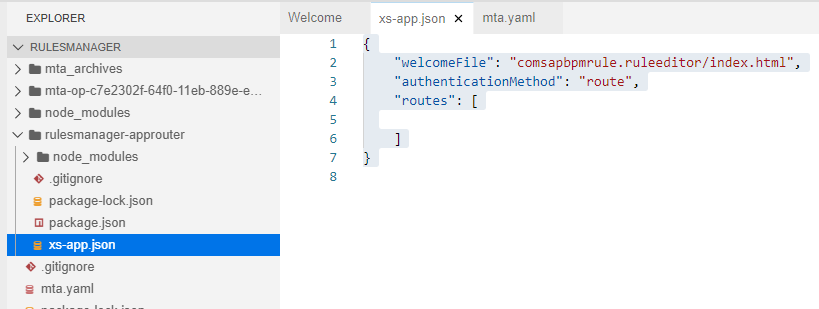
{
"welcomeFile": "comsapbpmrule.ruleeditor/index.html",
"authenticationMethod": "route",
"routes": [
]
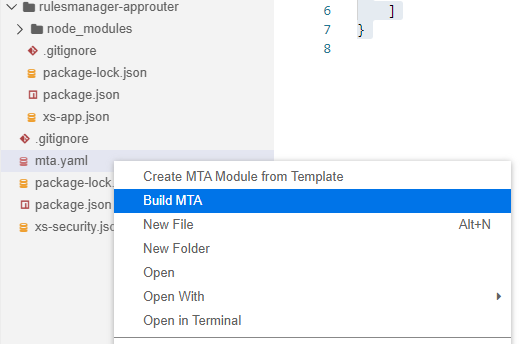
}Build and Deploy the Application
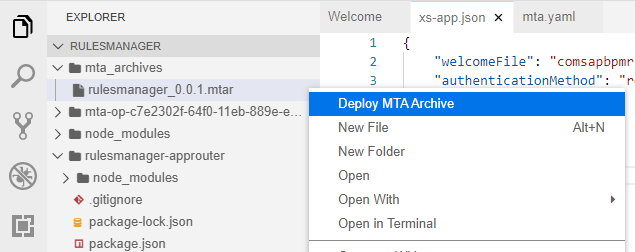
- Right click on the mta.yaml file > Build MTA
- Set the correct target CF space. To set the the correct space, run cf login in the BAS terminal or use the highlighted shortcut below.
- Once the build is complete and the correct target has been set, open the mta_archives folder and deploy the generated MTAR archive to the CF space.
After deployment, check Applications in the space and open the newly created application.
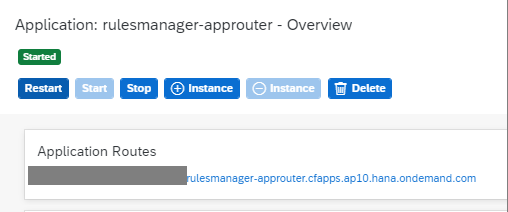
You should be able to see the Business Rules landing page.
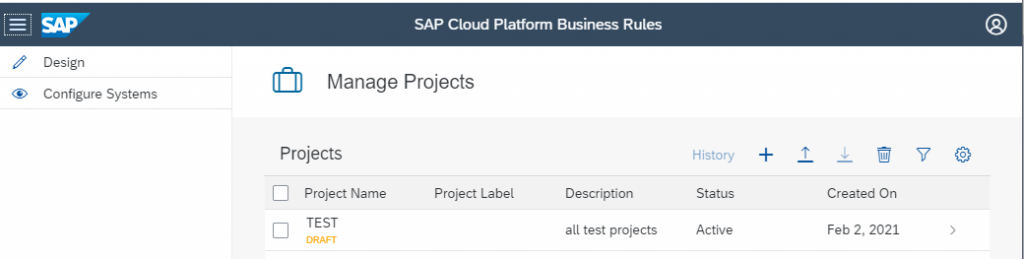
5. Create a sample Business Rules project
Next, we will create sample Business Rules project. This is not the focus of the blog so I will just provide a summary of the steps required and some screenshots for reference.
The service we will be creating will read a User’s organization and return the Approver details based on the decision table.
Procedure:
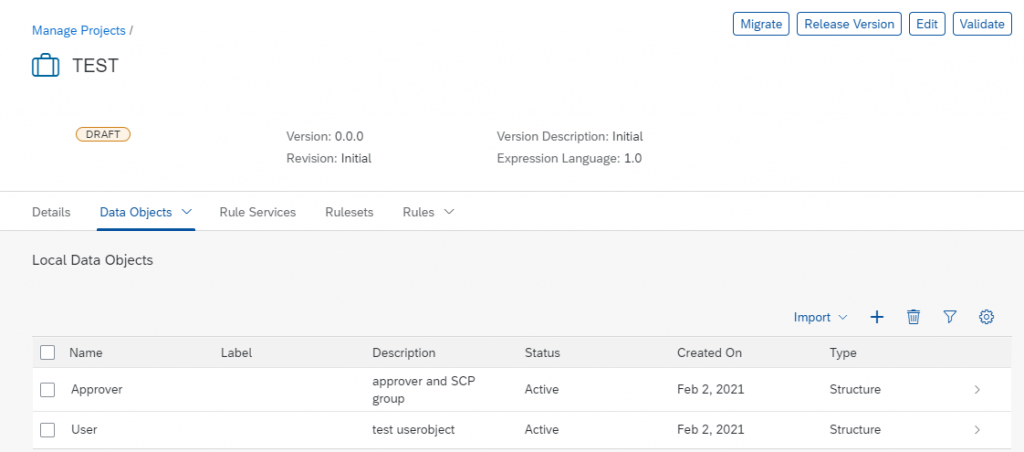
- Create a project
- Create data objects (ie. define input/output structure)
- Create a rules service (which reference the data objects)
- Create rules/decision tables
- Create rulesets (and assign rules)
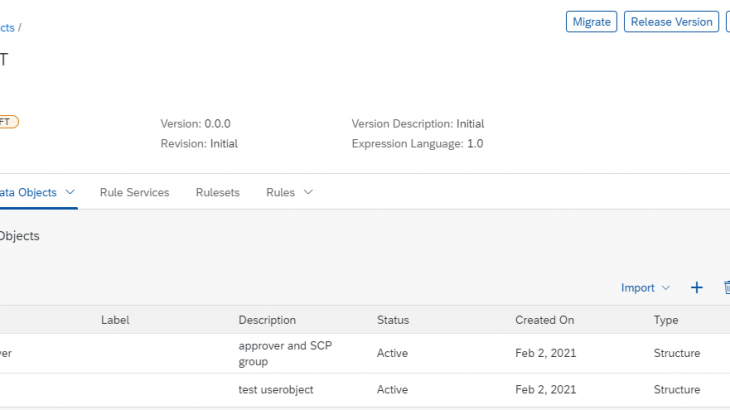
Create data objects (ie. define input/output structure)
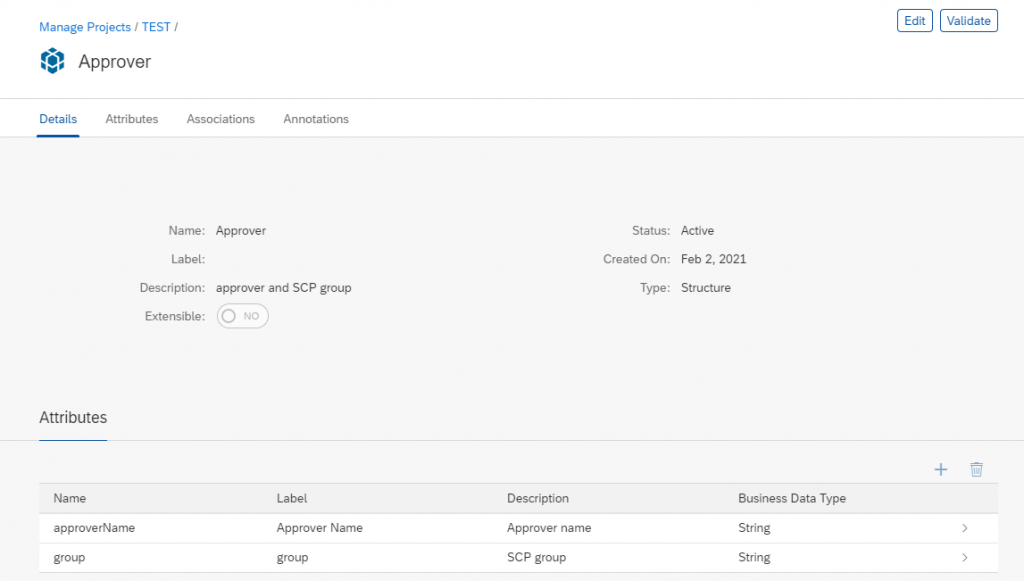
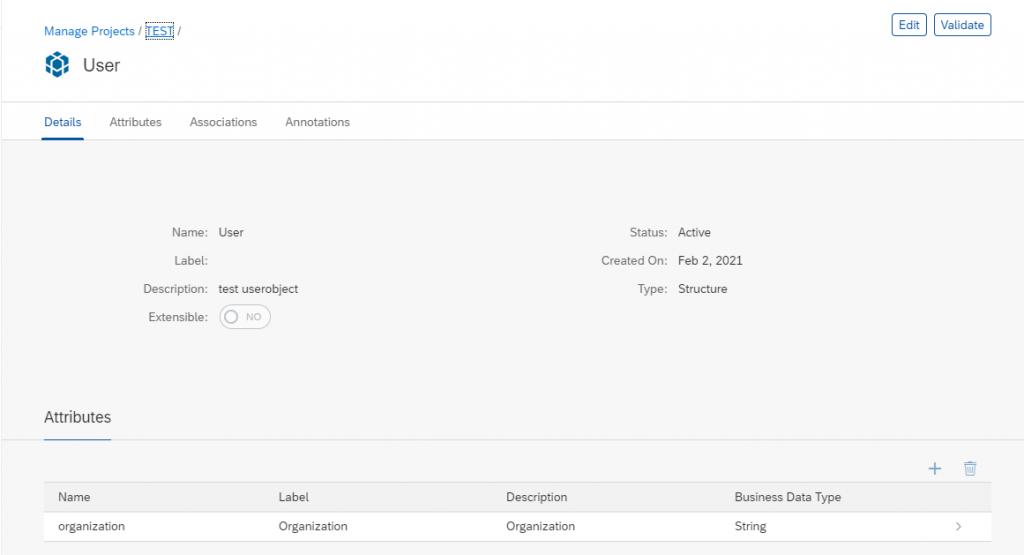
NOTE: after creation each object must be Validated and Activated (ie: Status = Active).
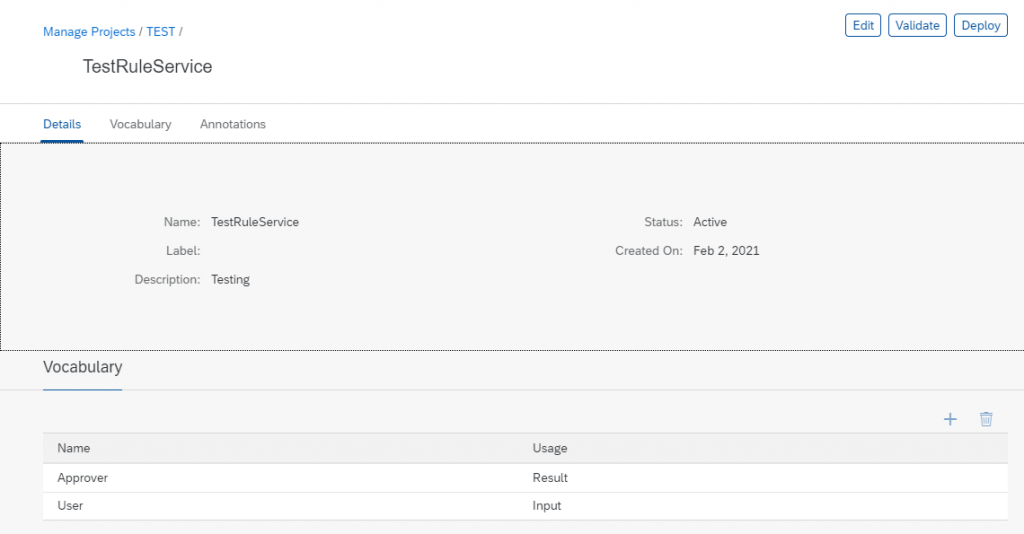
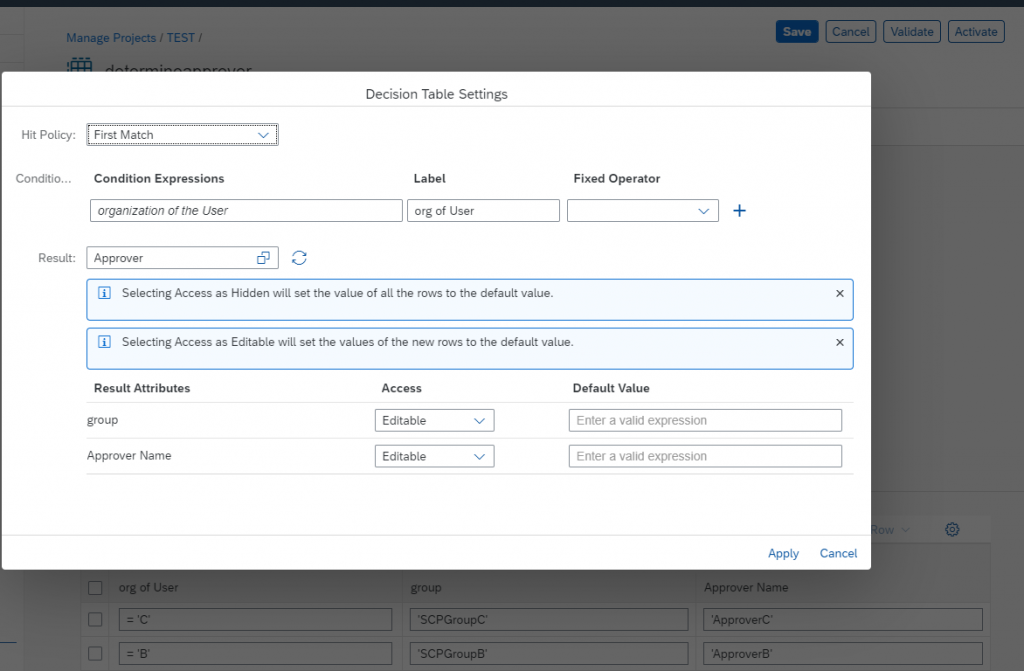
Create a rules service (which assign the data objects as Input or Result)
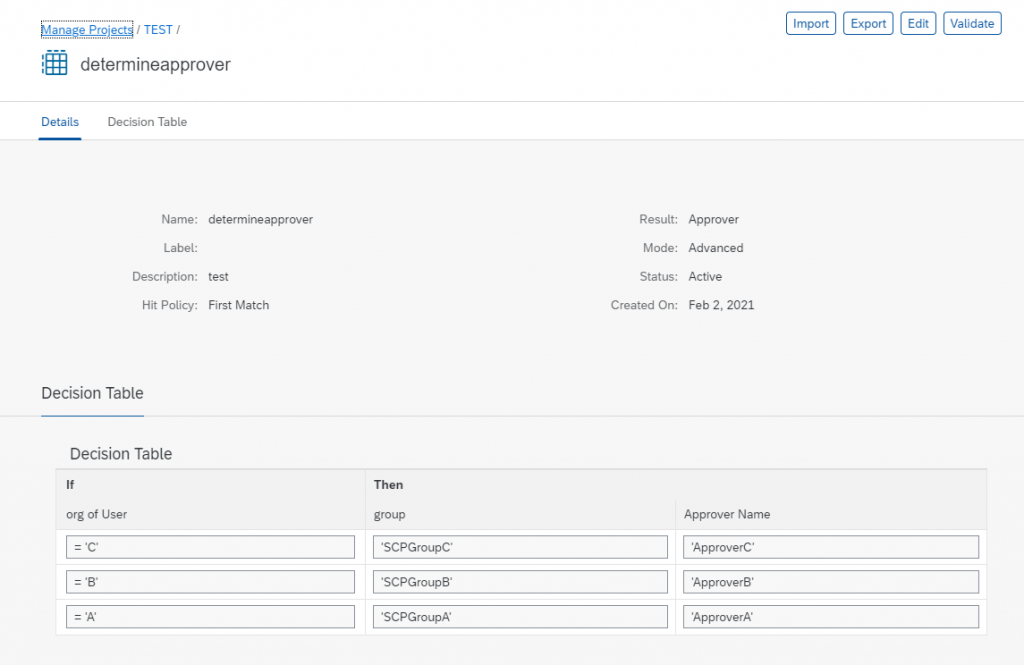
Create rules/decision tables
eg: if organization of the User is C then the approver group is SCPGroupC and the approver name is ApproverC
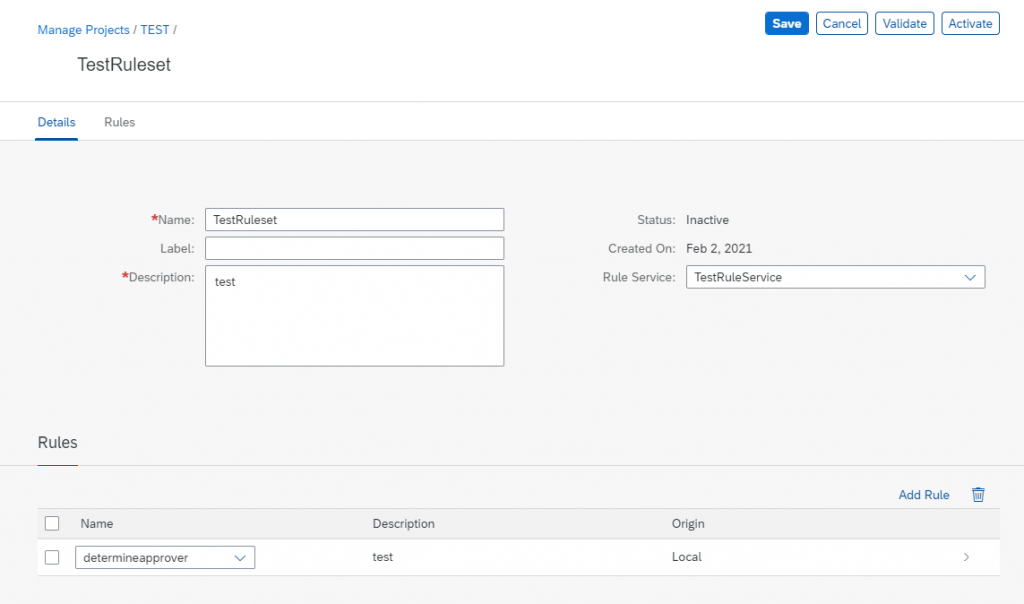
Create rulesets (and assign rules and rule service)
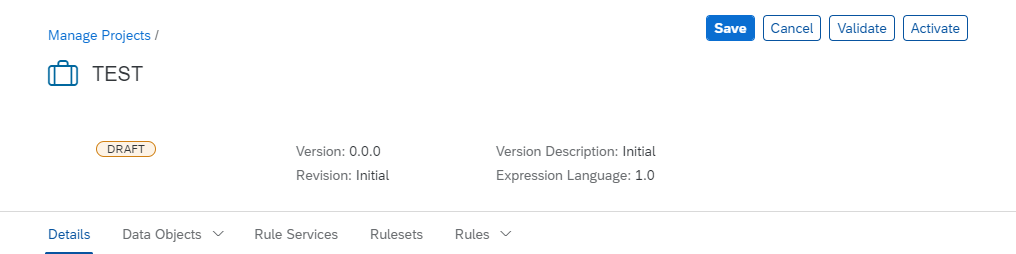
After creating and activating all the entities, Activate the whole project.
6. Test the service with Postman
Once the Business Rules project is activated, we can test the rules service using a REST client such as Postman.
To do this, we will need the service key credentials which we created in Step 3.
NOTE: any value enclosed in <> should be taken in the service key credentials.
Operation: POST
URL: <rule_runtime_url>/rules-service/rest/v2/workingset-rule-services
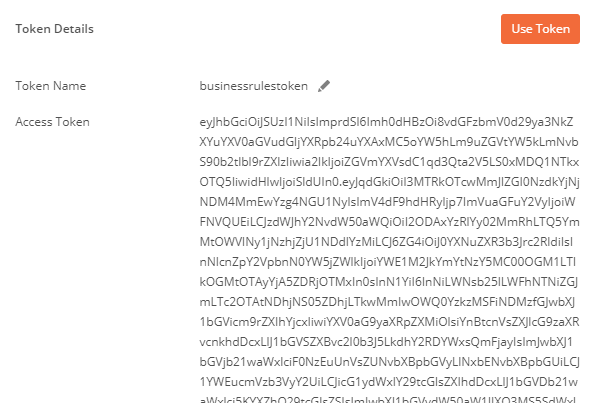
Authorization
Type: OAuth 2.0
Token Name: any
Grant Type: Client Credentials
Access Token URL: <url>/oauth/token
Client ID: <clientid>
Client Secret: <clientsecret>
Client Authentication: Send as Basic Auth header
Get a new Access Token and use it

Body

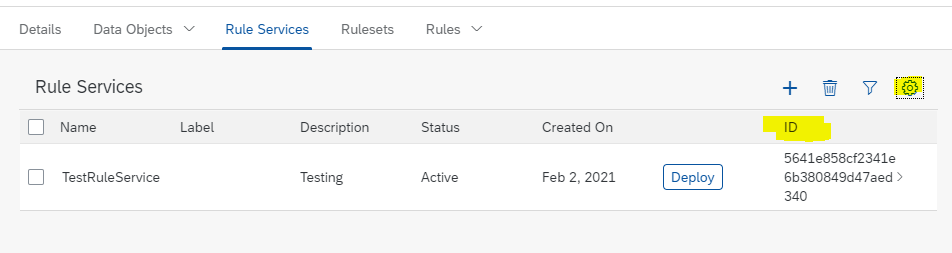
{
  "RuleServiceId": "5641e858cf2341e6b380849d47aed340",
  "Vocabulary": [
    {
      "User": {
        "organization" : "C"
      }
    }
  ]
}
where
- “User” and “organization” is the Input structure and attribute respectively.
- RuleServiceId: ID of the rule service. (Add the ID to the visible columns as this is not visible by default)
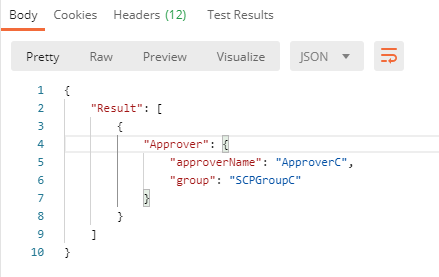
Result:
As you can see, when we pass a User with ‘C’ as organization, we get the expected Approver per the decision table.
Hooray!