Introduction
In this blog, we will find the Step-by-Step procedure to perform the addition of custom fields to SAP Fiori Applications and an SAP GUI transaction through the Extensibility features provided by SAP S/4HANA.
Example Scenario
As we know that after system conversion, the code used in Sales order transactions i.e Function modules code has been removed in SAP S/4HANA. Due to this a custom control field of Checkbox used in transactions VA01, VA02 and VA03 has been removed. There is a need for a new checkbox in transactions and the Sales Fiori app is also just like a custom control field.
ECC System
S4/HANA after Using Extensibility
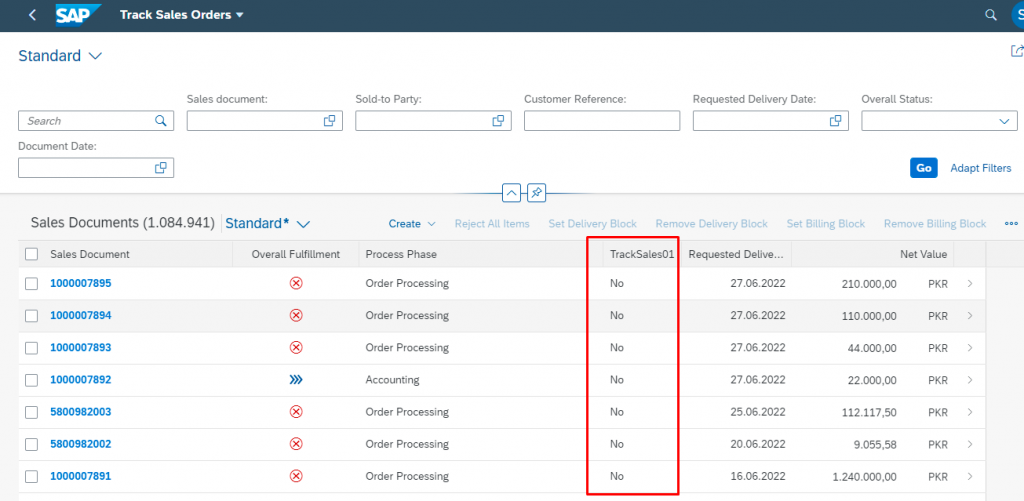
Added a new Checkbox named “Tracksales01”.
Steps to achieve the Task:
Step 1:– Prerequisites
A) Configuration Prerequisites
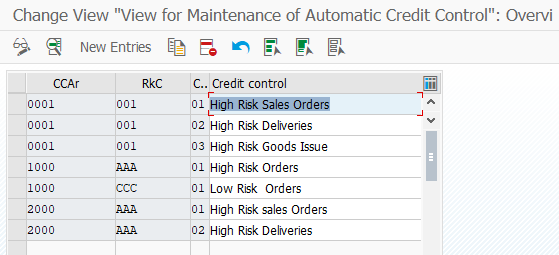
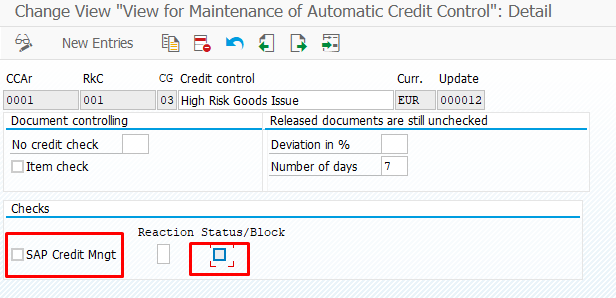
Temporary deactivation of Credit Management features by using OVA8.
B) Technical & Security Configuration Prerequisites
- Please confirm with your Basis administrator for the activation of the following options:
• Enterprise Search.
• Embedded Analysis
• SAP Fiori Content
• SAP Fiori S/4HANA Foundation
• SAP Gateway - Deactivation of Virus Scan Feature
Transaction Code: VSCANPROFILE) Setup Transport Adaption Organizer for Key User Tools
Transaction Code: S_ATO_SETUP
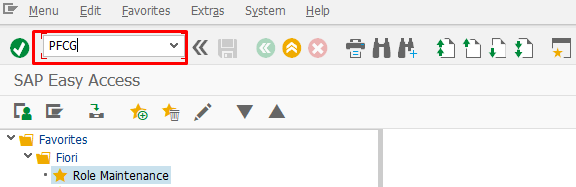
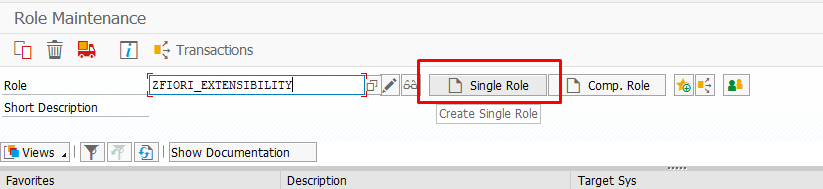
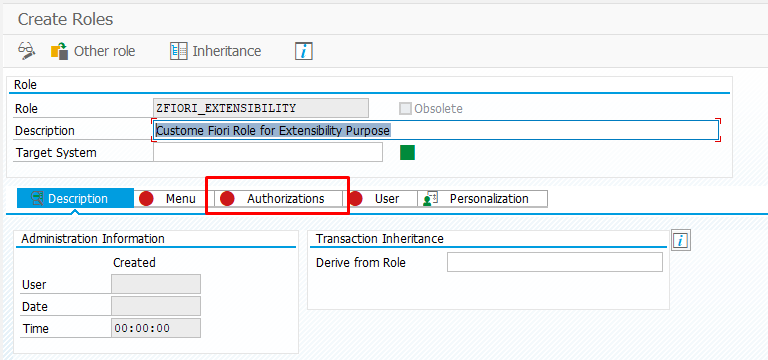
Step 2:-
Create a new Single Role with the name “ZFIORI_EXTENSIBILITY”.
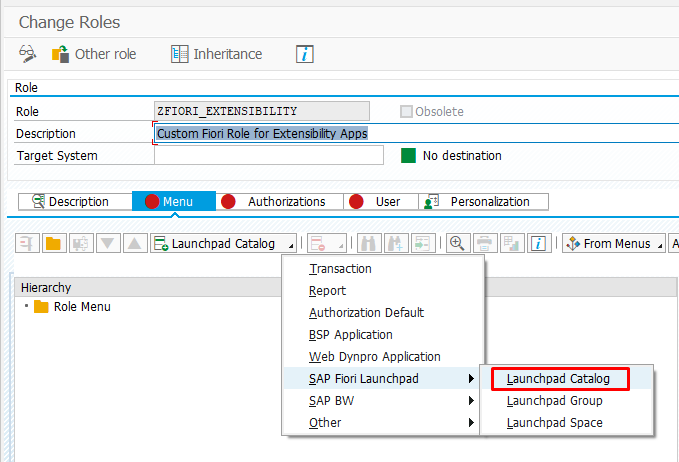
Step 3:-
Click on the Menu tab and select Launchpad Catalog.
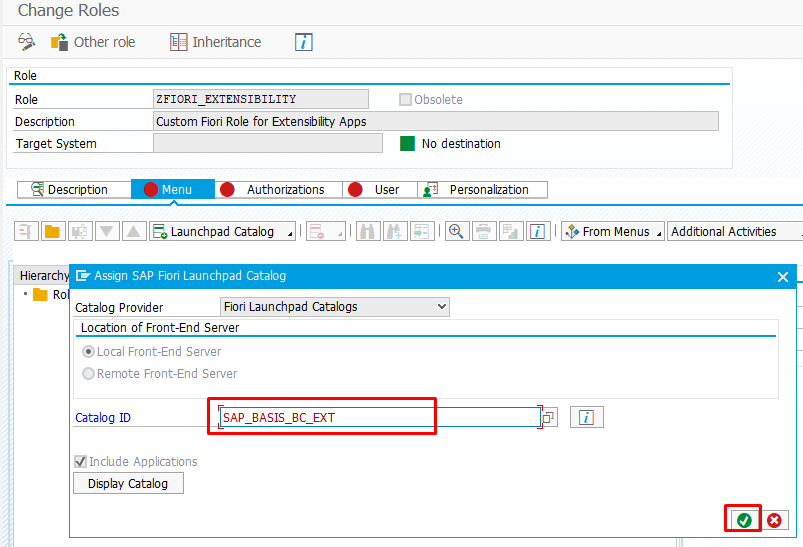
Step 4:-
Use the “SAP_BASIS_BC_EXT” in Catalog ID and click Enter.
Step 5:-
Choose the NO option in the warning popup window
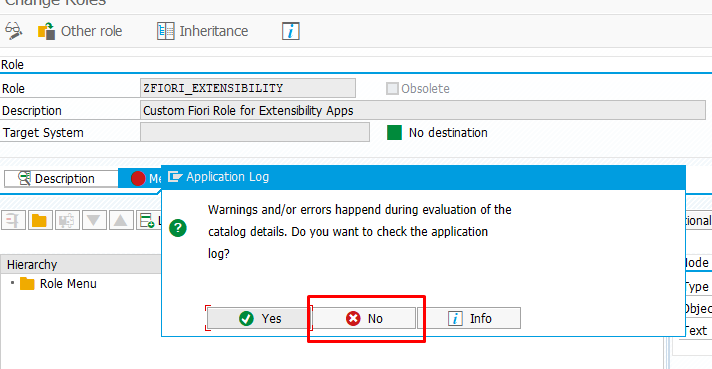
Step 6:-
Click on the Authorization tab and change Authorization Data.
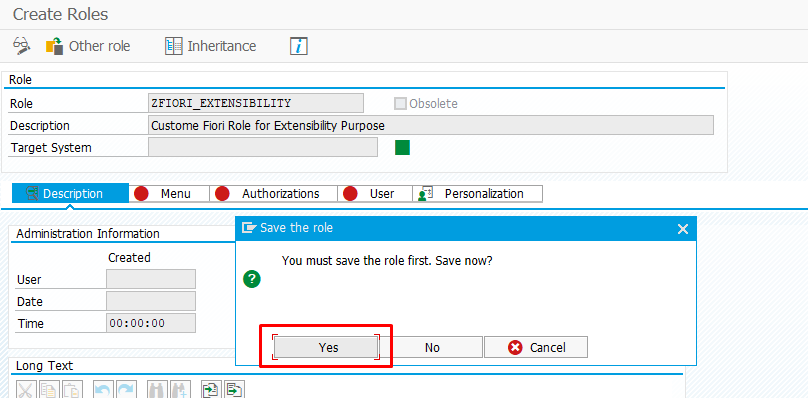
Step 7:-
Save the role by using the SAVE button.
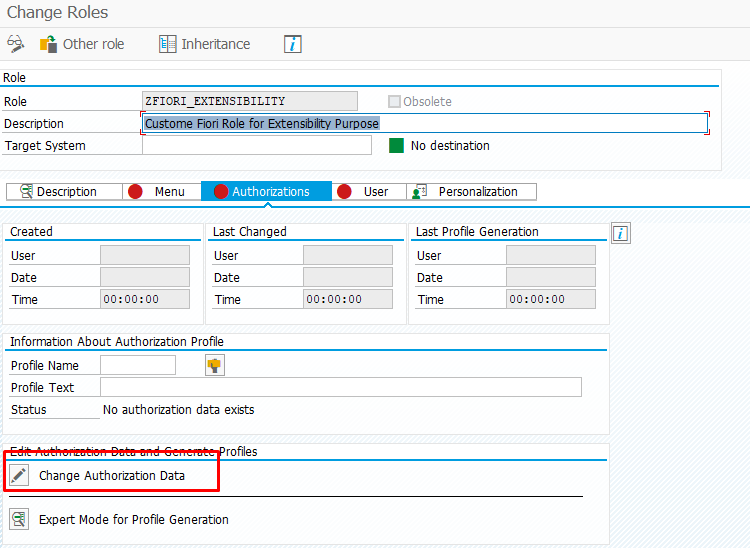
Step 8:-
Click on the Change Authorization Data.
Step 9:-
A Pop-up window will show to select “TEMPLATES”.
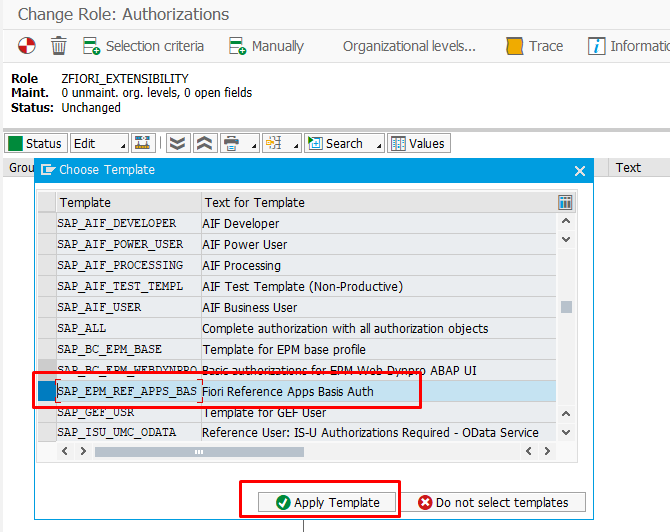
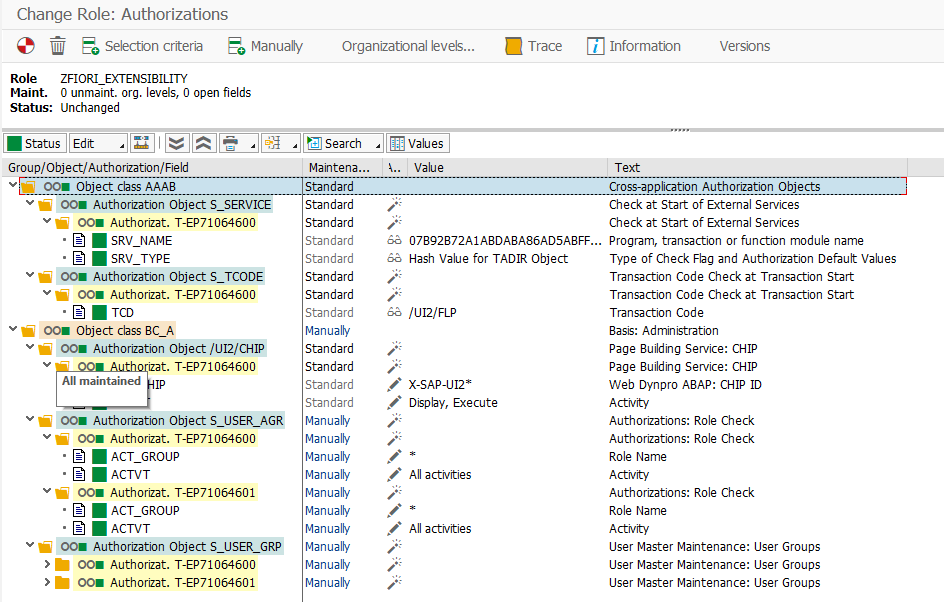
Step 10:-
Find all the “YELLOW” status buttons and make it on “GREEN” status.
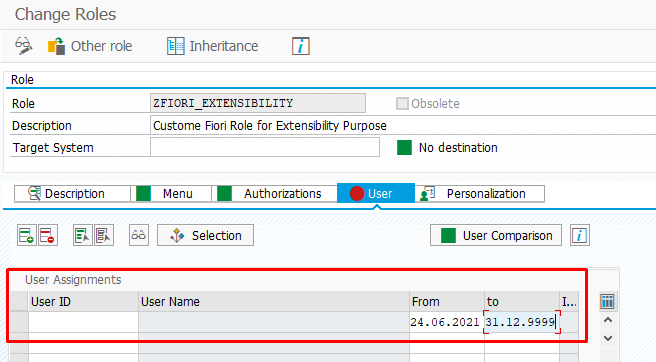
Step 11:-
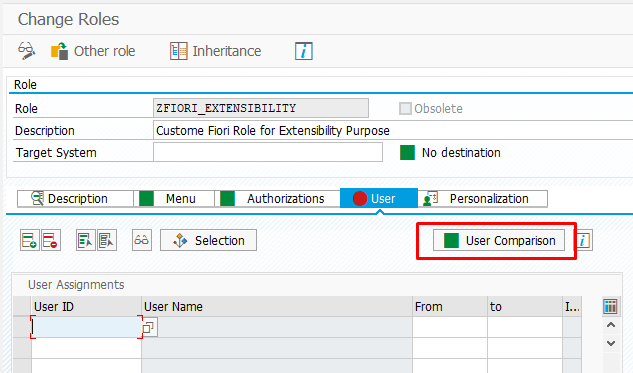
Click on the User Tab and then change the dates info and then save.
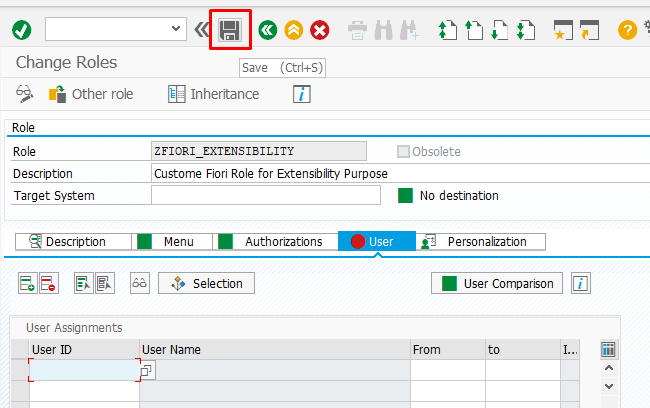
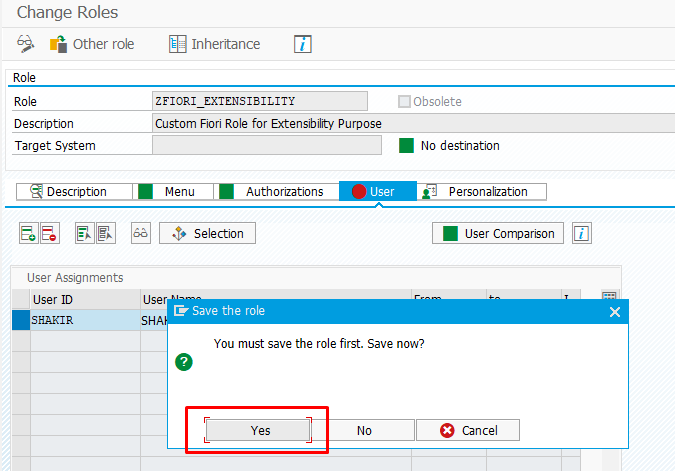
Step 12:-
Now save the role by clicking on the SAVE button.
Step 13:-
Now update the data by using the User Comparison button.

Step 14:-
Now again save the role.
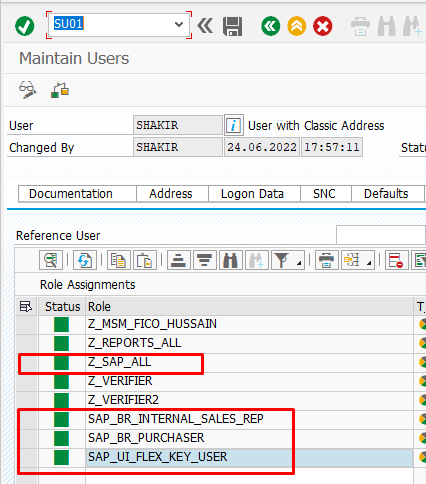
Step 15:-
Now use transaction SU01 and verify the presence of the following roles in the Roles tab.
• SAP_BP_INTERNAL_SALES_REP
• Z_FIORI_FOUNDATION_ADMIN
• SAP_BR_PURCHASER
• SAP_UI_FLEX_KEY_USER
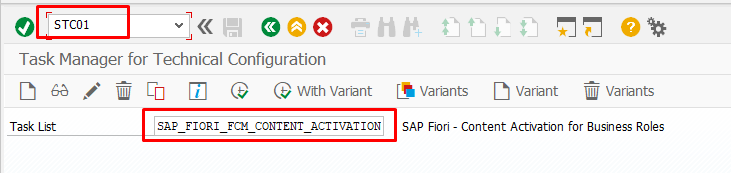
Step 16:-
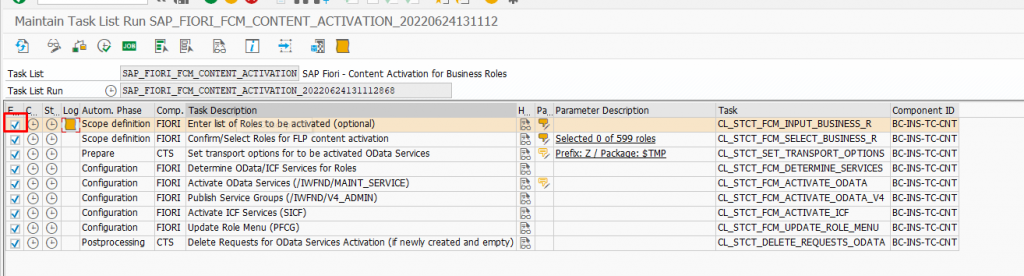
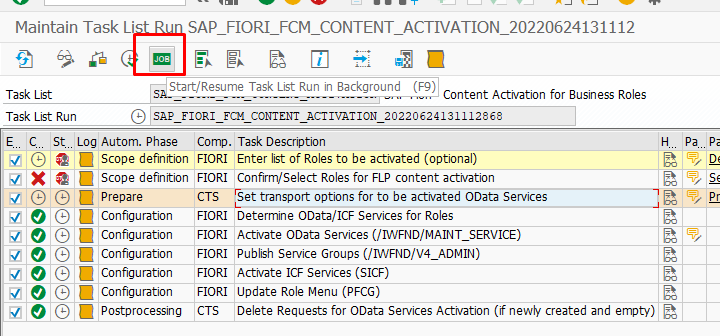
Now use transaction “STC01” and execute the new run of the task list:
SAP_FIORI_FCM_CONTENT_ACTIVATION
Step 17:-
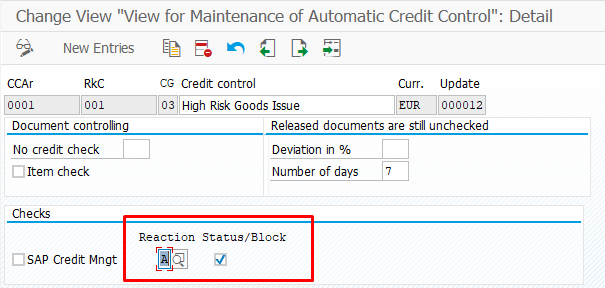
Make the checkbox on the first row of the detail information table.

Step 18:-
Click on the “Display parameter” button as shown in the below image.

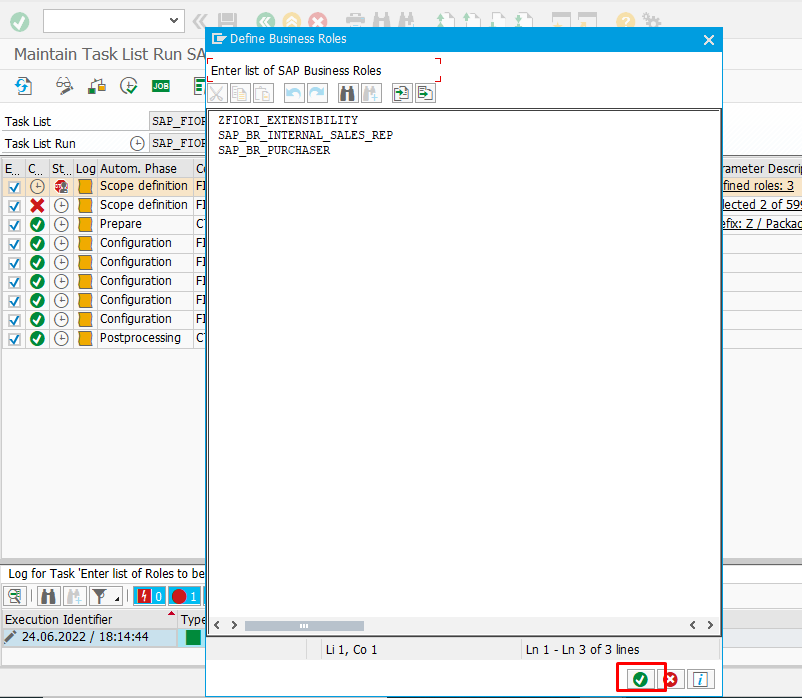
Step 19:-
Add the below roles in the Pop-up window:
• SAP_BP_INTERNAL_SALES_REP
• SAP_BR_PURCHASER
• ZFIORI_EXTENSIBILITY
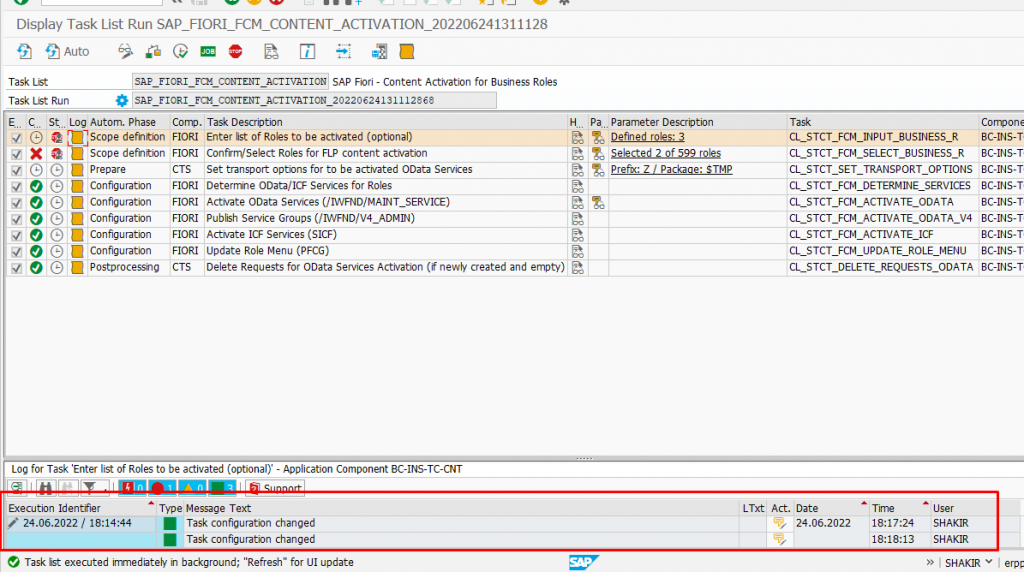
Step 20:-
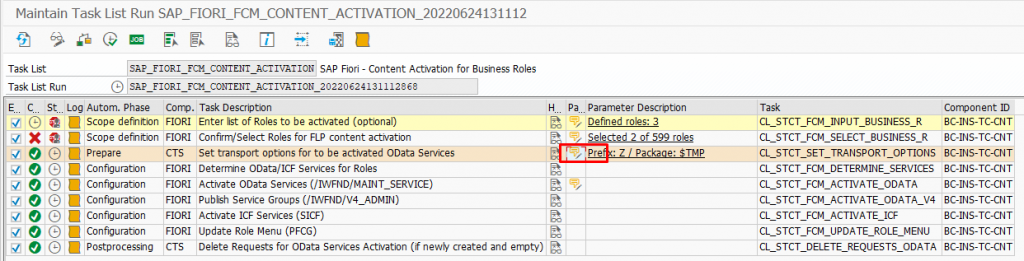
Update the “Set transport options for to be activated OData Services” parameter.
Step 21:-
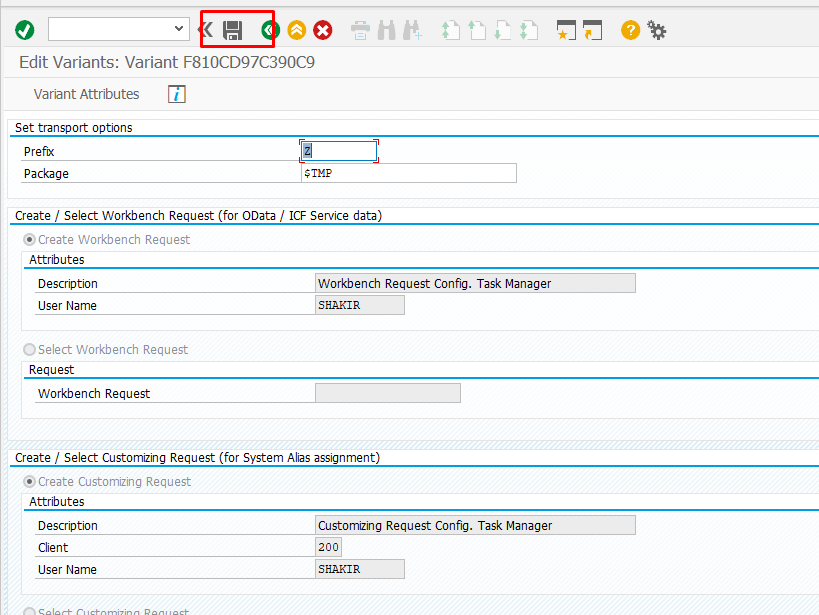
Click the SAVE button after giving Prefix Value ‘Z’ and Package Value ‘$TMP’.
Step 22:-
Execute the task by clicking the JOB button.
Step 23:-
Wait for the task list execution to be finished. Use the refresh button to get the current status of the job.

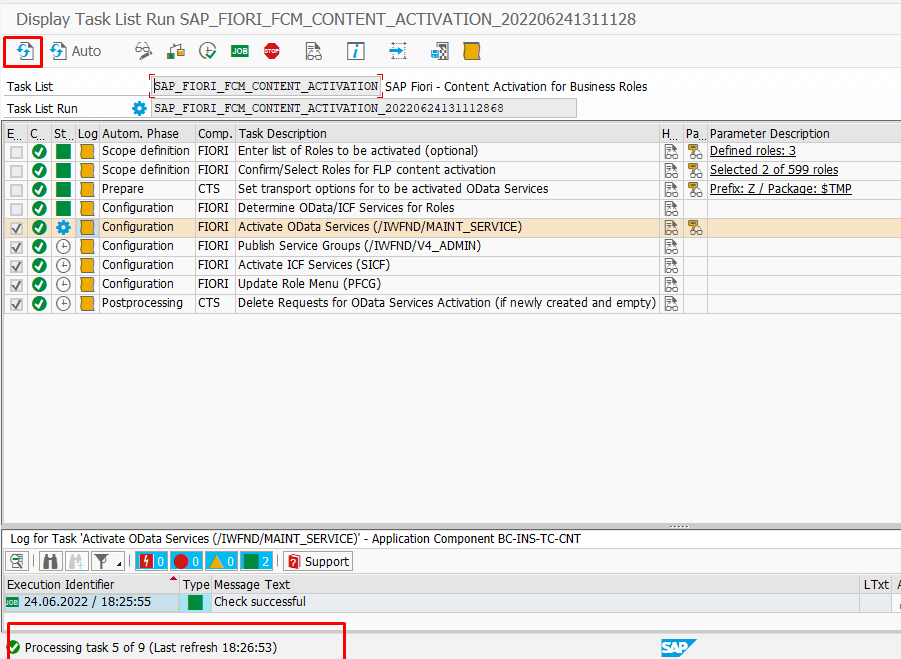


Note: IF ANY ERROR EXIST AT ANY TASK DO UN-CHECK AND THEN RUN AGAIN, THIS IS BECAUSE THE SERVICE ALREADY RUNNING.
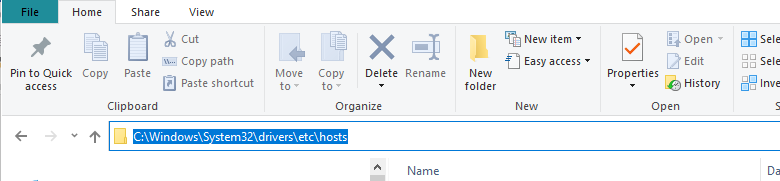
Step 24:-
Now configure HOST files at your local machine and then call Fiori Launchpad.
Step 25:-
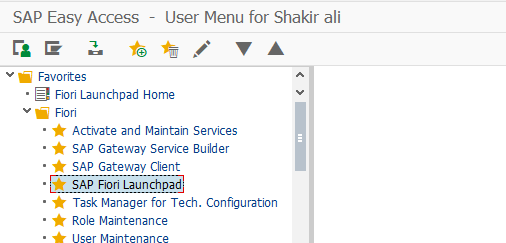
Now login to the S4/HANA system and execute the SAP Fiori Launchpad.
Step 26:-
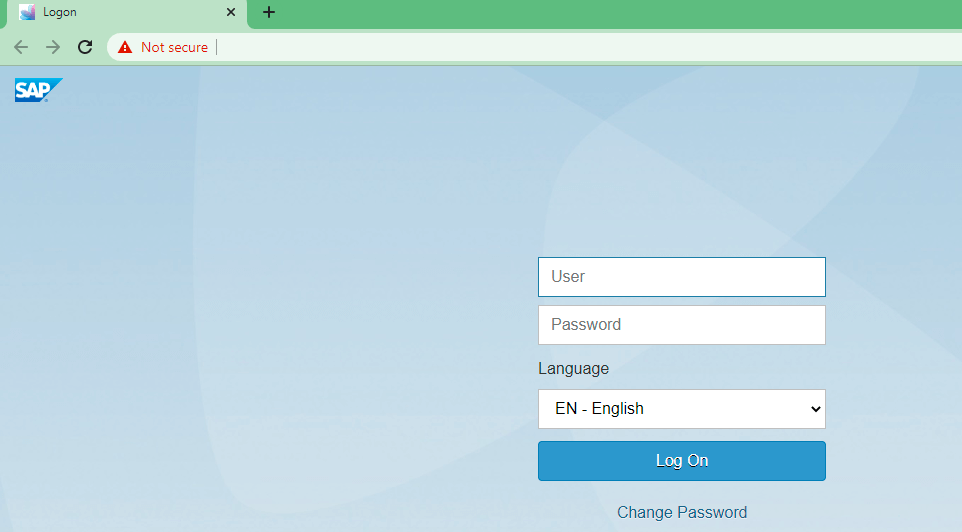
Now enter your login credentials.
Step 27:-
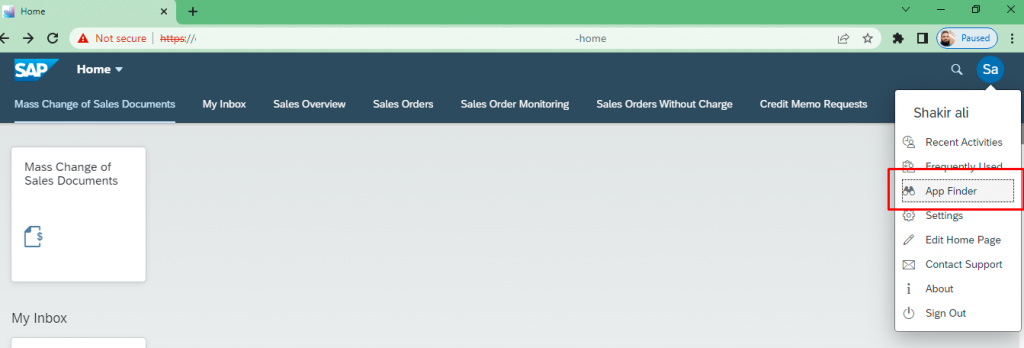
On the right side do navigate to the App Finder.
Step 28:-
Search the app using the ‘custom’ word.
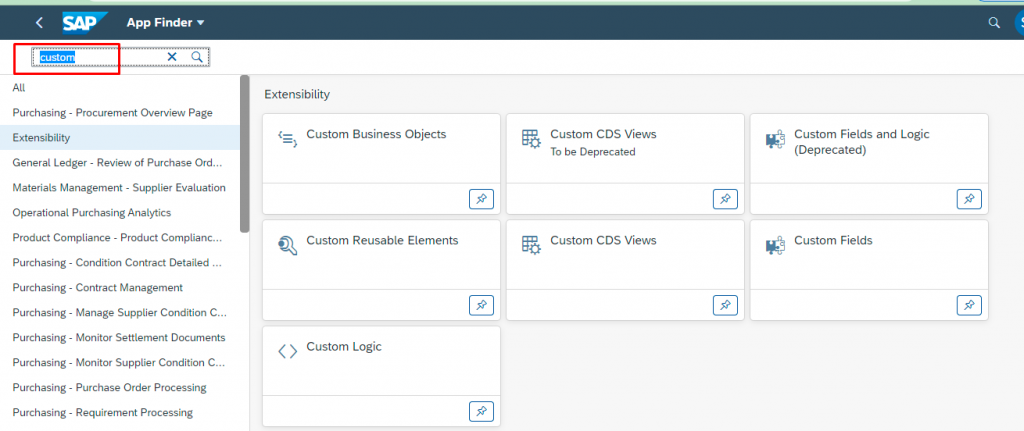
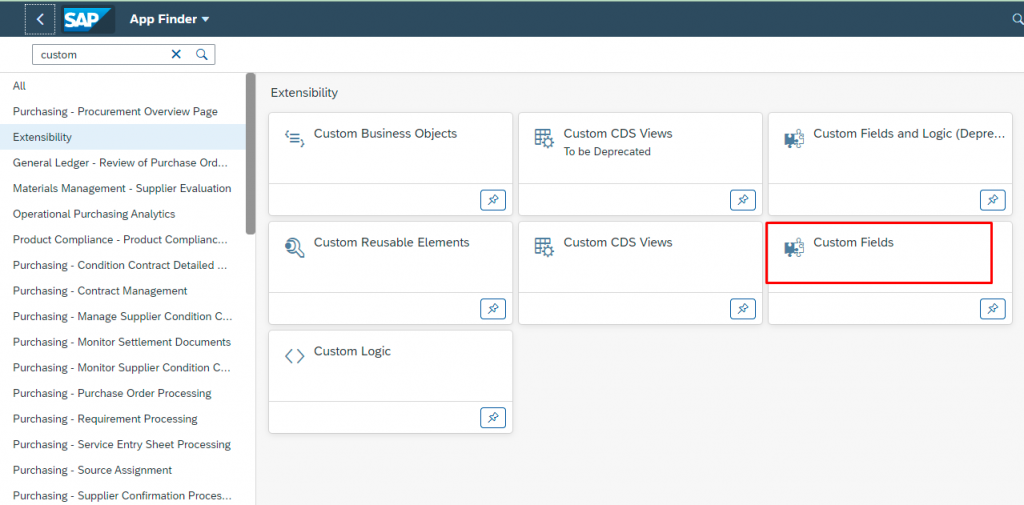
Step 29:-
Now access the Custom Fields App.
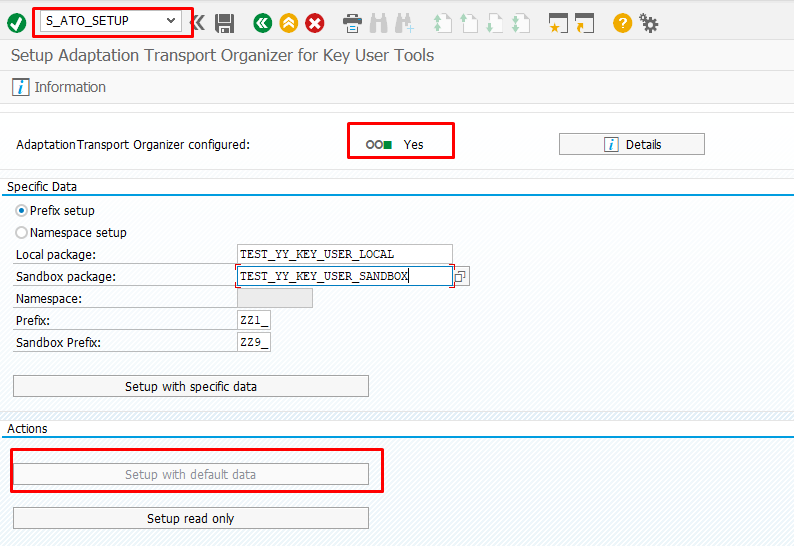
Step 30:-
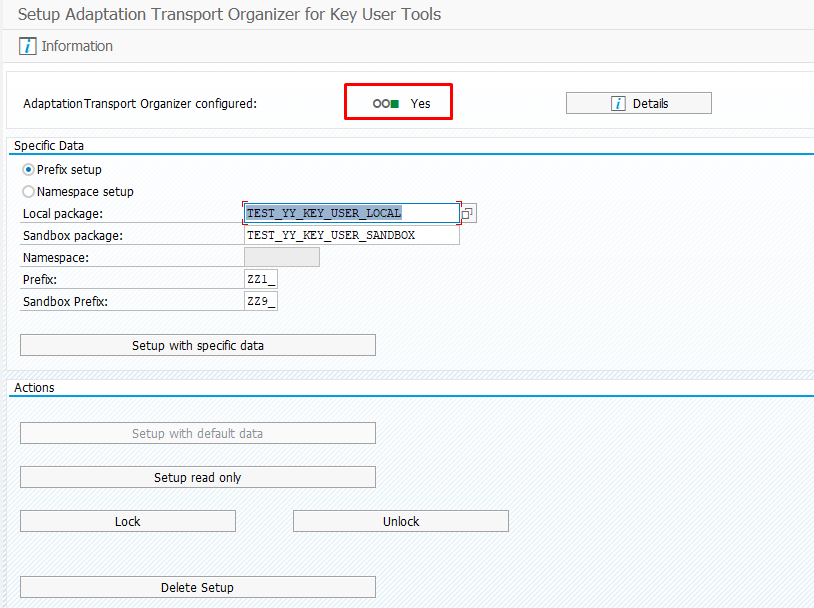
If the below error arrives, do change the configuration using the S_ATO_SETUP transaction.

Note: If “Adaption Transport Organizer configured:” is NO then Click on “Setup with Default data” to activate this feature.
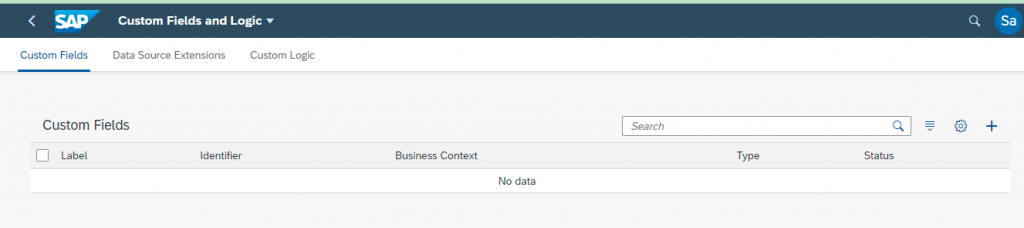
Step 31:-
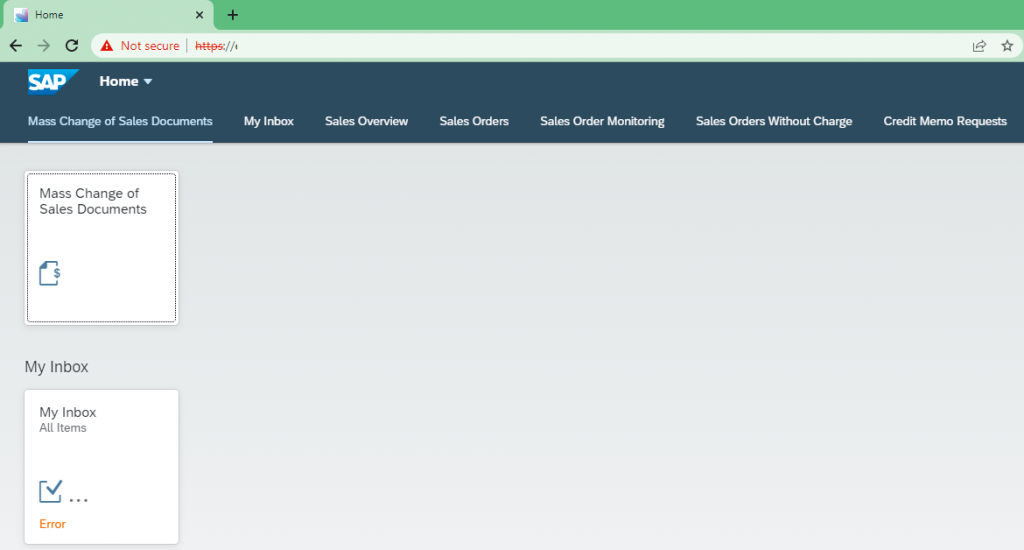
Now try to access the Custom Fields App again. Now, no error message shows and the App called successfully.
Step 32:-
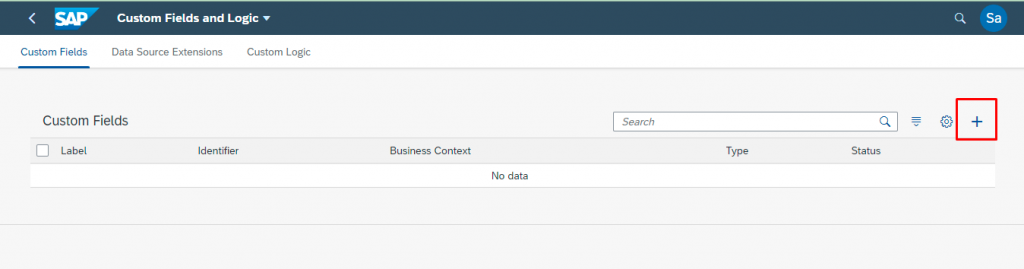
Click on the Add button + in the Custom Fields section.
Step 33:-
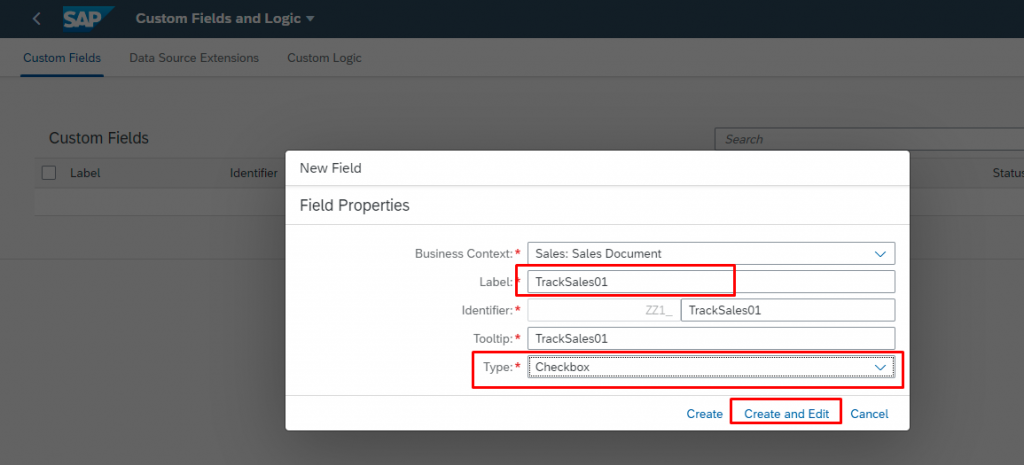
Select the business context “Sales: Sales Document”. Furthermore, give the Label and ToolTip values as per your choice and then select Checkbox as Type. Click on the Create and Edit button.
Step 34:-
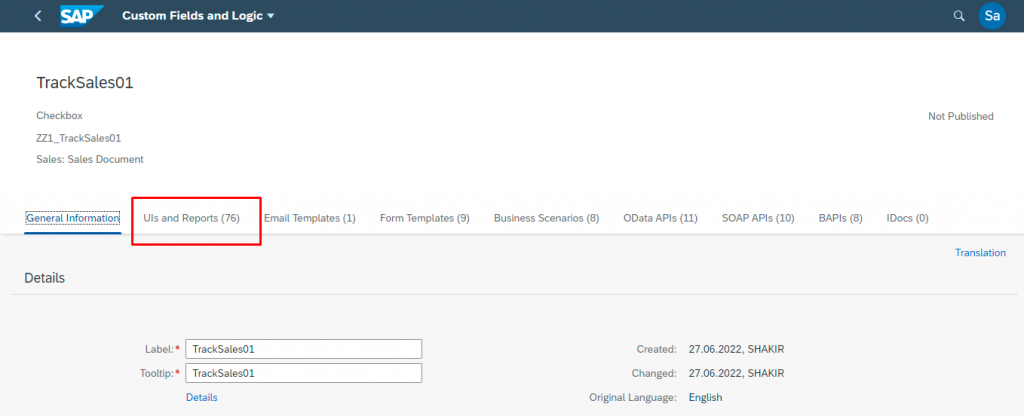
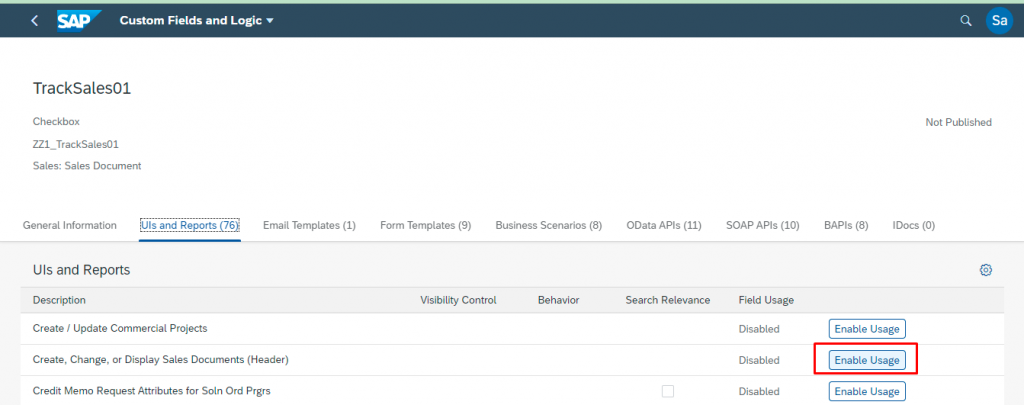
Navigate to the UIs and Reports section.
Step 35:-
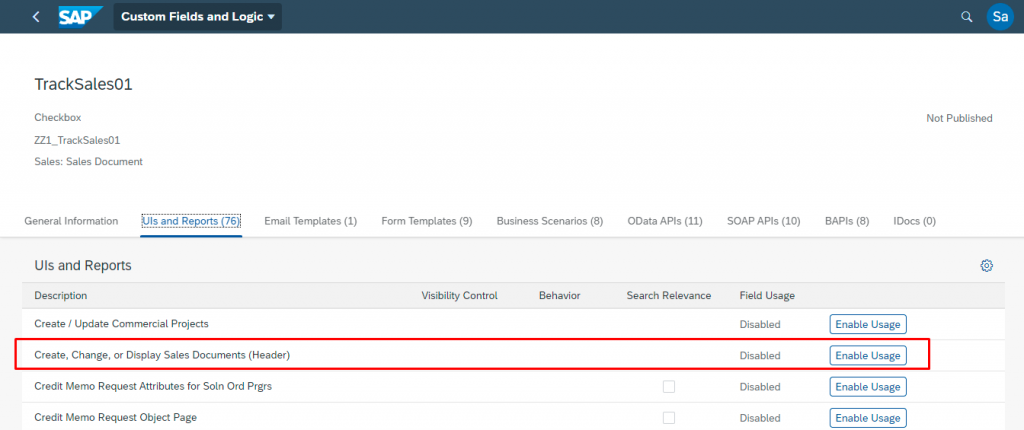
Select the “Create, Change or Display Sales Document (Header)” and click Enable Usage to activate the field in VA01, VA02 and VA03 transactions.
Step 36:-
Select “Customer – 360 View Sales Orders” to enable.
Step 37:-
Select the “Manage Sales Orders” App and enable it.

Step 38:-
Select the “Mass Change of Sales Orders” App and enable it.

Step 39:-
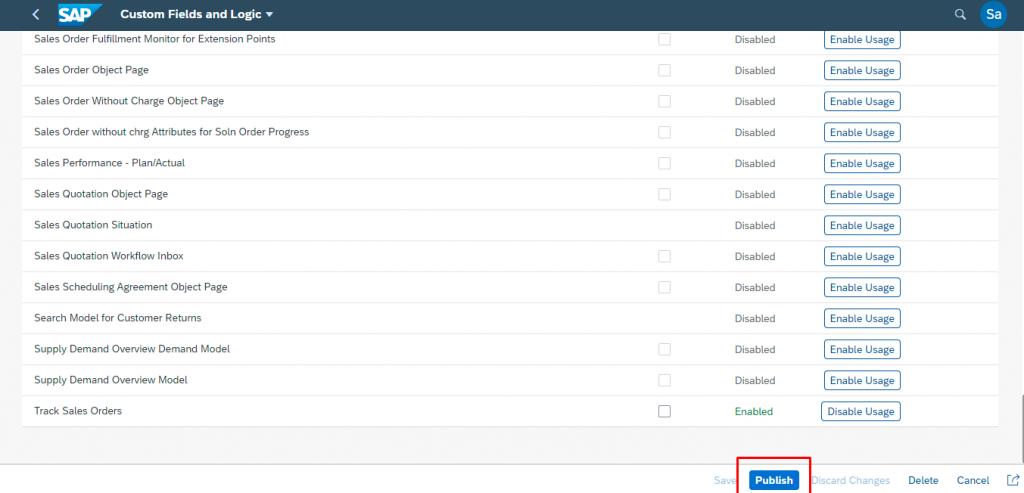
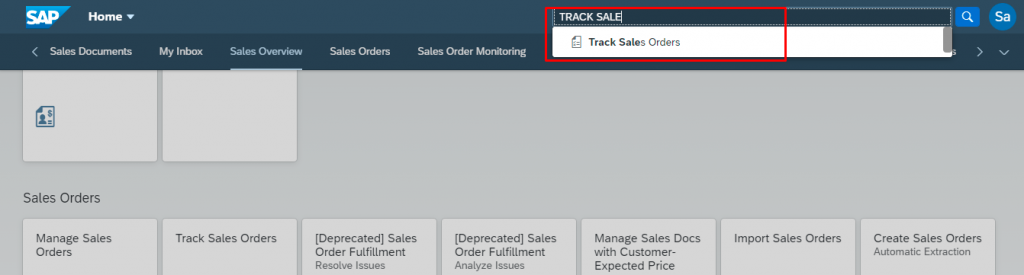
Select the “Track Sales Orders” App and enable it.

Step 40:-
Once all usages of apps have been enabled Click on “Save” and then the “Publish” button.
Step 41:-
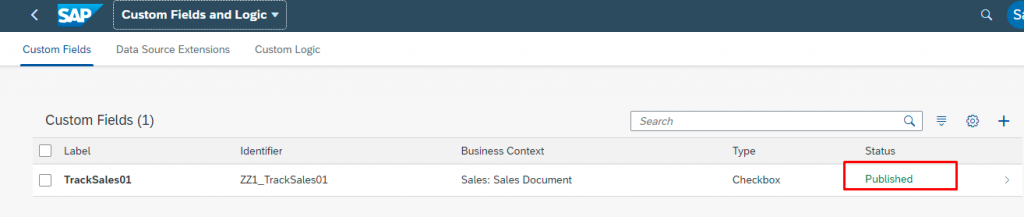
Wait for the status to be changed to Published.

Step 42:-
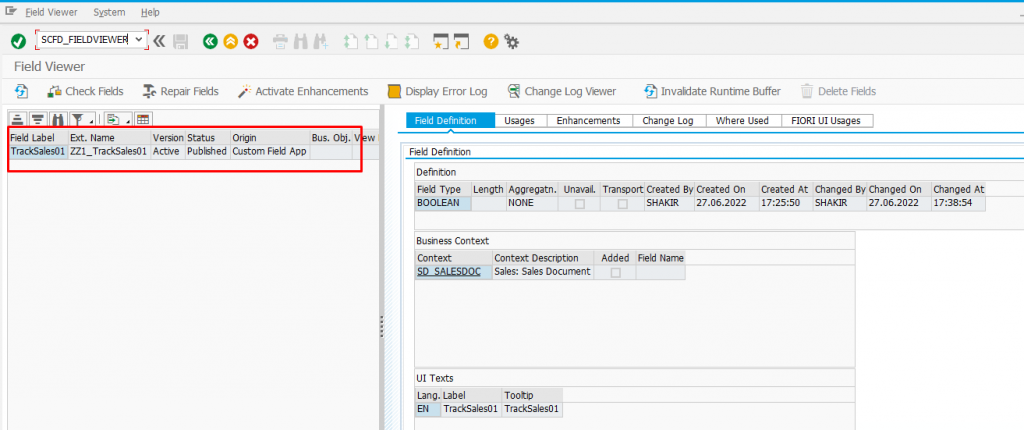
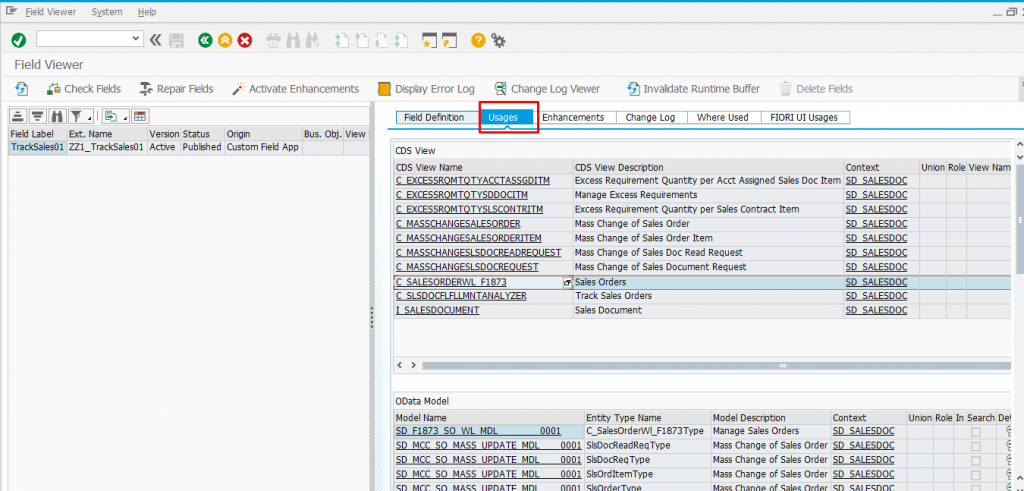
Use transaction SCFD_FIELDVIEWER to find the details of your custom field.
Step 43:-
In the Usages tab we can find the details of CDS views, OData Services, API’s and BADI’s.
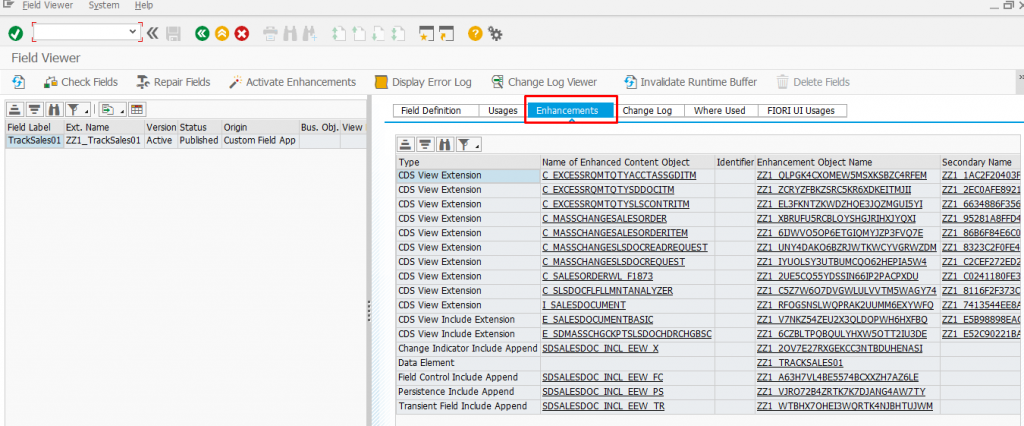
Step 44:-
In the Enhancements tab we can find the Structures that are created or modified.
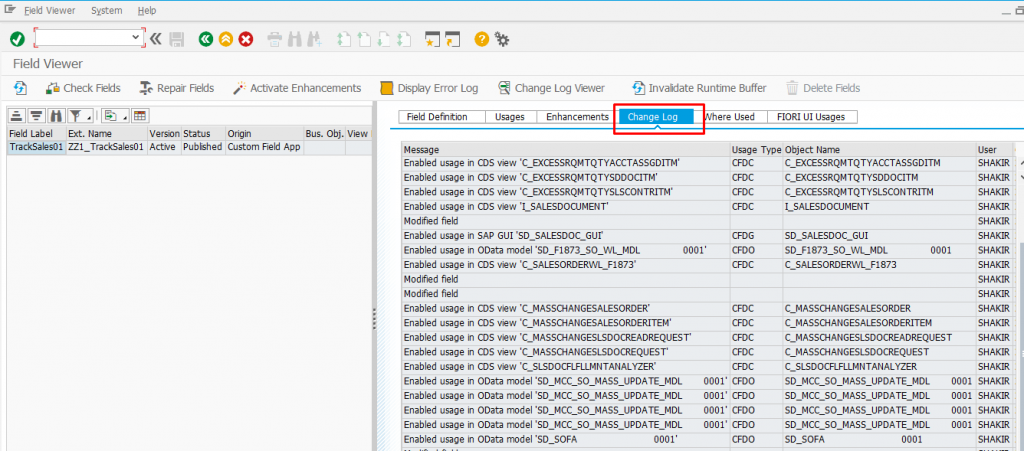
Step 45:-
In the Change Log section we can find the administrative data like the user who created the field etc.
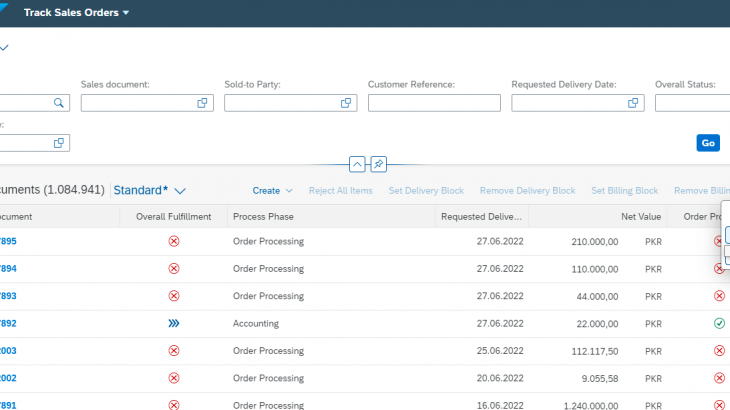
Step 46:-
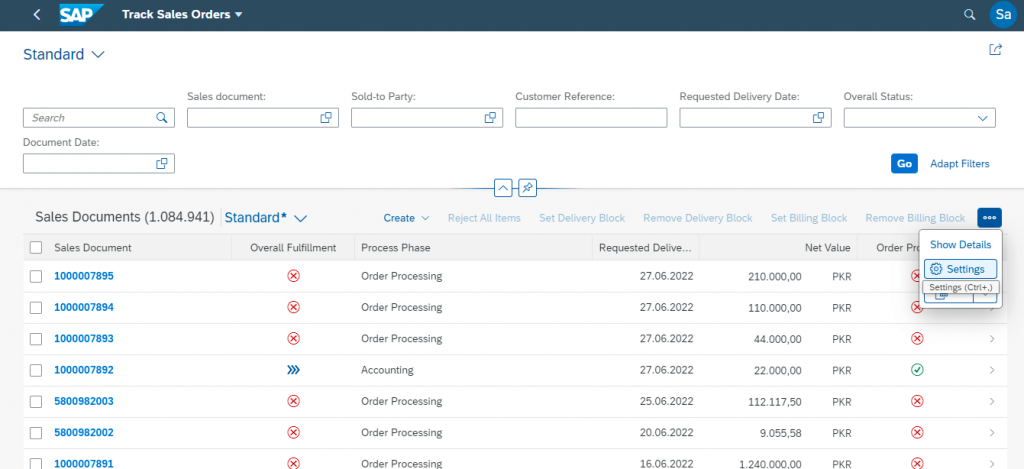
We can find the addition of a Custom field in any app in which we enable usage, for example, the Track Sales Orders App.
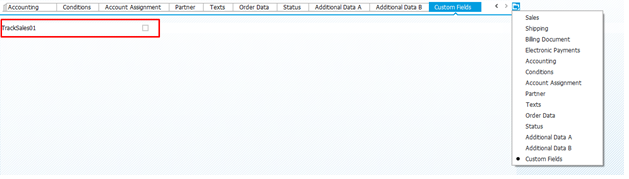
Step 47:-
Click on the settings option of the app and Activate the “TrackSales01” field.

Step 48:-
By using the Setting option we can find the Custom field and then arrange the field accordingly.

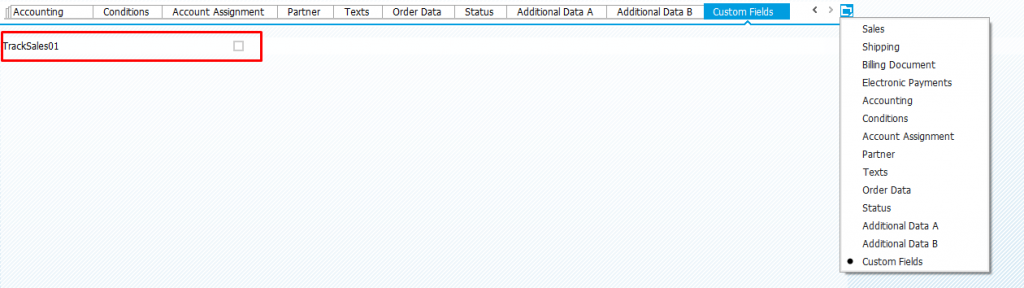
Step 49:-
We can also check transactions VA01, VA02 and VA03 and find the Custom field “TrackSales01” in the Custom Fields tab.